Some of the links on this site are affiliate links. I make a small commission from sales when you click through the link. There is no additional cost to you.
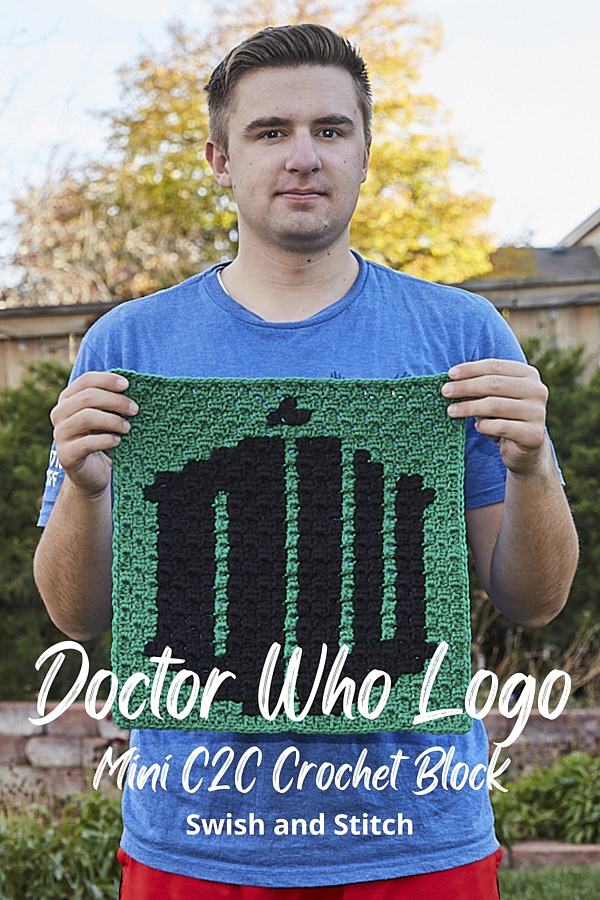
The Ultimate Doctor Who Afghan — Doctor Who Logo
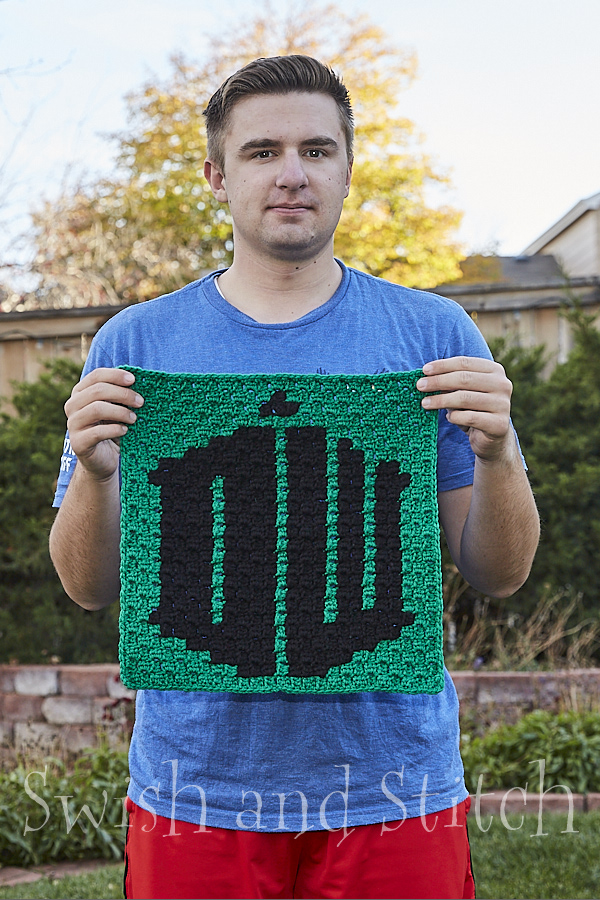
I thought about keeping the Doctor Who Logo Block for later in the year as kind of a breather between some of the more intricate blocks. However, that somewhat offends my sense of orderliness. We read top to bottom, left to right, so that is how I’m introducing the blocks.
There have been several Doctor Who logos. This iconic one combines the letters “D” and “W” in the shape of the Tardis. Most versions of this logo have a longer height to width ratio, but I chose to limit it to a 25 X 25 block so it’s a little squat.
Enjoy this fairly simple block. The next two may challenge your patience, but if I can do them, you can too!
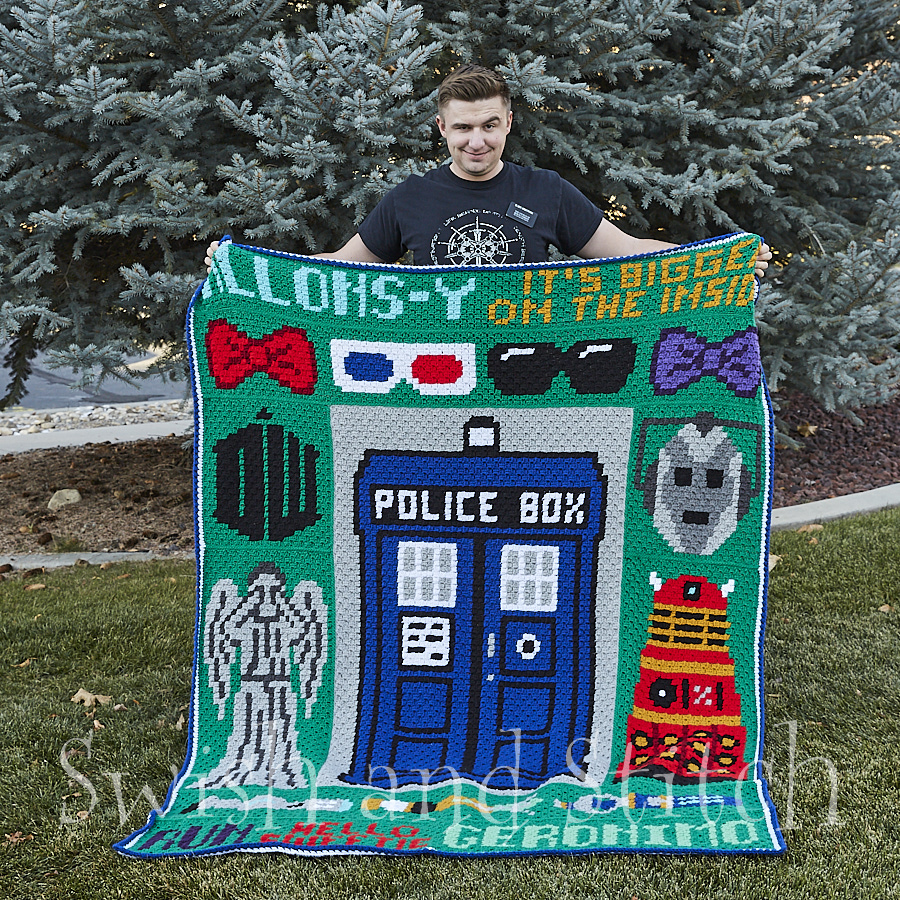
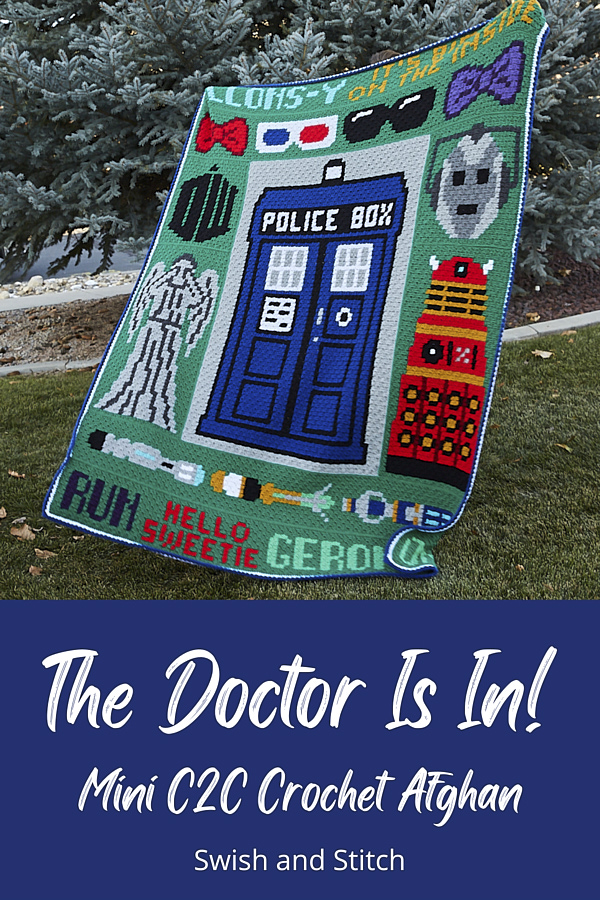
You can find the other The Doctor is In! The Ultimate Doctor Who Mini C2C Crochet Afghan blocks and panels here:
- Intro Post
- Allons-Y
- Bow Ties Are Cool
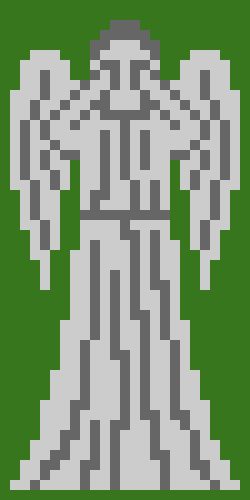
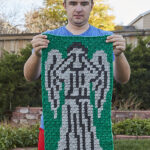
- Weeping Angel
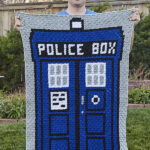
- TARDIS
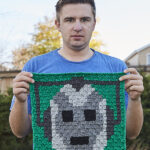
- Cyberman
- Dalek
- Sonic Screwdrivers
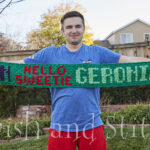
- Geronimo
Once we’ve finished all the blocks, we’ll finish things up with The Doctor Is In! The Ultimate Doctor Who Mini C2C Crochet Afghan—Joining and Edging.
Doctor Who Logo Mini C2C Crochet Block
NOTE: Remember that this afghan is intended to be stitched using mini corner-to-corner crochet. If you need to learn mini C2C or need a refresher, click to the intro post for a linked video from Repeat Crafter Me.
Materials
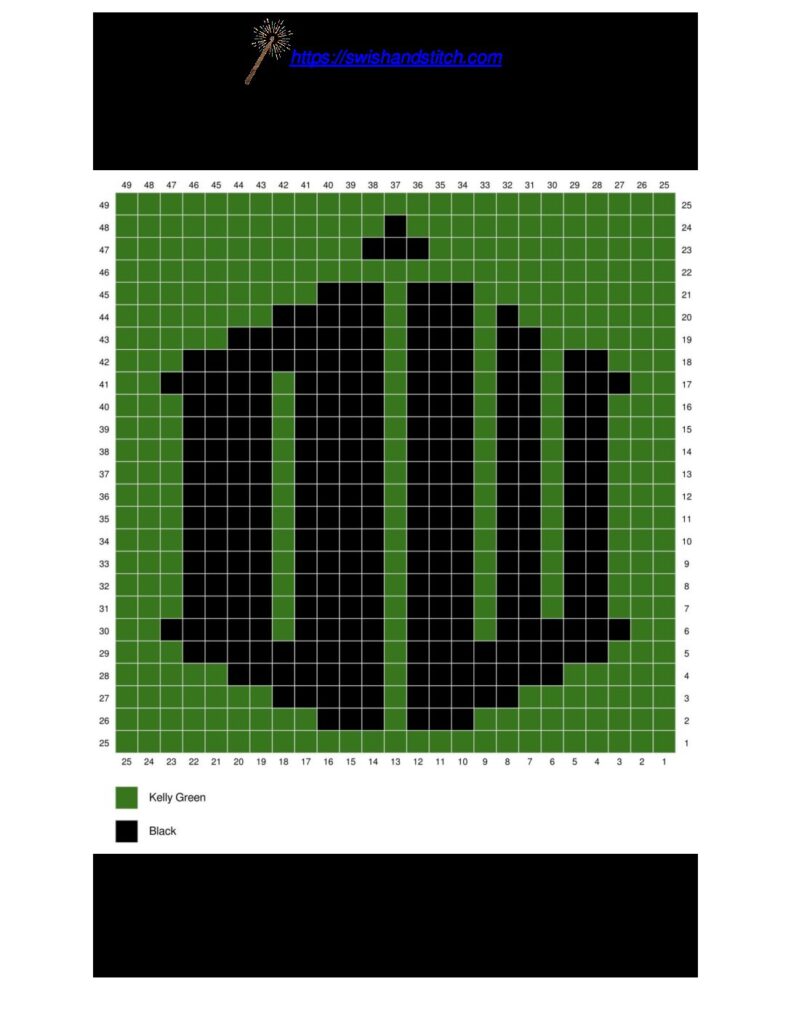
~ Doctor Who Logo Pixel Graph
~ Loops and Threads Impeccable Yarn 4.5 oz skeins in the following colors (amounts are approximations):
- Kelly Green — 2.4 ounces
- Black — 2.0 ounces
~ Size H Crochet Hook or hook needed to achieve gauge (see Gauge for C2C Afghans)
~ Yarn Needle
Crochet the square starting from the bottom right corner of the chart using mini C2C. Row-by-row written instructions are below.
After you finish crocheting the block, crochet one row of single crochet in KELLY GREEN around the entire panel. I crocheted 2 SC stitches across each mini C2C square, basically, one in the middle of the square and one in between squares around the entire panel, with 3 SC stitches in each corner.
Make sure the edging does not pull the block tight or, conversely, cause the edge to ripple. You want the panel to lie flat when you are finished. You may need to adjust how you stitch around the block for your own tension. Just be consistent in how you work the SC around each block and panel in the blanket.
Up Next: Weeping Angel
Stitch happy!
~Lucinda
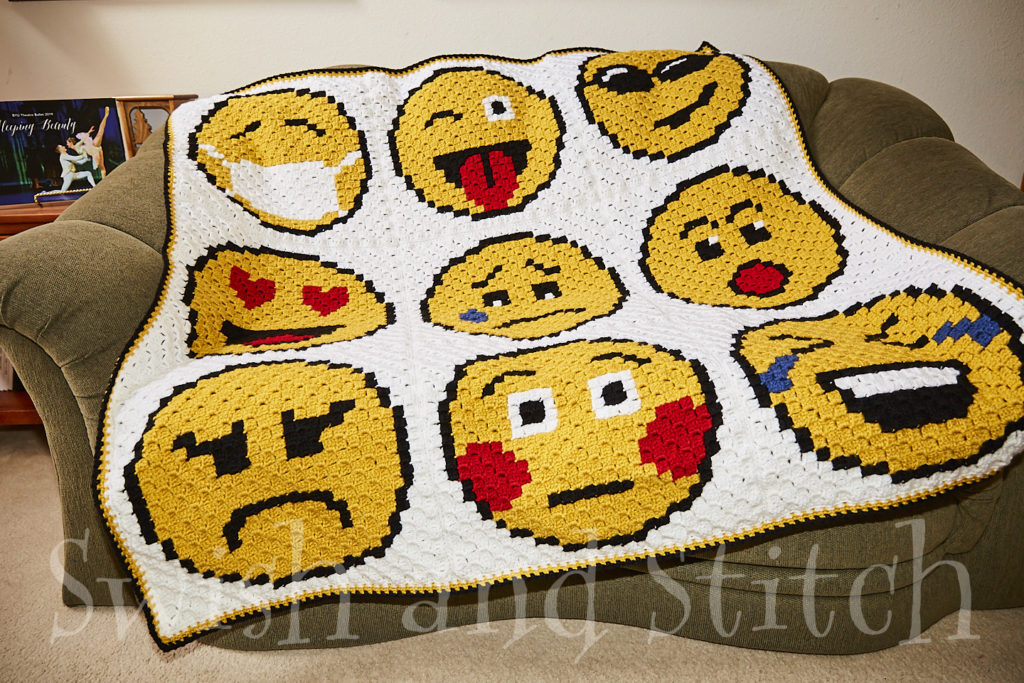
Looking for more Unique, Teen-Approved patterns like the customizable 16-block Emoji Afghan? Check out Swish and Stitch Crafts on Etsy.
Row-by-Row Instructions Doctor Who Logo Mini C2C Crochet Block
[RS] = Right Side
[WS] = Wrong Side
KG: Kelly Green [345 squares]
BL: Black [280]
Crochet from bottom right corner.
→ Row 1 [WS]: KG1 (1 square)
← Row 2 [RS]: KG2 (2 squares)
→ Row 3 [WS]: KG3 (3 squares)
← Row 4 [RS]: KG4 (4 squares)
→ Row 5 [WS]: KG5 (5 squares)
← Row 6 [RS]: KG6 (6 squares)
→ Row 7 [WS]: KG7 (7 squares)
← Row 8 [RS]: KG2, BL2, KG4 (8 squares)
→ Row 9 [WS]: KG3, BL3, KG3 (9 squares)
← Row 10 [RS]: KG3, BL5, KG2 (10 squares)
→ Row 11 [WS]: KG1, BL7, KG3 (11 squares)
← Row 12 [RS]: KG3, BL2, KG1, BL5, KG1 (12 squares)
→ Row 13 [WS]: KG1, BL6, KG1, BL2, KG3 (13 squares)
← Row 14 [RS]: KG3, BL2, KG1, BL2, KG1, BL3, KG2 (14 squares)
→ Row 15 [WS]: KG1, BL1, KG1, BL3, KG1, BL2, KG1, BL2, KG3 (15 squares)
← Row 16 [RS]: KG3, BL2, KG1, BL2, KG1, BL3, KG1, BL2, KG1 (16 squares)
→ Row 17 [WS]: KG1, BL3, KG1, BL3, KG1, BL2, KG1, BL2, KG3 (17 squares)
← Row 18 [RS]: KG3, BL2, KG1, BL2, KG1, BL3, KG1, BL3, KG2 (18 squares)
→ Row 19 [WS]: KG2, BL4, KG1, BL3, KG1, BL2, KG1, BL3, KG2 (19 squares)
← Row 20 [RS]: KG3, BL2, KG1, BL2, KG1, BL3, KG1, BL5, KG2 (20 squares)
→ Row 21 [WS]: KG3, BL5, KG1, BL3, KG1, BL2, KG1, BL2, KG3 (21 squares)
← Row 22 [RS]: KG4, BL1, KG1, BL2, KG1, BL3, KG1, BL6, KG3 (22 squares)
→ Row 23 [WS]: KG3, BL2, KG1, BL4, KG1, BL3, KG1, BL2, KG6 (23 squares)
← Row 24 [RS]: KG6, BL2, KG1, BL3, KG1, BL4, KG1, BL2, KG4 (24 squares)
→ Row 25 [WS]: KG4, BL3, KG1, BL4, KG1, BL3, KG1, BL2, KG6 (25 squares)
Corner: Start decreasing on both ends
← Row 26 [RS]: KG6, BL1, KG1, BL3, KG1, BL4, KG1, BL4, KG3 (24 squares)
→ Row 27 [WS]: KG3, BL4, KG1, BL4, KG1, BL3, KG1, BL1, KG5 (23 squares)
← Row 28 [RS]: KG6, BL3, KG1, BL4, KG1, BL5, KG2 (22 squares)
→ Row 29 [WS]: KG3, BL4, KG1, BL4, KG1, BL3, KG5 (21 squares)
← Row 30 [RS]: KG4, BL3, KG1, BL4, KG1, BL4, KG3 (20 squares)
→ Row 31 [WS]: KG3, BL4, KG1, BL4, KG1, BL2, KG4 (19 squares)
← Row 32 [RS]: KG4, BL1, KG1, BL4, KG1, BL4, KG3 (18 squares)
→ Row 33 [WS]: KG3, BL4, KG1, BL4, KG5 (17 squares)
← Row 34 [RS]: KG2, BL1, KG1, BL4, KG1, BL4, KG3 (16 squares)
→ Row 35 [WS]: KG3, BL8, KG1, BL1, KG2 (15 squares)
← Row 36 [RS]: KG1, BL2, KG1, BL7, KG3 (14 squares)
→ Row 37 [WS]: KG3, BL5, KG5 (13 squares)
← Row 38 [RS]: KG6, BL3, KG3 (12 squares)
→ Row 39 [WS]: KG2, BL2, KG7 (11 squares)
← Row 40 [RS]: KG10 (10 squares)
→ Row 41 [WS]: KG9 (9 squares)
← Row 42 [RS]: KG8 (8 squares)
→ Row 43 [WS]: KG7 (7 squares)
← Row 44 [RS]: KG6 (6 squares)
→ Row 45 [WS]: KG5 (5 squares)
← Row 46 [RS]: KG4 (4 squares)
→ Row 47 [WS]: KG3 (3 squares)
← Row 48 [RS]: KG2 (2 squares)
→ Row 49 [WS]: KG1 (1 square)
