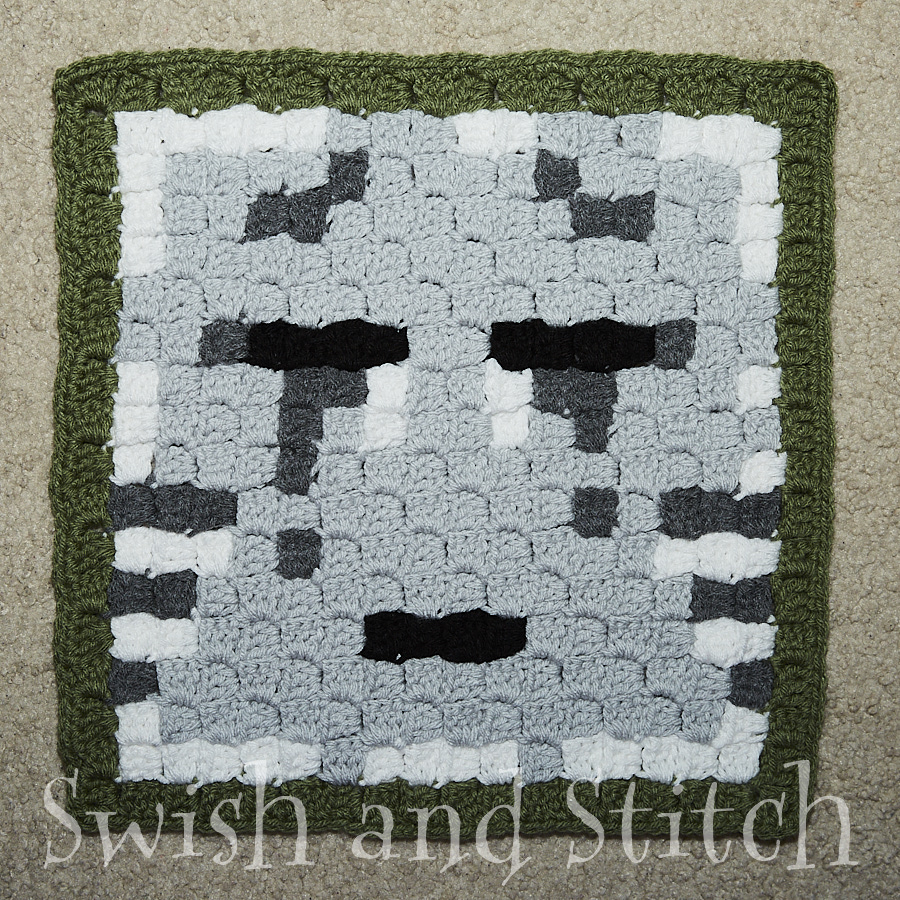
Minecraft C2C Crochet blanket Ghast Block
Some of the links on this site are affiliate links. I make a small commission from sales when you click through the link. There is no additional cost to you.
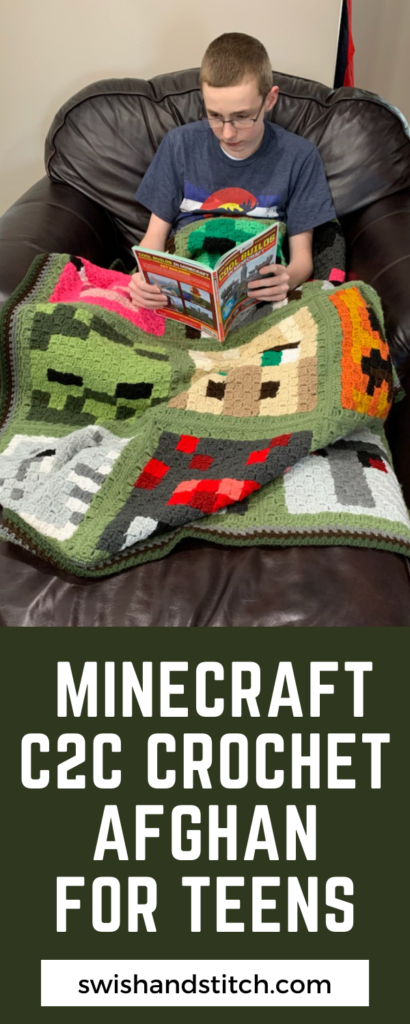
Nine blocks finished in the Minecraft C2C Crochet Afghan! And only three to go! How’s your blanket looking? As I mentioned in Minecraft C2C Crochet Afghan—Snow Golem Pumpkin Head Block, this Ghast block is the second hardest in the blanket. It has quite a few color changes that will keep you on your toes.
Minecraft Ghasts are hostile mobs that look kind of like tentacled ghosts. They float around the Nether (a fiery underworld-type dimension) with their eyes and mouth shut. When a Ghast comes within firing range of a player, it opens its eyes and mouth, screeches, and shoots fireballs every 3 seconds.
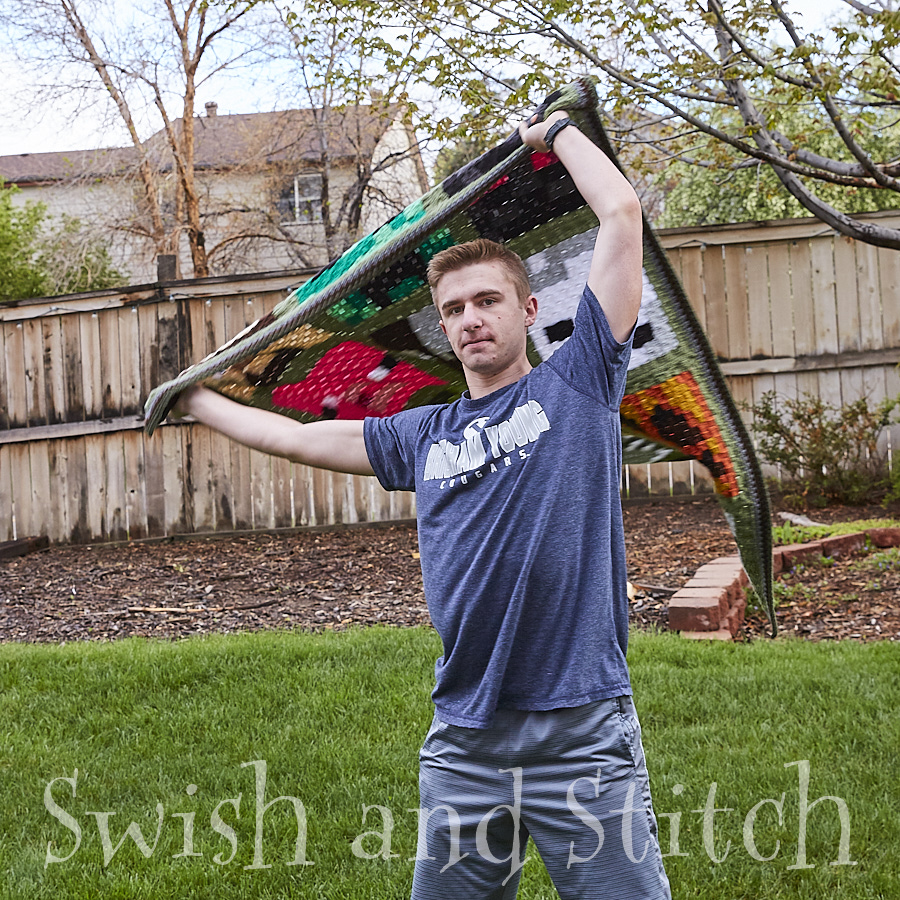
NOTE: Most of the blocks in the Minecraft C2C Crochet Afghan—12 Block Crochet Along have been simplified from how the characters look in the Minecraft game. This is primarily due to the availability of yarn colors. There are only so many greens or browns or reds offered in any yarn brand! Also, many of the characters are a different shade from pixel to pixel. Frankly this would be painful to crochet. My son GKatt, who designed most of these blocks, kept the integrity of each character while simplifying them for crocheters.
You can find the other blocks here:
When all the blocks are stitched, we’ll finish things up with Minecraft C2C Crochet Afghan—Joining and Edging.
For basic instructions and the materials list for the complete afghan, visit – Minecraft C2C Crochet Afghan – 12 Block Crochet Along.
Minecraft C2C Crochet Ghast Block Pattern
Materials
~ Minecraft C2C Crochet Ghast Block 18×18 Pixel Graph
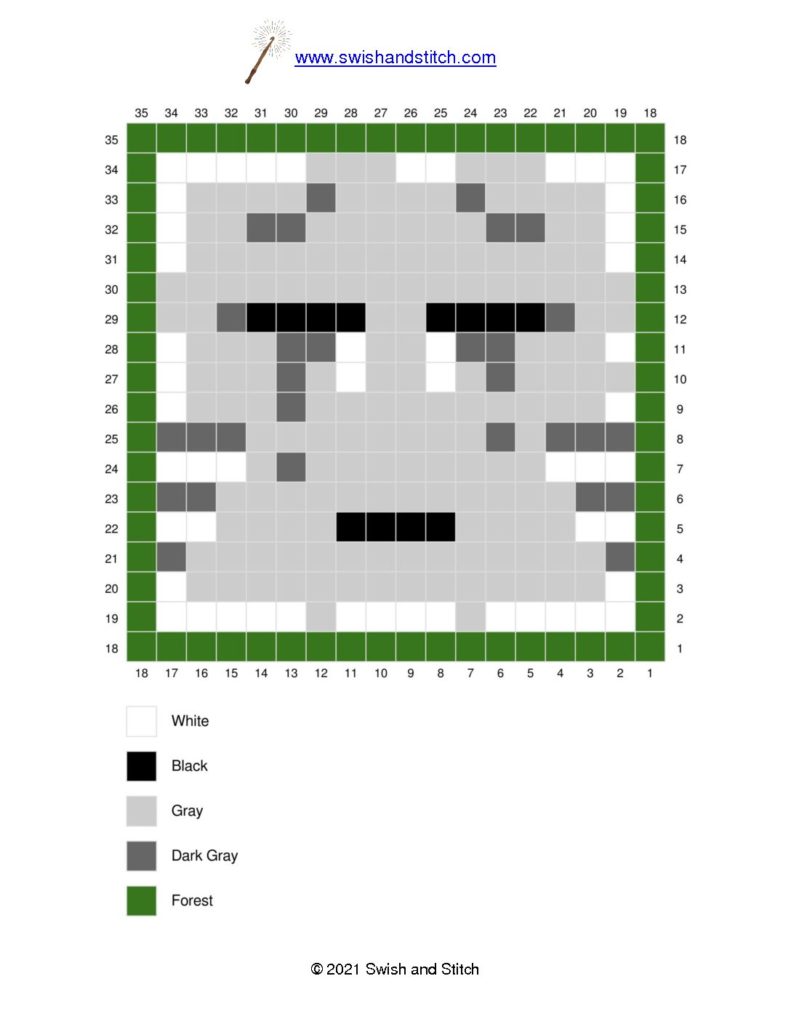
~ Loops and Threads Impeccable Yarn 4.5 oz skeins in the following colors:
- Forest — .8 oz
- White — .7 oz
- Classic Gray — 1.4 oz
- True Gray — .4 oz
- Black — .2 oz
~ Size H Crochet Hook or hook needed to achieve gauge (see Gauge for C2C Afghans)
~ Yarn Needle
Crochet the square starting from the bottom right corner of the chart. Row-by-row written instructions are below.
After you finish crocheting the block, crochet one row of single crochet in FOREST around the entire block. See Adding a Single Crochet Edge around a Finished C2C Block for how I crochet around the edge.
Enjoy! See you next week for Block #11—the Spider!
~Lucinda
Row-by-Row Instructions
[RS] = Right Side
[WS] = Wrong Side
F: Forest [68 pixels]
W: White [51]
GR: Gray [164]
DG: Dark Gray [29]
BL: Black [12]
Crochet from bottom right corner.
→ Row 1 [WS]: F1
← Row 2 [RS]: F2
→ Row 3 [WS]: F1, W1, F1
← Row 4 [RS]: F1, W2, F1
→ Row 5 [WS]: F1, W1, GR1, DG1, F1
← Row 6 [RS]: F1, W1, GR2, W1, F1
→ Row 7 [WS]: F1, W1, GR2, W1, DG1, F1
← Row 8 [RS]: F1, W1, DG1, GR4, F1
→ Row 9 [WS]: F1, W1, GR4, W1, DG1, F1
← Row 10 [RS]: F1, W1, DG1, W1, GR4, W1, F1
→ Row 11 [WS]: F1, W1, GR5, DG1, GR2, F1
← Row 12 [RS]: F1, W1, GR5, BL1, GR2, W1, F1
→ Row 13 [WS]: F1, GR3, BL1, GR2, DG1, GR4, F1
← Row 14 [RS]: F1, GR8, BL1, GR2, W1, F1
→ Row 15 [WS]: F1, W1, GR2, BL1, GR4, DG1, GR1, DG1, GR1, W1, F1
← Row 16 [RS]: F1, W1, GR2, BL1, DG1, GR8, W1, F1
→ Row 17 [WS]: F1, W1, GR7, W1, DG1, BL1, GR3, W1, F1
← Row 18 [RS]: F1, W1, GR4, BL1, W1, GR8, W1, F1
Corner
→ Row 19 [WS]: F1, W1, GR3, DG1, GR4, BL1, GR2, DG1, GR1, W1, F1
← Row 20 [RS]: F1, W1, GR1, DG1, GR4, W1, GR4, W1, DG1, F1
→ Row 21 [WS]: F1, W1, DG1, W1, GR1, DG1, GR1, W1, GR6, F1
← Row 22 [RS]: F1, GR1, DG1, GR3, BL1, DG2, GR1, DG1, W1, DG1, F1
→ Row 23 [WS]: F1, W1, DG1, GR2, DG1, BL1, GR5, F1
← Row 24 [RS]: F1, W1, GR4, BL1, GR3, DG1, F1
→ Row 25 [WS]: F1, W1, GR2, BL1, GR4, W1, F1
← Row 26 [RS]: F1, GR5, DG1, GR1, W1, F1
→ Row 27 [WS]: F1, W1, GR3, DG2, GR1, F1
← Row 28 [RS]: F1, GR2, DG1, GR3, F1
→ Row 29 [WS]: F1, GR4, W1, F1
← Row 30 [RS]: F1, W1, GR2, W1, F1
→ Row 31 [WS]: F1, W1, GR1, W1, F1
← Row 32 [RS]: F1, W2, F1
→ Row 33 [WS]: F1, W1, F1
← Row 34 [RS]: F2
→ Row 35 [WS]: F1
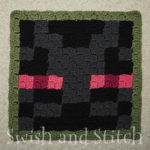
I think the Ghast written instructions are backwards, or messed up somehow. I tried twice and it ended up looking like its face was melting lol. Final made it from the picture/graph and it turned out perfect. Somewhere between line 12-15 the written instructions have an issue.
Hi Amy,
I’ve compared the line-by-line instructions to the chart and I’m not finding the error. If you can be more specific as to the problem, I’ll correct any pattern errors. I appreciate the help to make my patterns better.