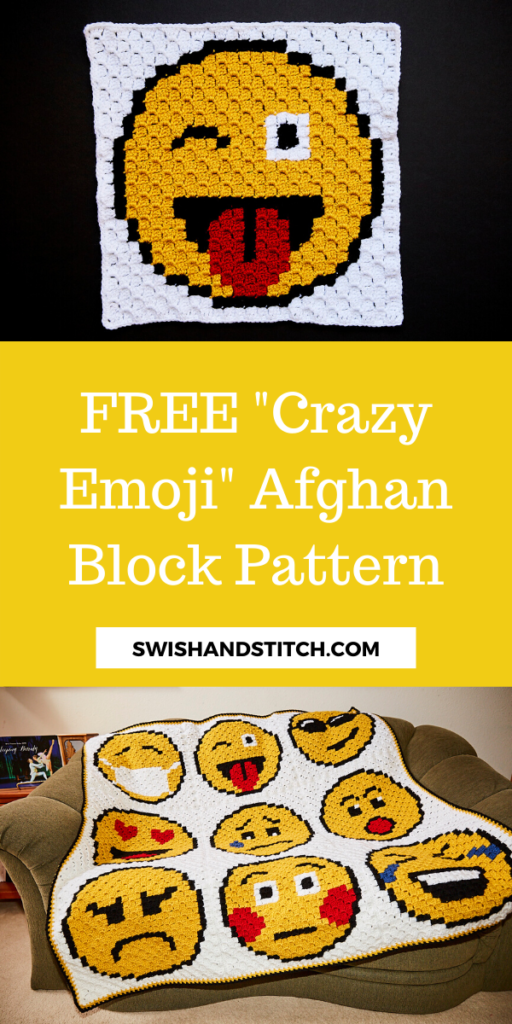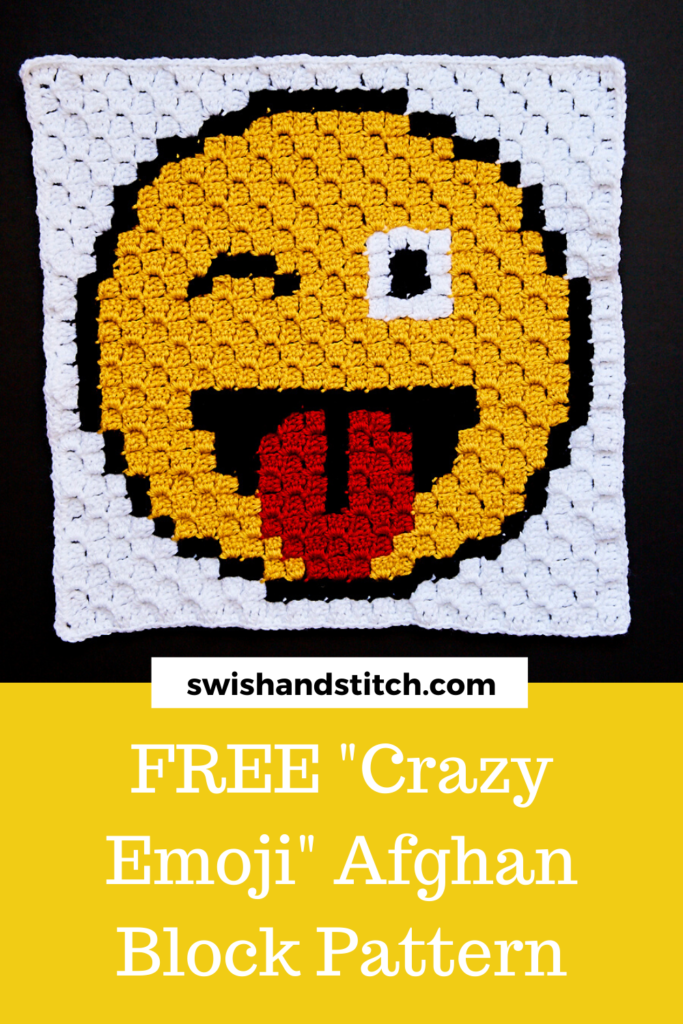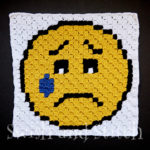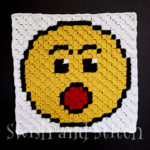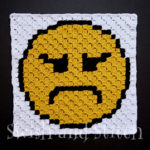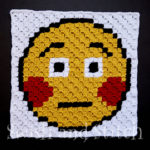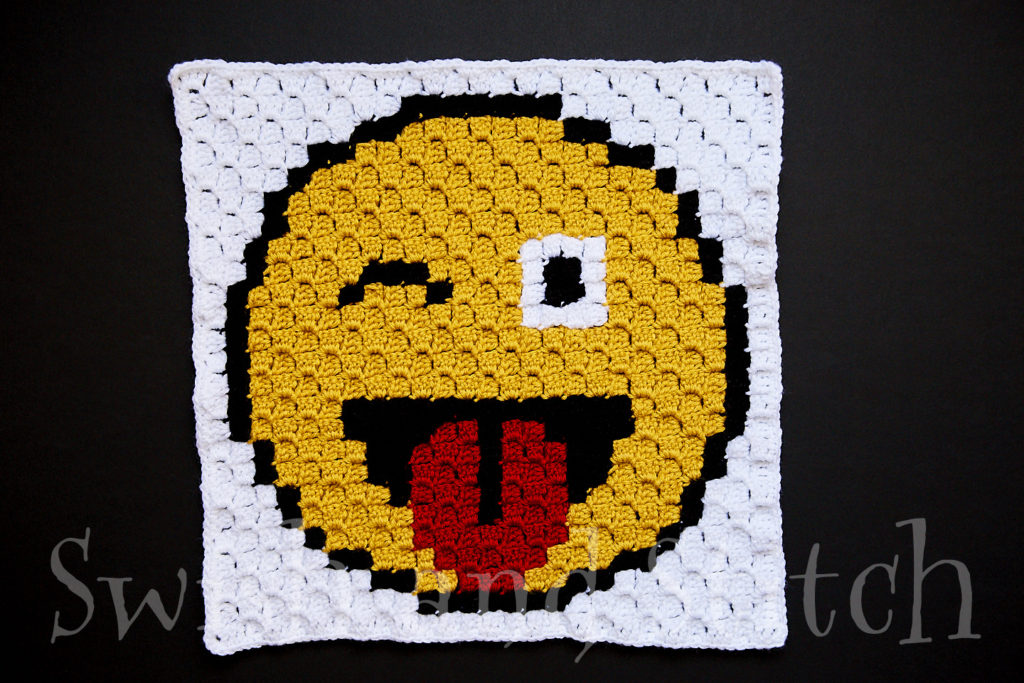
C2C Emoji Afghan Block 2—Crazy Emoji
Some of the links on this site are affiliate links. I make a small commission from sales when you click through the link. There is no additional cost to you.
Do you have cabin fever from COVID-19 restrictions like we do around here? Though the full-out stay-at-home order has been lifted in Colorado, Governor Polis has asked that people still stay home as much as possible.
I should be hiking!! Okay, so some people are on the trails, but I am recovering from an elective surgery this week. Since I can’t hike, at least I can crochet!
This week’s block is PERFECT for the way I feel right now—a little loopy, a little nutty, batty, frenzied, and distracted all rolled into one!
For basic instructions and the materials list for the complete 9-block blanket, visit C2C Emoji Afghan Crochet Along.
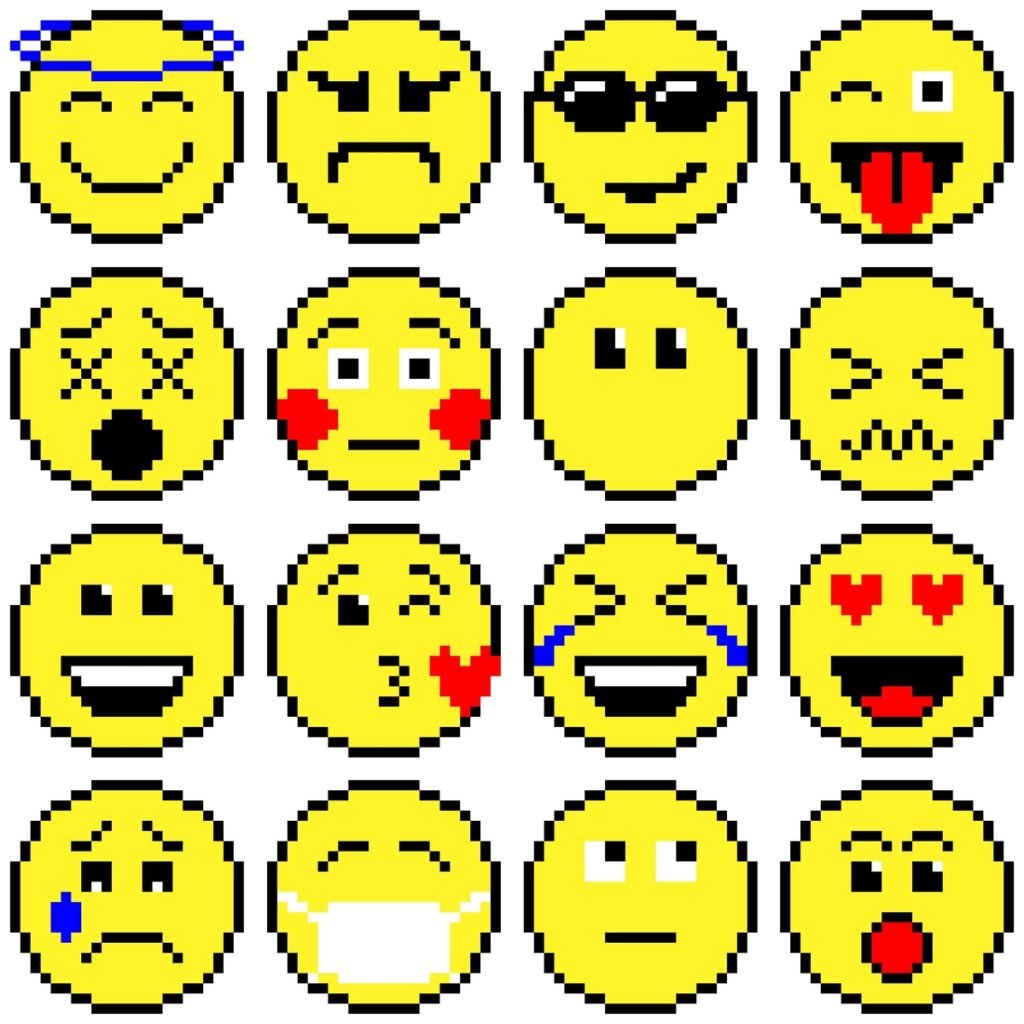
Want to personalize your blanket? Make it king-size? The Emoji Afghan Premium Pattern includes printable PDFs of all the free blocks plus 7 additional EXCLUSIVE emoji blocks! Mix and match or crochet them all!
Additional blocks include:
- Angelic Emoji
- Dead Emoji
- Eyes Emoji
- Frustrated Emoji
- Happy Emoji
- Kissing Emoji
- Skeptical Emoji
You can find the other blocks here:
Crazy Emoji Instructions
Materials
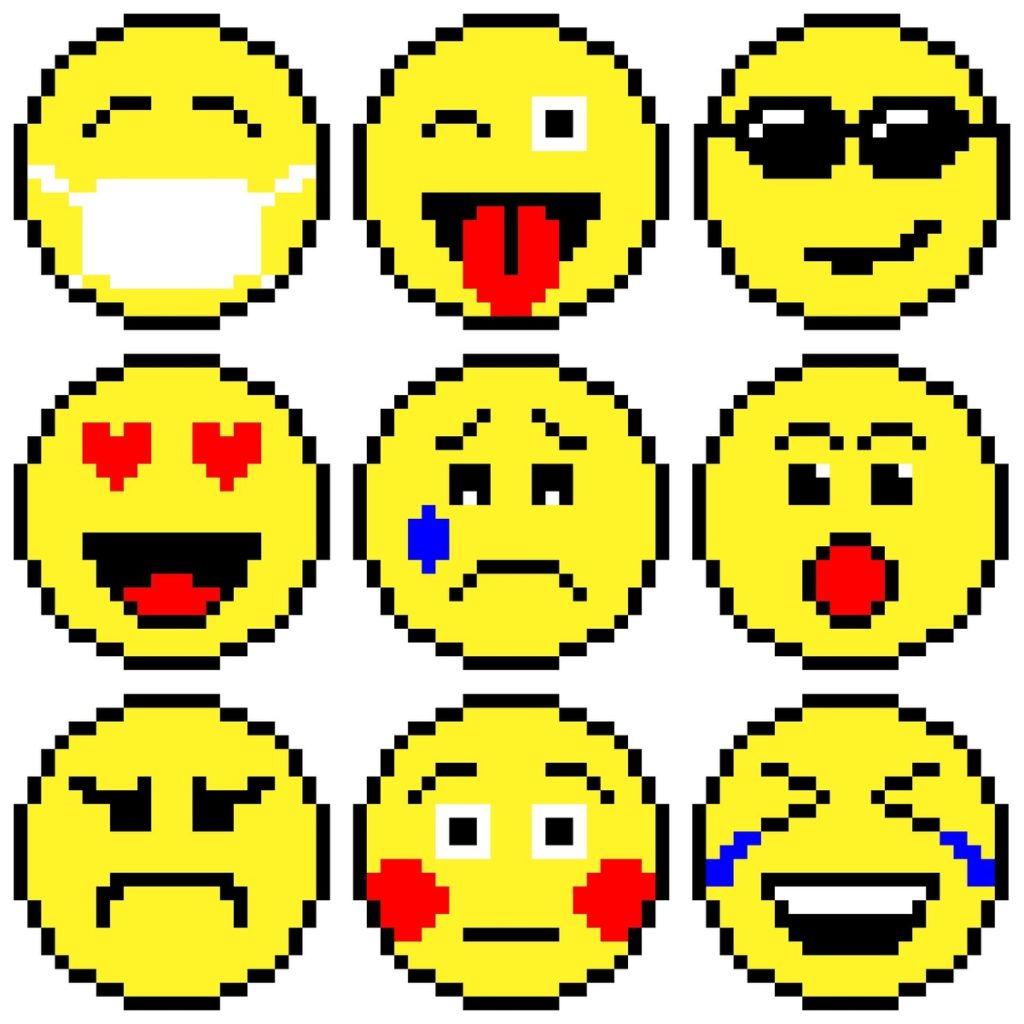
~ Crazy Emoji 25×25 Pixel Graph

~ Lion Brand Vanna’s Choice Yarn 3.5 oz skeins in the following colors:
- White [216 squares] — 2.6 oz
- Mustard [257 squares] — 2.5 oz
- Black [109 squares] — 1.0 oz
- Scarlet [43 squares] — .5 oz
~ Size H Crochet Hook or hook needed to achieve gauge (see Gauge for C2C Afghans)
~ Tapestry Needle
Crochet the square starting from the bottom right corner of the chart. Row-by-row written instructions are below.
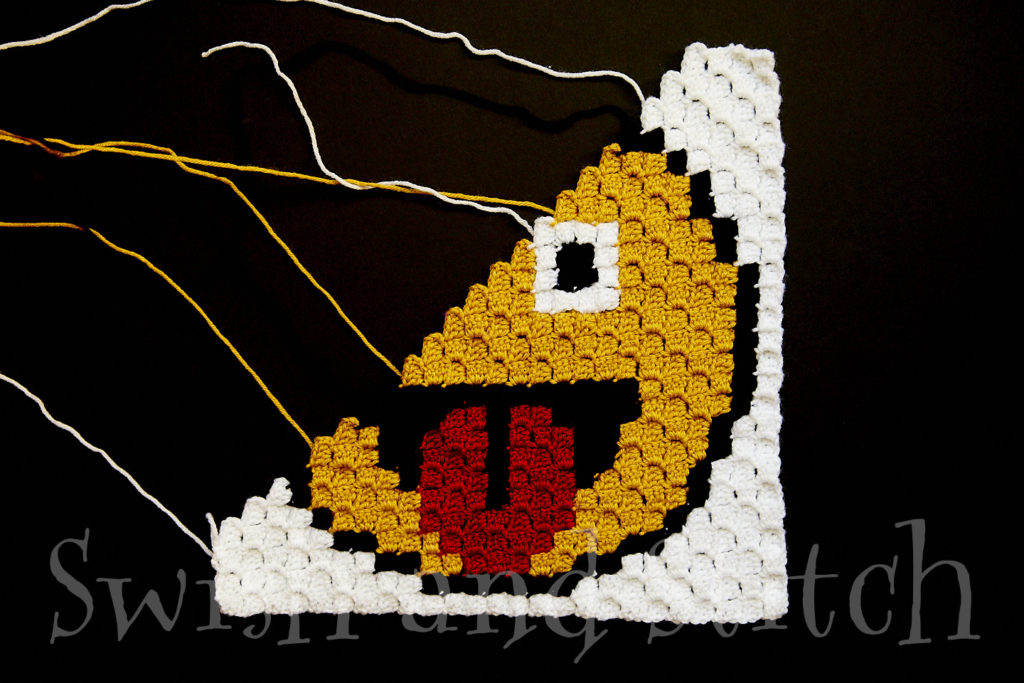
After you finish crocheting the block, crochet one row of single crochet in WHITE around the entire block. I crochet 5 single crochet stitches for every two squares or pixels on the chart. If I try to do more than that, my border tends to end up wavy from too many stitches. For 25×25 pixel graphs I crochet 63 SC stitches on each side + an extra stitch in each corner. I do recommend counting the stitches and having the same number on each side—being consistent will make it much easier to sew the blocks together at the end.
Enjoy!
~Lucinda
Row-by-Row Instructions
[RS] = Right Side
[WS] = Wrong Side
Y: Yellow (Mustard)
W: White
B: Black
R: Red (Scarlet)
Crochet from bottom right corner.
→ Row 1 [WS]: W1
← Row 2 [RS]: W2
→ Row 3 [WS]: W3
← Row 4 [RS]: W4
→ Row 5 [WS]: W5
← Row 6 [RS]: W6
→ Row 7 [WS]: W7
← Row 8 [RS]: W8
→ Row 9 [WS]: W3, B3, W3
← Row 10 [RS]: W2, B2, Y2, B2, W2
→ Row 11 [WS]: W1, B2, Y5, B2, W1
← Row 12 [RS]: W1, B1, Y8, B1, W1
→ Row 13 [WS]: W1, B1, Y9, B1, W1
← Row 14 [RS]: W1, B1, Y7, R3, B1, W1
→ Row 15 [WS]: W1, B1, R4, B2, Y5, B1, W1
← Row 16 [RS]: W1, B1, Y4, B3, R5, B1, W1
→ Row 17 [WS]: W1, B1, Y1, R5, B3, Y4, B1, W1
← Row 18 [RS]: W2, Y5, B2, R3, B1, R2, Y1, W2
→ Row 19 [WS]: W2, B1, Y1, R2, B1, R2, B2, Y5, B1, W2
← Row 20 [RS]: W2, B1, Y6, B1, R2, B1, R3, Y1, B1, W2
→ Row 21 [WS]: W3, Y2, R3, B1, R1, B1, Y7, W3
← Row 22 [RS]: W3, B1, Y3, W1, Y3, B2, R3, Y2, B1, W3
→ Row 23 [WS]: W3, B1, Y2, B1, R3, B1, Y3, W2, Y3, B1, W3
← Row 24 [RS]: W4, Y3, W1, B1, W1, Y3, B1, R2, B1, Y3, W4
→ Row 25 [WS]: W4, B1, Y2, B4, Y3, W1, B2, W1, Y2, B1, W4
Corner
← Row 26 [RS]: W4, Y3, W1, B1, W1, Y4, B3, Y3, W4
→ Row 27 [WS]: W3, B1, Y3, B2, Y5, W2, Y3, B1, W3
← Row 28 [RS]: W3, B1, Y3, W1, Y6, B2, Y2, B1, W3
→ Row 29 [WS]: W3, Y3, B1, Y11, W3
← Row 30 [RS]: W2, B1, Y6, B1, Y7, B1, W2
→ Row 31 [WS]: W2, B1, Y13, B1, W2
← Row 32 [RS]: W2, Y6, B1, Y7, W2
→ Row 33 [WS]: W1, B1, Y6, B1, Y6, B1, W1
← Row 34 [RS]: W1, B1, Y6, B2, Y4, B1, W1
→ Row 35 [WS]: W1, B1, Y11, B1, W1
← Row 36 [RS]: W1, B1, Y10, B1, W1
→ Row 37 [WS]: W1, B1, Y9, B1, W1
← Row 38 [RS]: W1, B1, Y8, B1, W1
→ Row 39 [WS]: W1, B2, Y5, B2, W1
← Row 40 [RS]: W2, B2, Y2, B2, W2
→ Row 41 [WS]: W3, B3, W3
← Row 42 [RS]: W8
→ Row 43 [WS]: W7
← Row 44 [RS]: W6
→ Row 45 [WS]: W5
← Row 46 [RS]: W4
→ Row 47 [WS]: W3
← Row 48 [RS]: W2
→ Row 49 [WS]: W1
