Some of the links on this site are affiliate links. I make a small commission from sales when you click through the link. There is no additional cost to you.
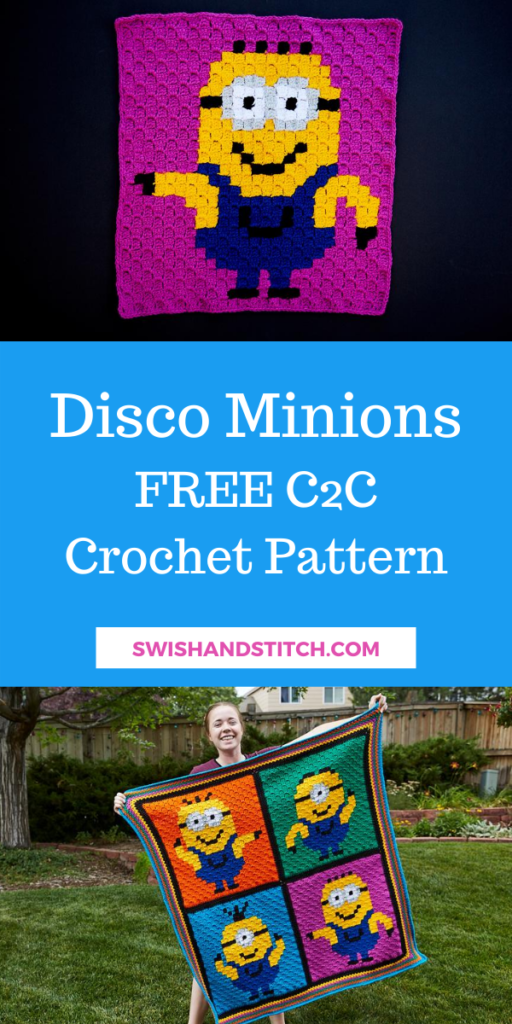
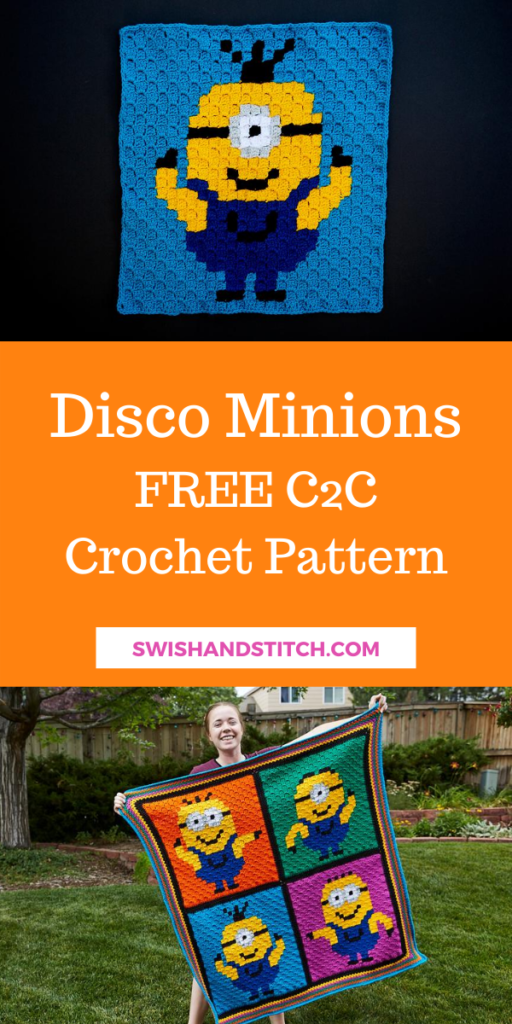
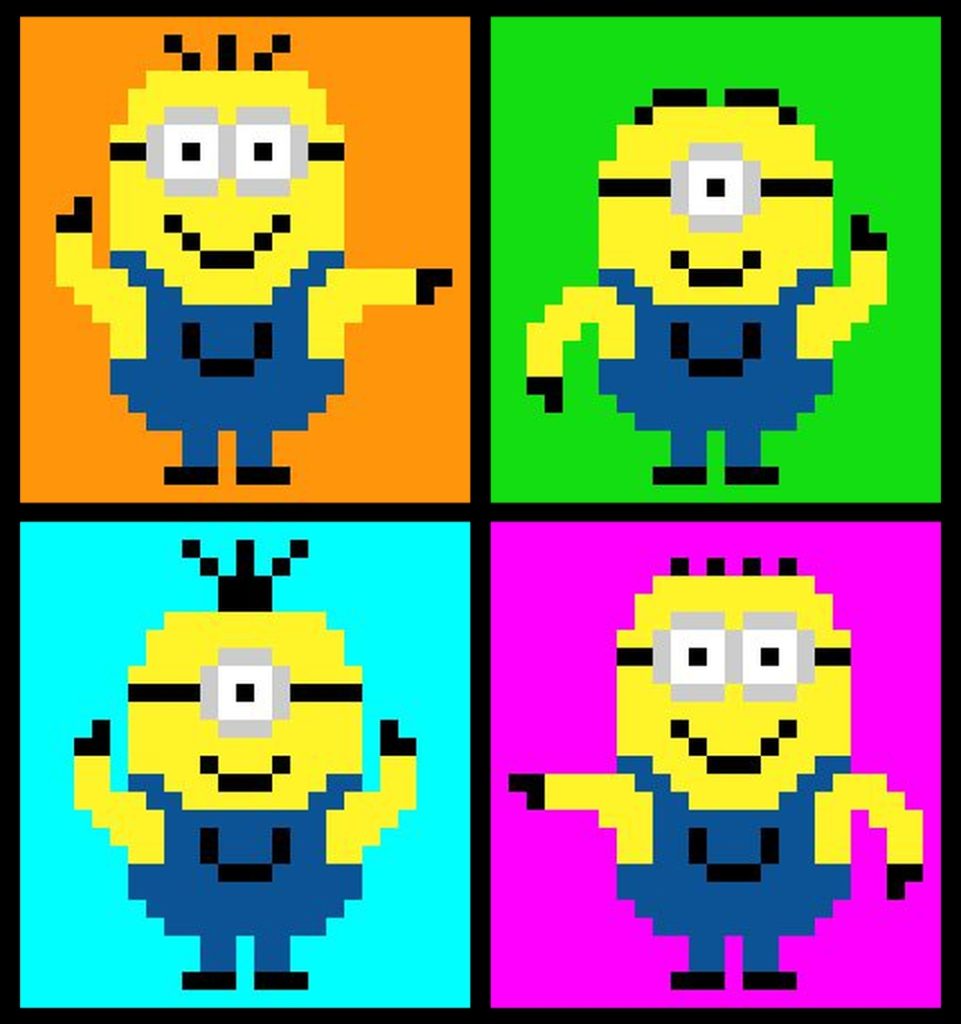
Disco Minions Afghan
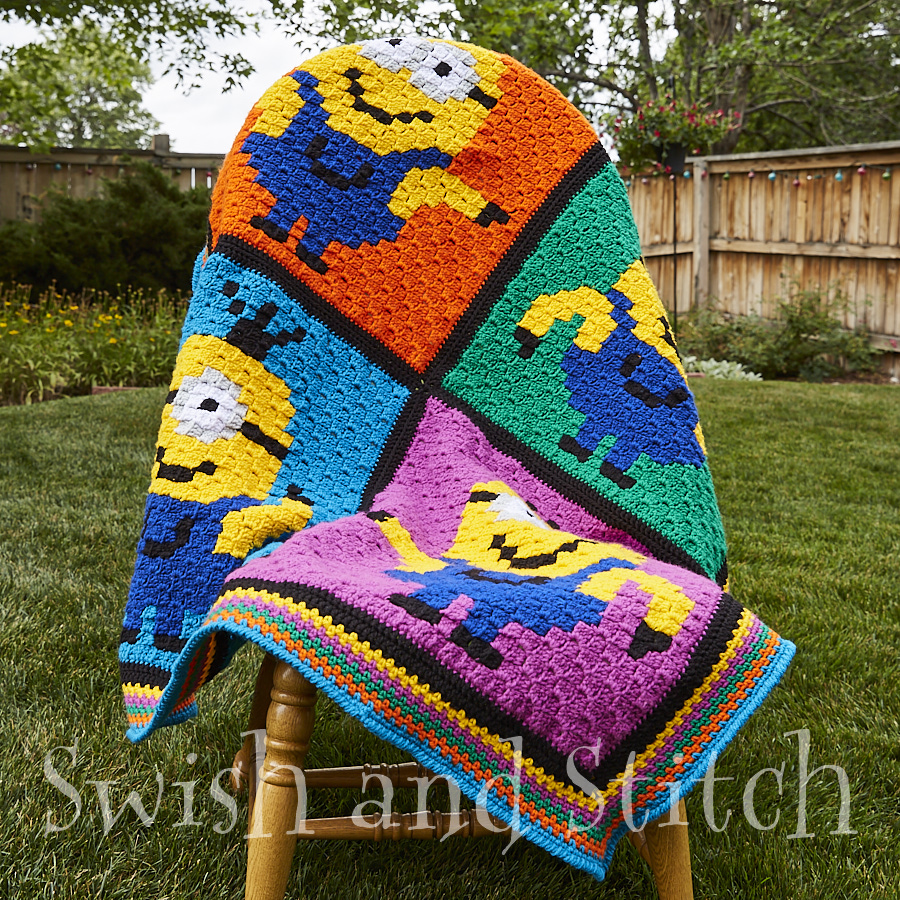
Woohoo! With all the Disco Minions afghan blocks completed, it’s time to bring it all together! Before we sew the squares together we’re going to add black sashing around each block.
The term “sashing” is used a lot in quilting. Sashing refers to strips of fabric that frame blocks and separate them from each other. Similarly, the sashing on this afghan is the strips of plain crochet that separate and frame the Minions blocks. The black complements the black in each Minion block and really makes the bright colors pop.
Remember that you should have already edged each block with a row of single crochet in its background color. If you have not done this, do it now. The single crochet row evens up the block before adding the sashing. You can see it on each block in the photo below.

Adding Sashing
Using the same H crochet hook used to crochet the Minions blocks, add the BLACK sashing.
- With the **right side of block facing you, attach black yarn into any single crochet stitch using a double crochet.
- Double Crochet (DC) to the end of the row.
- In the corner stitch, work DC 1, Chain (CH) 2, DC 1.
- Repeat steps 2-3 until you have crocheted around the entire block.
- Slip stitch into the top of the first double crochet. Fasten off.
**Make sure all of your blocks are right side up. It’s true that the blocks are reversible, however, the direction that the stitches lie is different on the front and the back. For a cohesive look make sure all of your blocks face the same direction.
Do this for each of the Minions blocks.
Stitching the Disco Minions Afghan Together
Now that you have a black row of double crochet on each block, it’s time to sew them together. Begin by laying your blocks out in whatever order you wish.
If you want your blanket to look like the sample I’ve stitched, lay them out in this order:
Row 1: Disco Minion on Orange, Disco Minion on Green
Row 2: Disco Minion on Aqua, Disco Minion on Magenta
Whip stitch the Disco Minions on Orange and Disco Minions on Green blocks together. Whip stitch the Disco Minions on Aqua and Disco Minions on Magenta together.
Once the rows are sewn, whip stitch the rows together.
Adding Sashing, Again
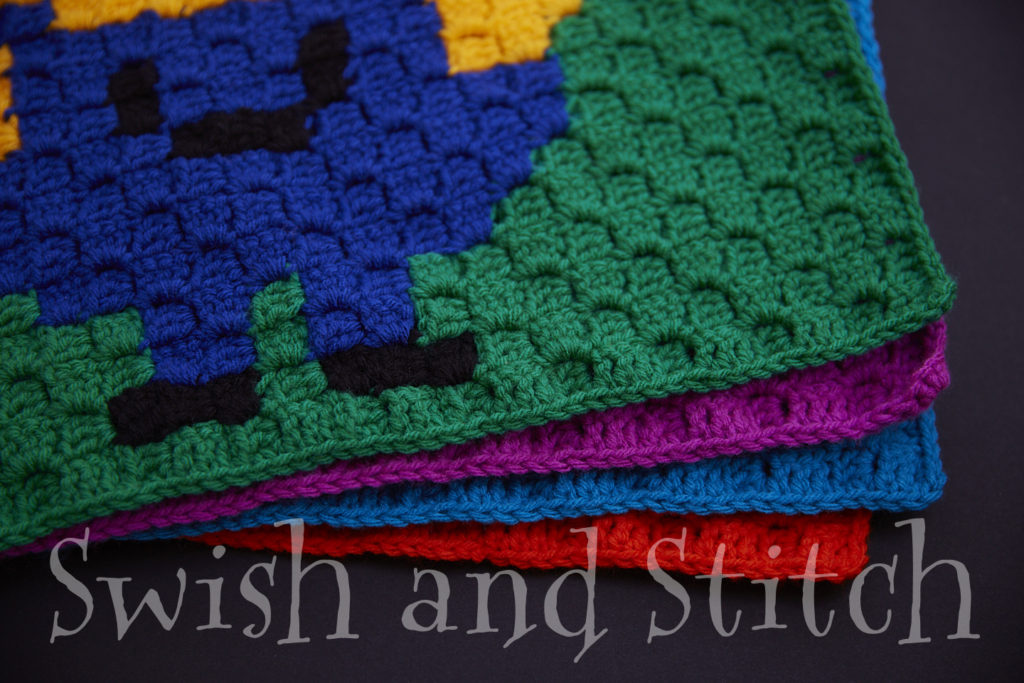
Now that the Minions are all sewn together, you’ll notice that the double crochet sashing between the blocks is now double wide while the sashing around the edges is single wide.
Add one more row of BLACK double crochet around the entire afghan. Follow the same method outlined above except work DC 2, CH 2, DC 2 in each corner. At the seams between the blocks, add stitches wherever it makes sense to have a flat border row.
Moss Stitch Border
Now it’s time to add the border. Just like for the C2C Crochet Emoji Afghan, I chose to use the moss stitch for the border. For moss stitch instructions, see How to Crochet Moss Stitch.
Work the following Moss Stitch Rows:
- 2 rows Sunny Day (yellow)
- 2 rows Magenta (pink)
- 2 rows Kelly Green (green)
- 2 rows Orange Crush (orange)
- 1 row Bright Sky Blue (aqua)
Troubleshooting
I found that as I added moss stitch rows, the corners started to pull and didn’t lie completely flat. If this happens to you make the following change in the corner spaces as needed.
Standard Corner Space = Single Crocthet (SC) 1, Chain (CH) 2, SC 1
Altered Corner Space = SC 2, CH 2, SC 2
In the row following a row with the Altered Corner Spaces, work a SC 1, CH 1 in between each of the SC 2 of the previous row.
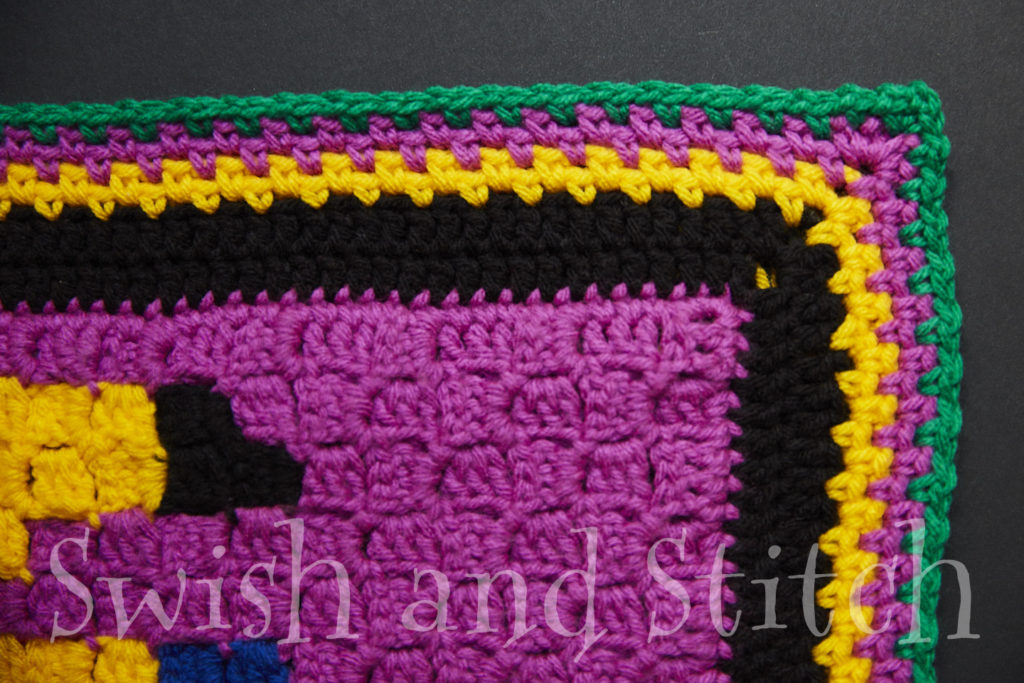
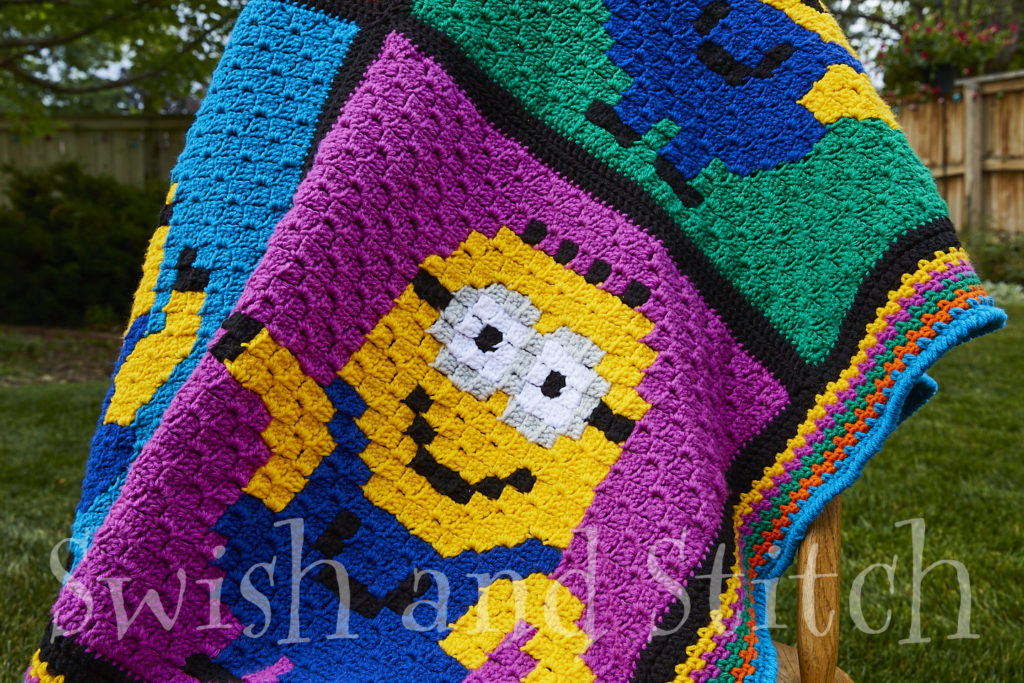
The following photos demonstrate this. In this first photo (click to view larger) you can see the additional stitches in the altered corner space of the Magenta row.
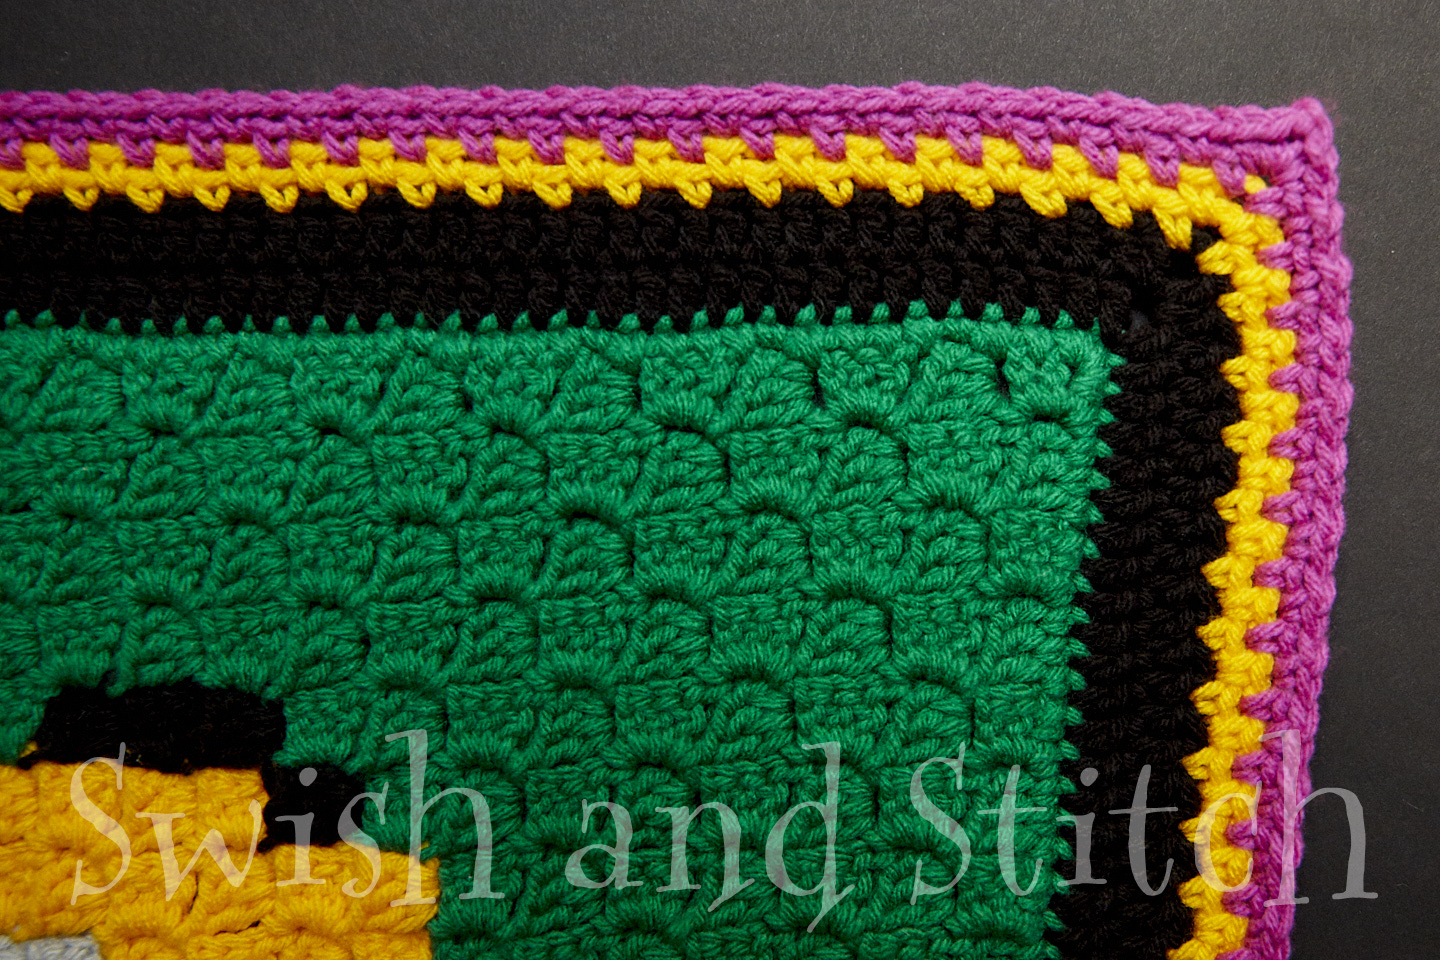
In this second photo, you can see how I’ve crocheted green in between each of the SC 2 of the Magenta row. The green row has a Standard Corner Space.
Hopefully that makes sense!
The Final Edging
Okay, we’re almost finished, but not quite! After working the moss stitch rows, I worked 2 more rows. The first is a simple SC row.
- Work 1 SC in each SC and CH 1 space on each side of the previous Bright Sky Blue Row.
- Work SC 1, CH 2, SC 1 in the corners.
- Repeat until you have crocheted around the entire afghan.
- Slip stitch into your first SC. Fasten off.
For the final row work the Crab Stitch (also known as Reverse Single Crochet) around. This gives the edge of the blanket a nice corded look.
This video by Bella Coco, does a nice job explaining how to do it. It takes several stitches to really get the hang of the Crab Stitch, but once you get a rhythm, it works up quickly, especially on a blanket of this size.
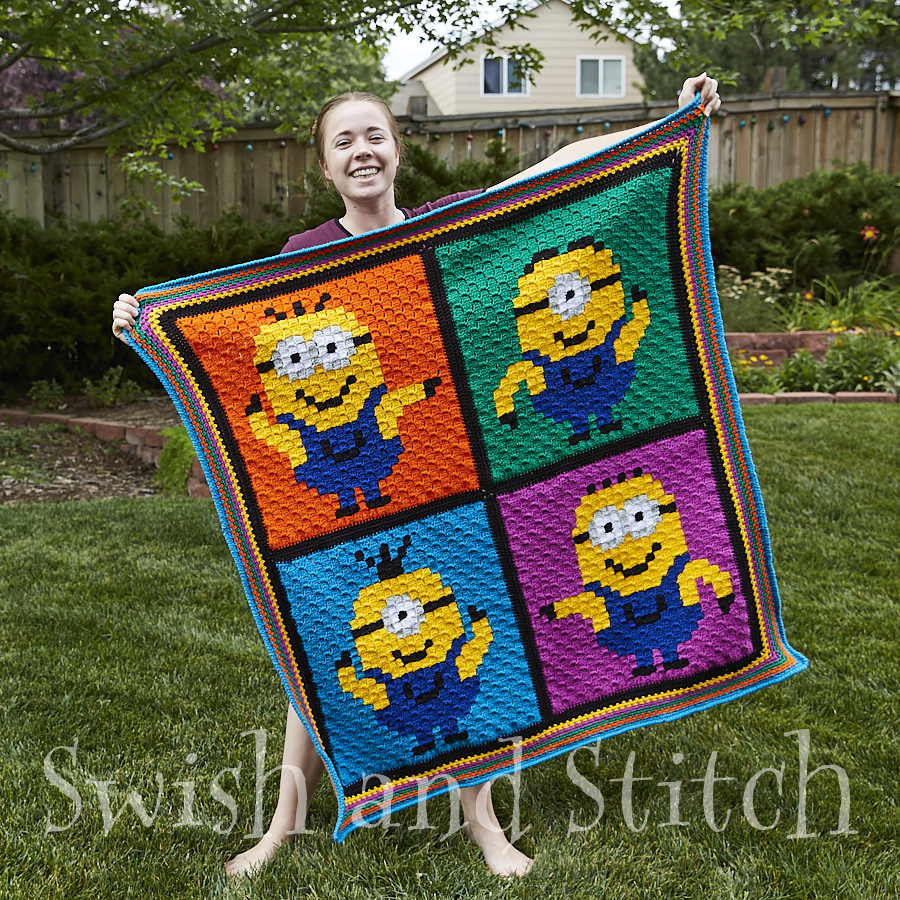
I know that’s a lot of rows for the edging, but it’s so worth it, right? So colorful!
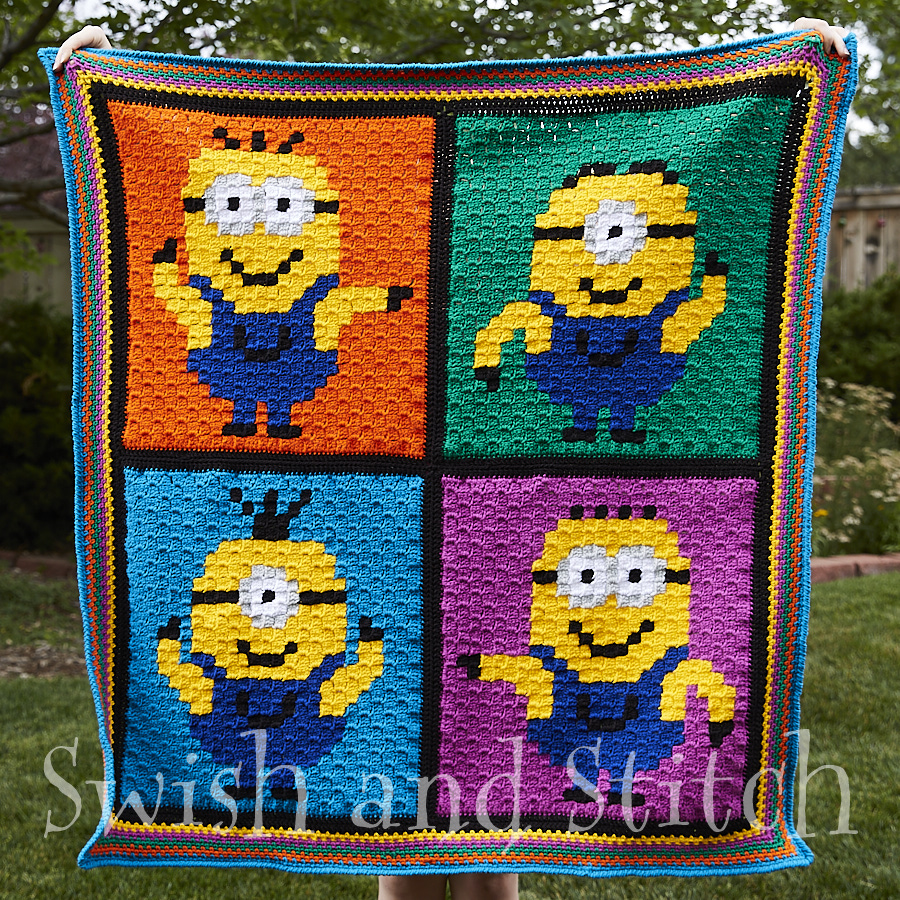
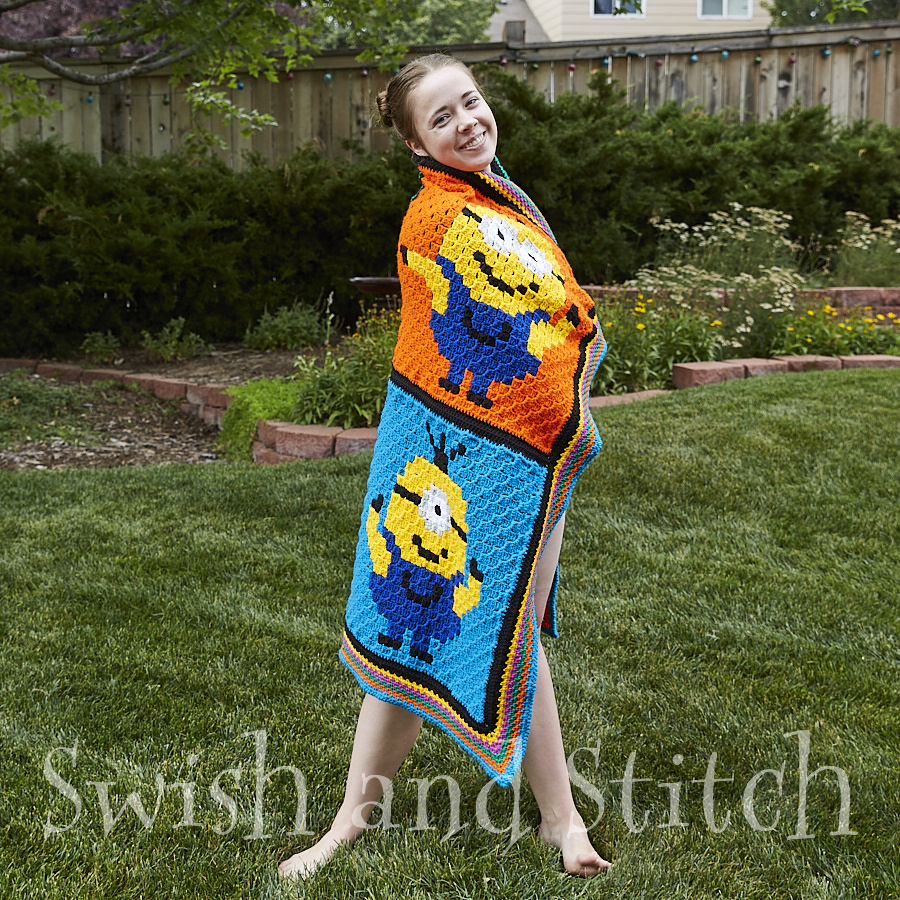
The final blanket measures about 43 x 45 inches. I think. I shipped the blanket off to my daughter-in-law and forgot to write down the final measurements. Oops. Here is the finished blanket with my daughter JMoney modeling it before we sent it to DLish.
I love this little Disco Minions Afghan and I hope you do too! I’d love to see your finished work of art. Send me a photo at lucinda@swishandstitch.com.
Stitch happy!
~ Lucinda