Some of the links on this site are affiliate links. I make a small commission from sales when you click through the link. There is no additional cost to you.
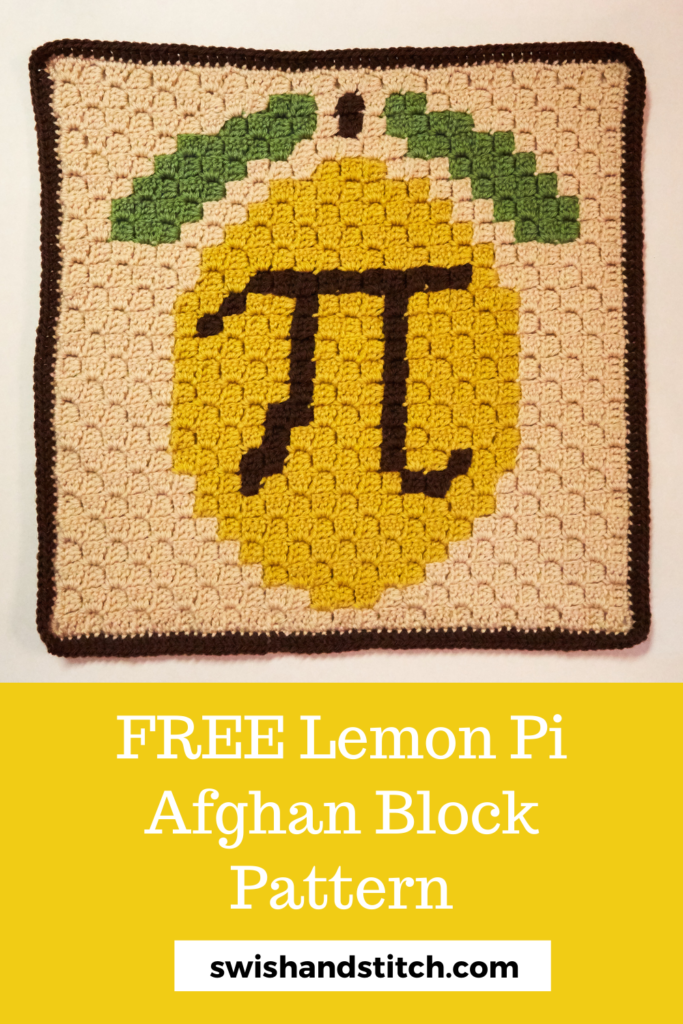
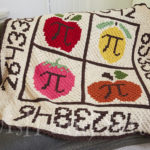
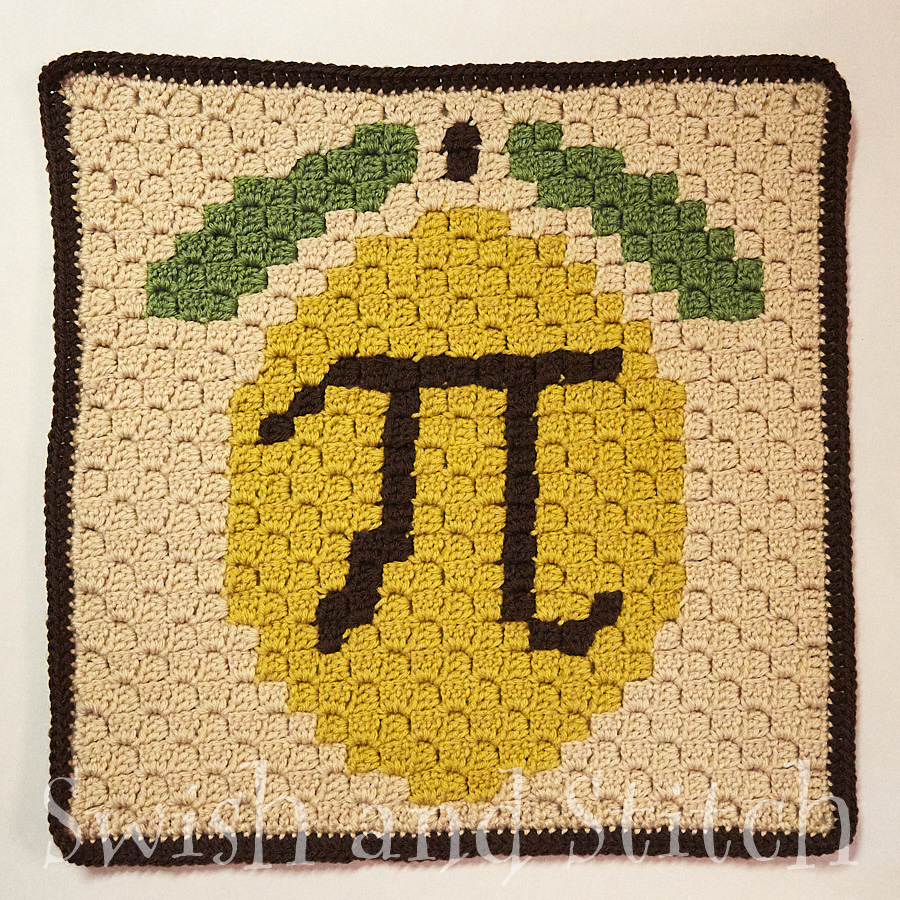
Fruit Pi C2C Crochet Afghan Block 2
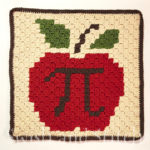
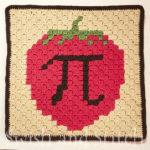
Next up Lemon Pi! What kind of lemon pie do you like best? Chiffon? Meringue? Mine is a frozen lemonade pie. Scrumptious! I hope you’re crocheting away and already have the Apple Pi C2C Crochet Block completed. If not, there’s still time!
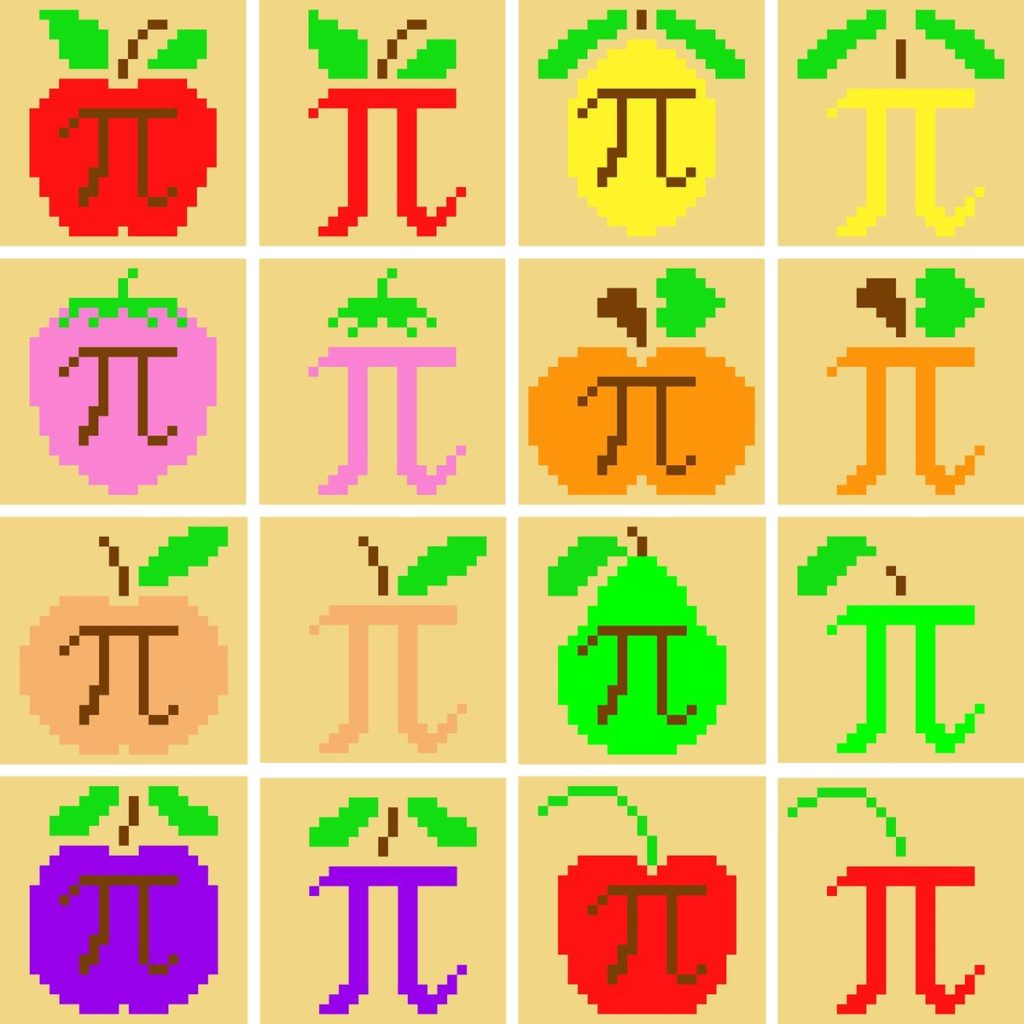
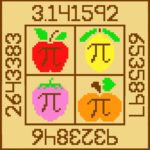
If you prefer a more subtle approach, check out the alternate blocks available in the full Fruit Pi C2C Crochet Afghan in my Etsy shop. I’ve also included additional fruit options: peach, pear, plum, and cherry—that’s an additional 12 blocks!
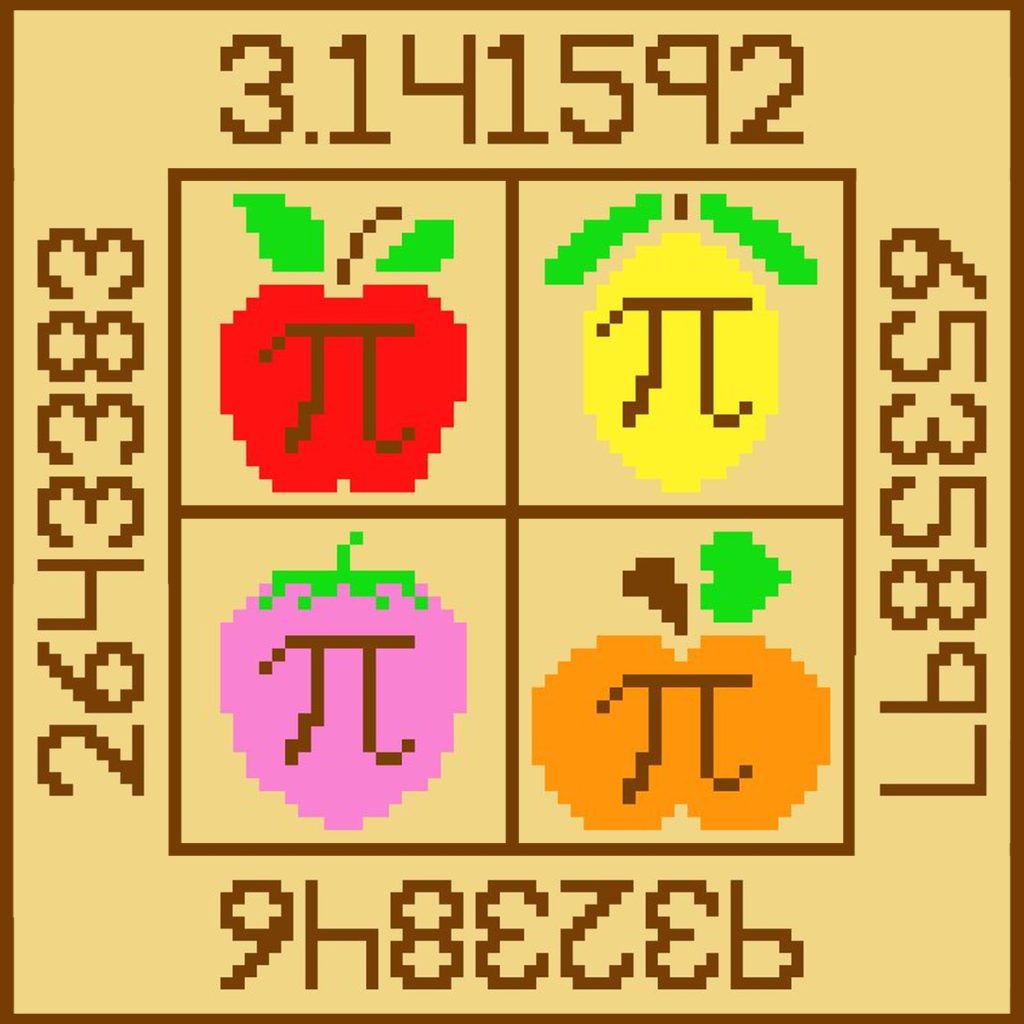
For basic instructions and the materials list for the complete afghan, visit Fruit Pi C2C Crochet Afghan.
You can find the other Fruit Pi C2C Crochet Afghan blocks here:
Lemon Pi C2C Crochet Block
Materials
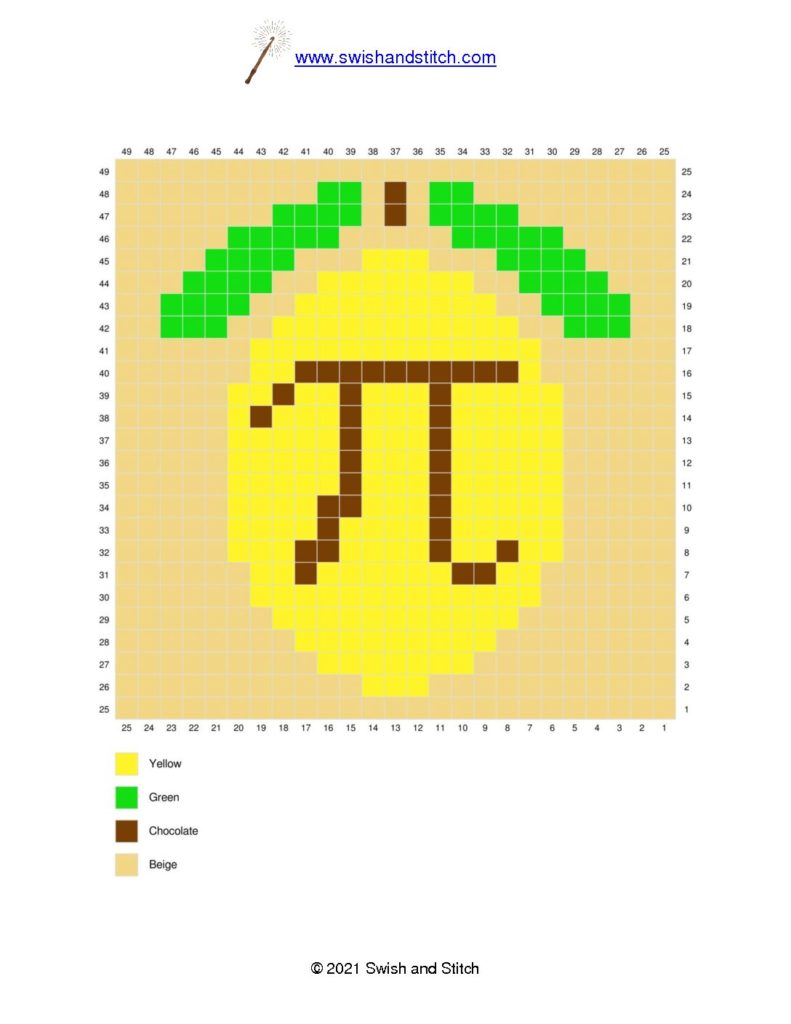
~ Lemon Pi Block 25×25 Pixel Graph
~ Lion Brand Vanna’s Choice Yarn 3.5 oz skeins in the following colors:
- Mustard [198 squares] — 2.0 oz
- Fern [52 squares] — .5 oz
- Chocolate [36 squares + DC edging] — 1.1 oz
- Beige [339 squares + SC edging] — 3.6 oz
~ Size H Crochet Hook or hook needed to achieve gauge (see Gauge for C2C Afghans)
~ Tapestry Needle
~ Scissors
Crochet the square starting from the bottom right corner of the chart. Row-by-row written instructions are below.
After you finish crocheting the block, crochet one row of single crochet in BEIGE around the entire block. See Adding a Single Crochet Edge around a Finished C2C Block for how I crochet around the edge.
Double Crochet Edging
As with the Apple Pi Block, we’re going to add one final row of edging. This time in CHOCOLATE.
- With the right side of block facing you, attach CHOCOLATE yarn into any single crochet stitch using a double crochet.
- Double Crochet (DC) to the end of the row.
- In the corner stitch, work DC 1, Chain (CH) 2, DC 1.
- Repeat steps 2-3 until you have crocheted around the entire block.
- Slip stitch into the top of the first double crochet. Fasten off.
Enjoy!
~Lucinda
Row-by-Row Instructions
[RS] = Right Side
[WS] = Wrong Side
Y: Yellow (Mustard)
G: Green (Fern)
CH: Chocolate
B: Beige
Crochet from bottom right corner.
→ Row 1 [WS]: B1
← Row 2 [RS]: B2
→ Row 3 [WS]: B3
← Row 4 [RS]: B4
→ Row 5 [WS]: B5
← Row 6 [RS]: B6
→ Row 7 [WS]: B7
← Row 8 [RS]: B8
→ Row 9 [WS]: B9
← Row 10 [RS]: B10
→ Row 11 [WS]: B11
← Row 12 [RS]: B6, Y4, B2
→ Row 13 [WS]: B1, Y7, B5
← Row 14 [RS]: B5, Y8, B1
→ Row 15 [WS]: B1, Y5, (CH) x 2, Y2, B5
← Row 16 [RS]: B5, Y4, (CH) x 1, Y4, B2
→ Row 17 [WS]: B2, Y10, B5
← Row 18 [RS]: B5, Y5, (CH) x 1, Y5, B2
→ Row 19 [WS]: B3, Y5, (CH) x 1, Y5, B5
← Row 20 [RS]: B2, G1, B2, Y5, (CH) x 1, Y6, B3
→ Row 21 [WS]: B4, Y6, (CH) x 1, Y4, B2, G2, B2
← Row 22 [RS]: B3, G2, B1, Y4, (CH) x 1, Y7, B4
→ Row 23 [WS]: B5, Y1, (CH) x 2, Y4, (CH) x 1, Y2, (CH) x 1, Y1, B1, G2, B3
← Row 24 [RS]: B4, G2, B1, Y1, (CH) x 1, Y1, (CH) x 1, Y3, (CH) x 3, Y2, B5
→ Row 25 [WS]: B6, Y3, (CH) x 2, Y3, (CH) x 2, Y2, B1, G2, B4
Corner
← Row 26 [RS]: B4, G2, B1, Y2, (CH) x 1, Y3, (CH) x 1, Y4, B6
→ Row 27 [WS]: B5, Y5, (CH) x 1, Y2, (CH) x 1, Y3, B1, G2, B3
← Row 28 [RS]: B3, G2, B1, Y3, (CH) x 1, Y1, (CH) x 1, Y5, B5
→ Row 29 [WS]: B5, Y5, (CH) x 2, Y4, B1, G1, B3
← Row 30 [RS]: B2, G2, B1, Y4, (CH) x 1, Y5, B5
→ Row 31 [WS]: B5, Y4, (CH) x 1, Y4, B1, G2, B2
← Row 32 [RS]: B2, G1, B1, Y5, (CH) x 3, Y1, B5
→ Row 33 [WS]: B5, Y8, B1, G2, B1
← Row 34 [RS]: B1, G1, B2, Y7, B5
→ Row 35 [WS]: B6, Y4, B2, (CH) x 1, B2
← Row 36 [RS]: B1, (CH) x 1, B12
→ Row 37 [WS]: B9, G2, B2
← Row 38 [RS]: B1, G7, B4
→ Row 39 [WS]: B3, G7, B1
← Row 40 [RS]: B2, G6, B2
→ Row 41 [WS]: B2, G4, B3
← Row 42 [RS]: B8
→ Row 43 [WS]: B7
← Row 44 [RS]: B6
→ Row 45 [WS]: B5
← Row 46 [RS]: B4
→ Row 47 [WS]: B3
← Row 48 [RS]: B2
→ Row 49 [WS]: B1
