Puff Stitch Edging
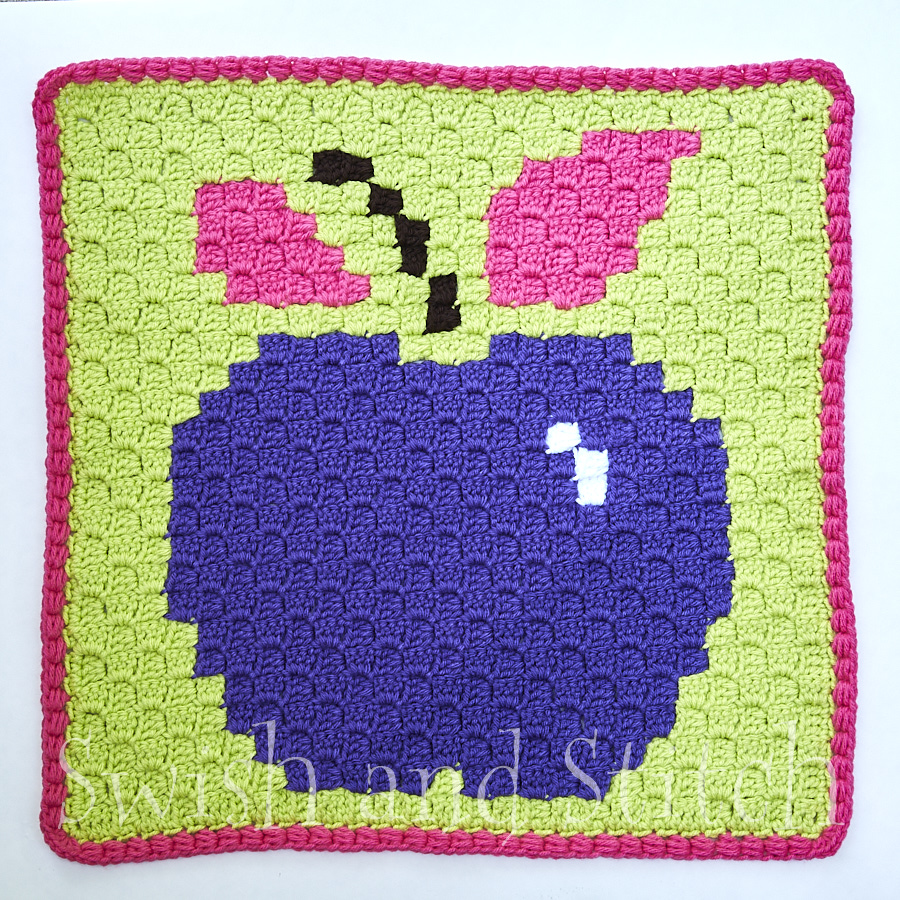
The Puff Border Stitch Edging gives a fun, playful look to the borders of afghans and other crochet pieces, seen in the photo above in a block from the Pop Art Apples C2C Crochet Afghan.
Supplies
- Size H crochet hook (or size used to create afghan)
- Yarn needle for weaving in ends
- Scissors
- Yarn in desired color(s)
Abbreviations
YO = Yarn Over
SL ST = Slip Stitch
CH = Chain
SC = Single Crochet
HDC = Half Double Crochet
PBS = Puff Border Stitch
Note
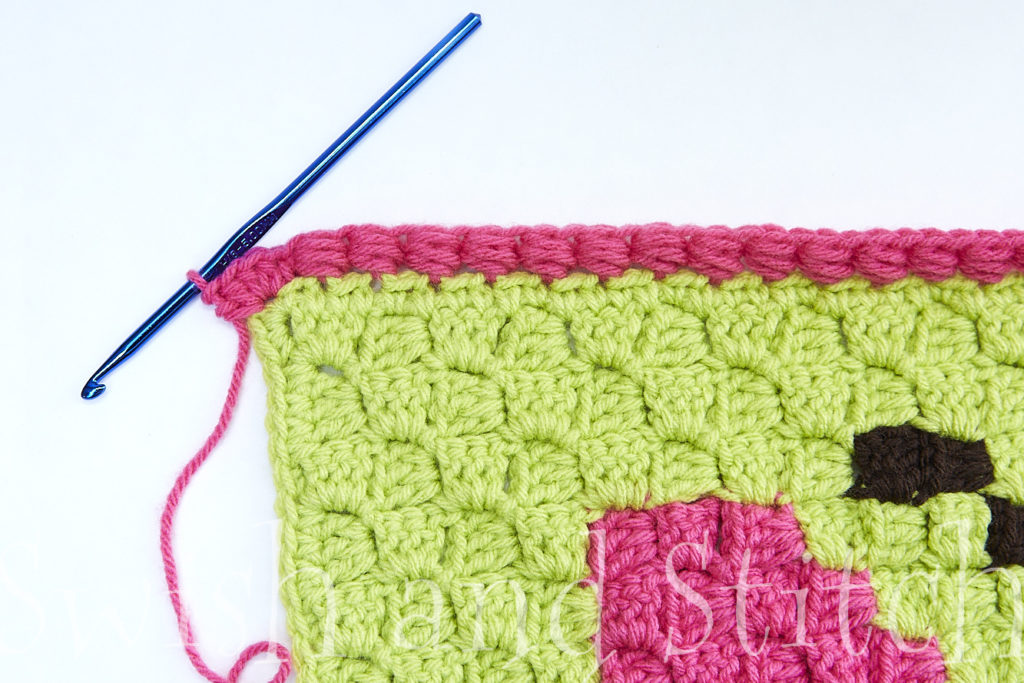
If your afghan has any raw or unfinished edges, SC around the entire blanket in the same color as your background. Work SC1, CH2, SC1 in each corner. This gives the perimeter of your blanket a neat and even finished edge. It is much easier and looks cleaner to add a border to this row of SC.
Puff Border Stitch
Before we can work the edging around an afghan, we first have to know how to work a Puff Border Stitch.
Tip: Keep all the loops on your hook very loose to make it easier to pull your hook through 7 loops to finish the stitch.
To prepare, work a HDC in the next stitch: YO, insert hook in stitch, pull up a loop, YO, pull through all 3 loops.
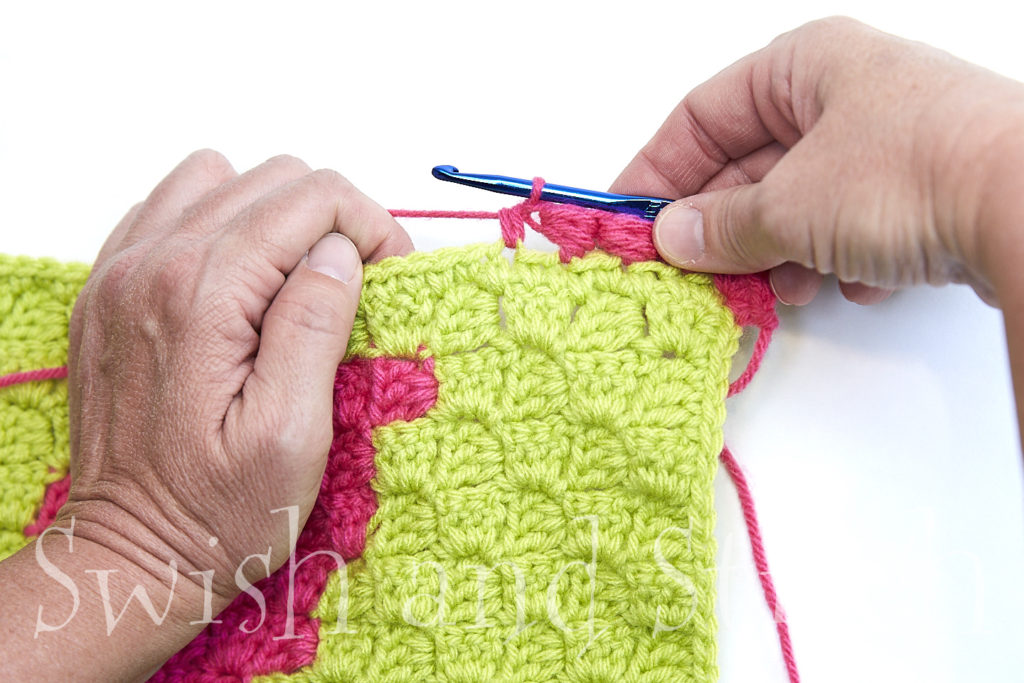
You will work the puff around the post of the HDC.
*YO, insert hook around the post of the HDC, pull up a loop.* (3 loops on hook)
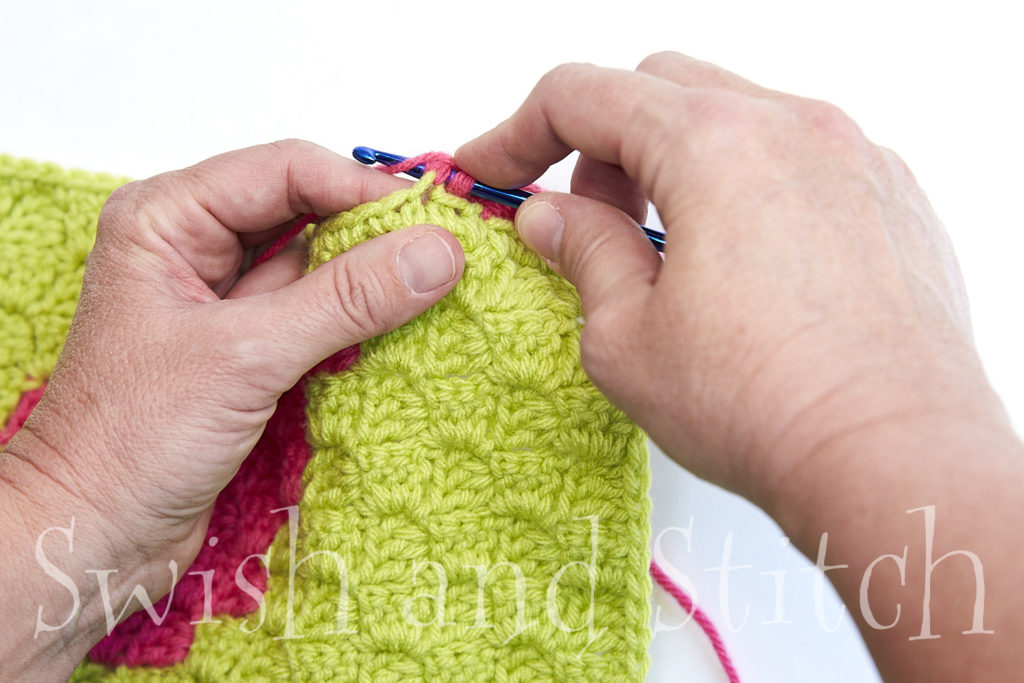
Repeat from * to * 2 more times (7 loops on hook)
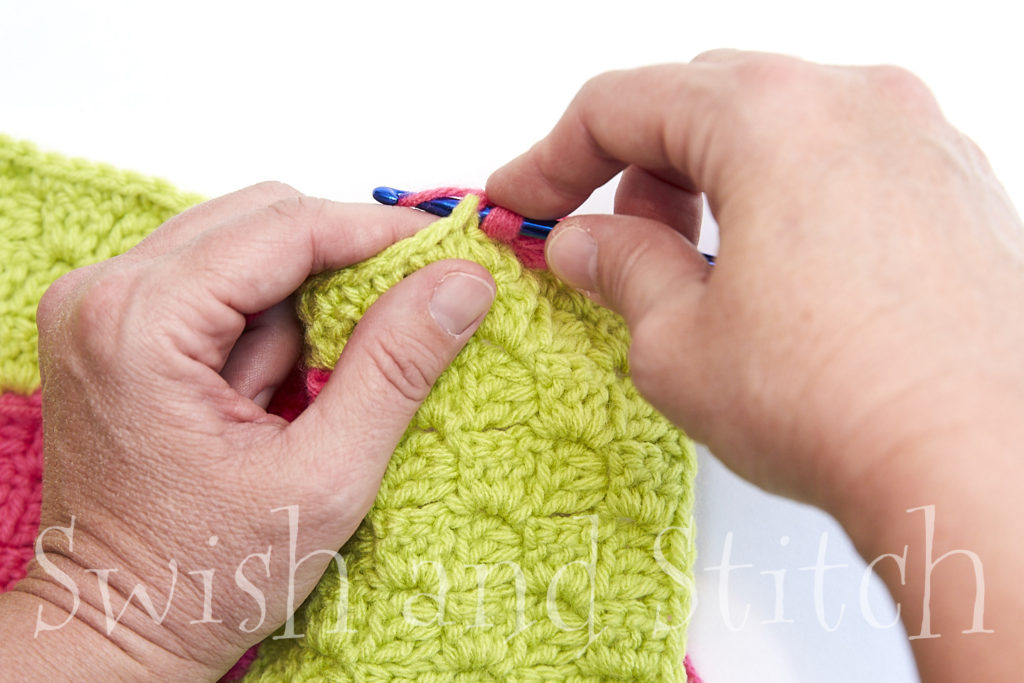
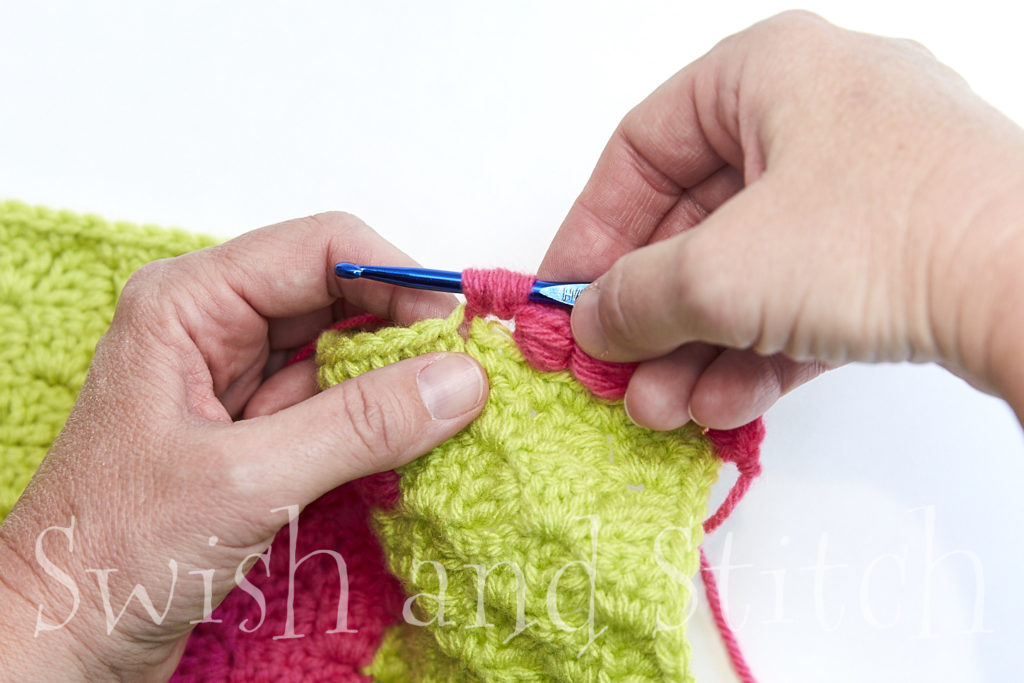
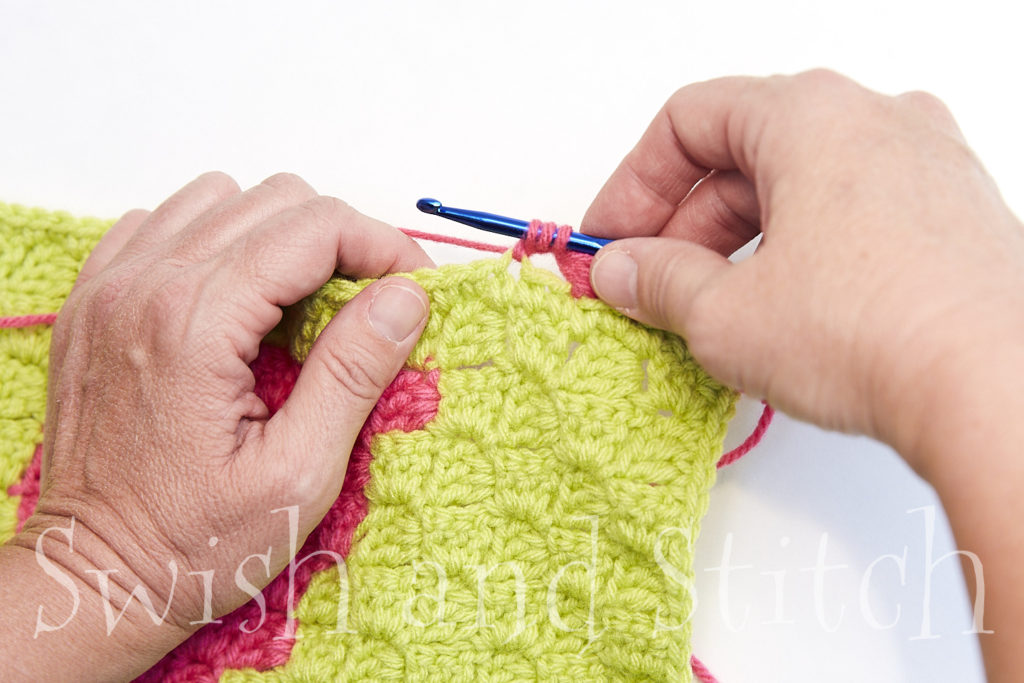
YO, pull through all 7 loops on hook.
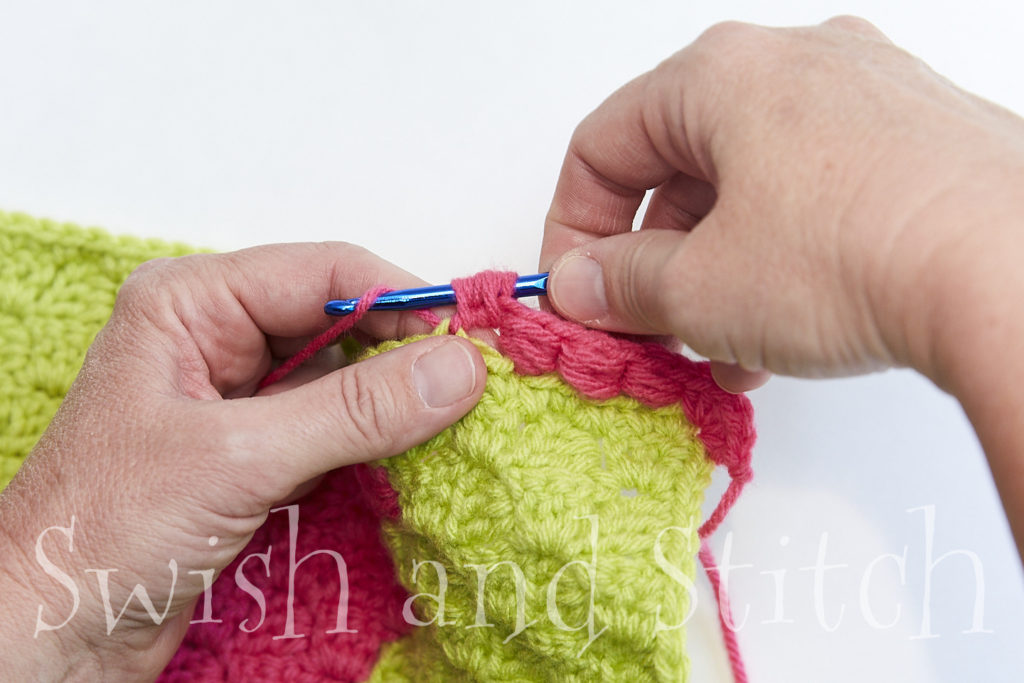
This is the completed Puff Border Stitch.
Working the Puff Stitch Border
Okay, now that we know how to work the Puff Border Stitch, we are ready to actually crochet it as an edging on an afghan.
Instructions
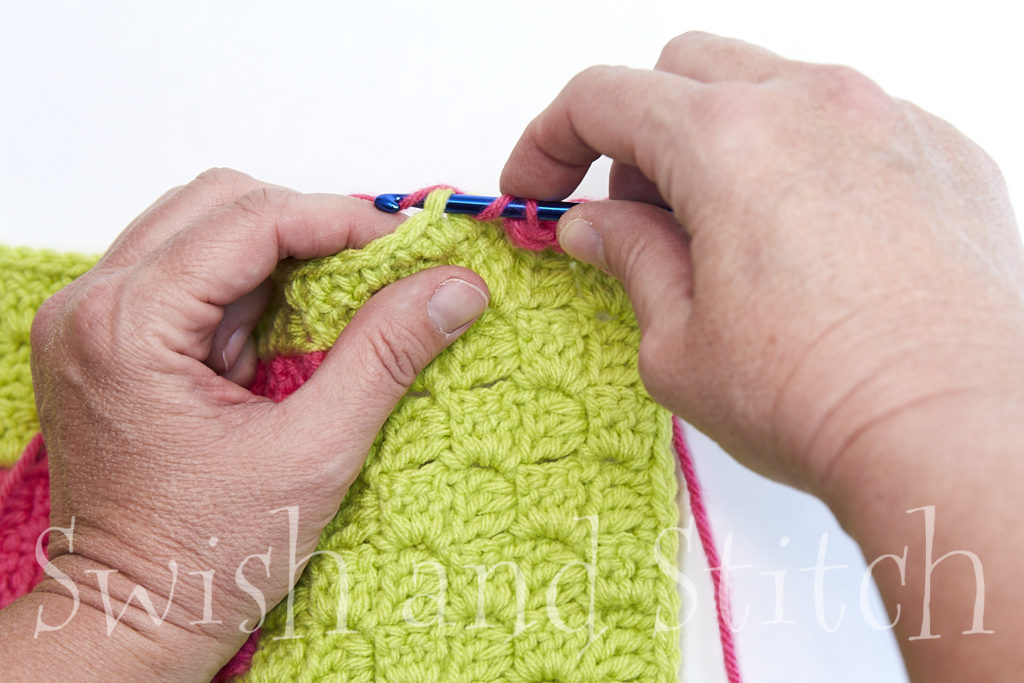
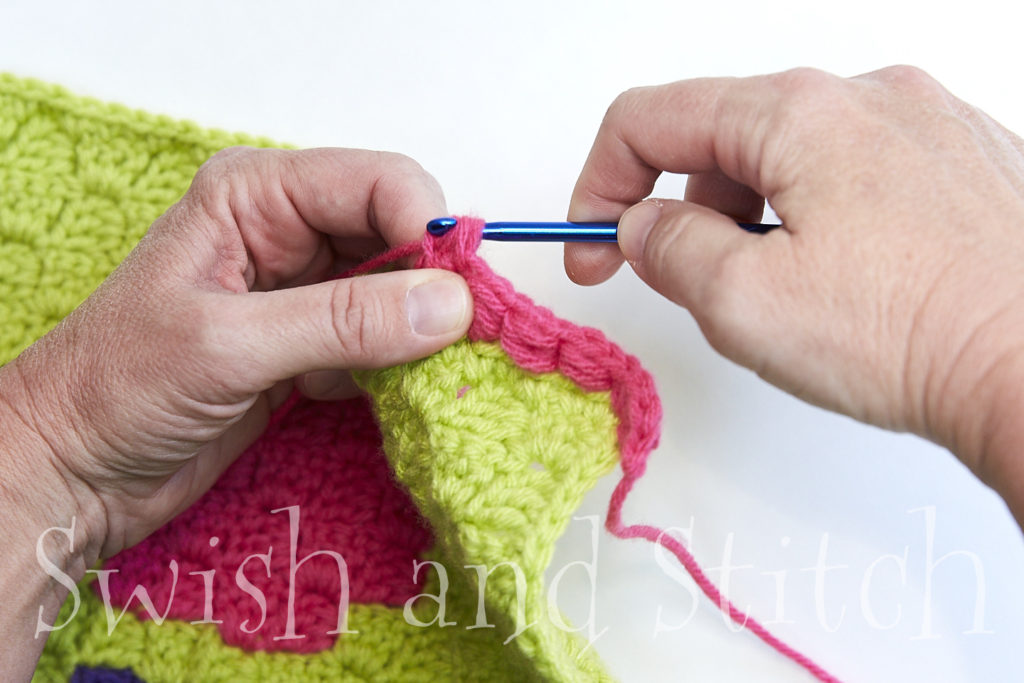
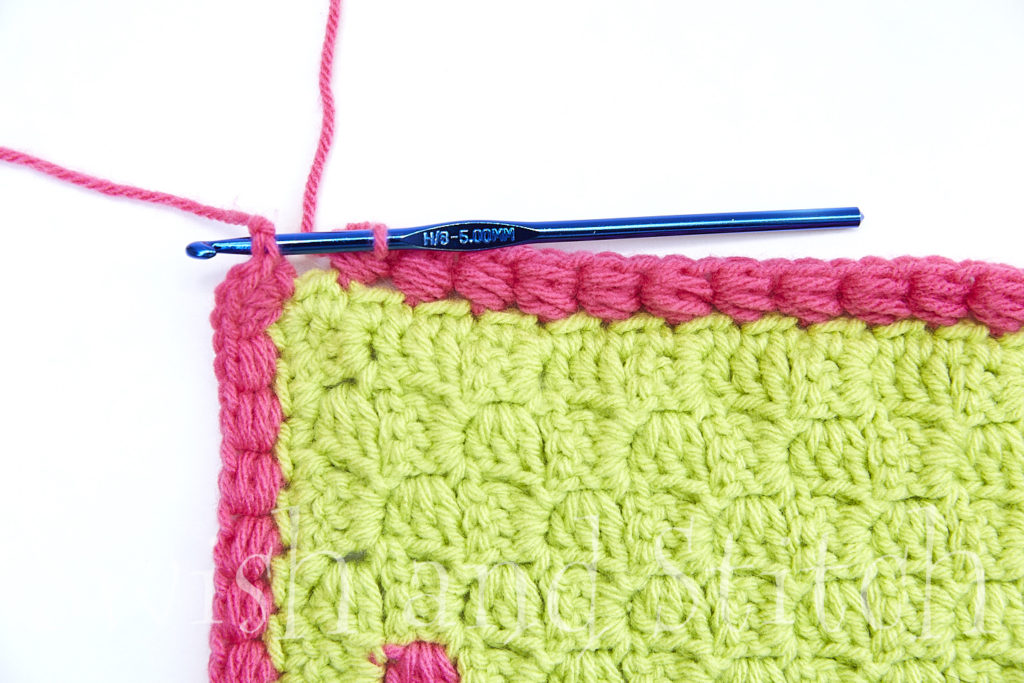
Working on the right side of the afghan, attach yarn with a standing HDC in any corner space. Work an additional 4 HDC in the same space. Skip 1 stitch; work PBS (puff border stitch) in the next stitch.

*Skip 1 stitch; work PBS in the next stitch.*
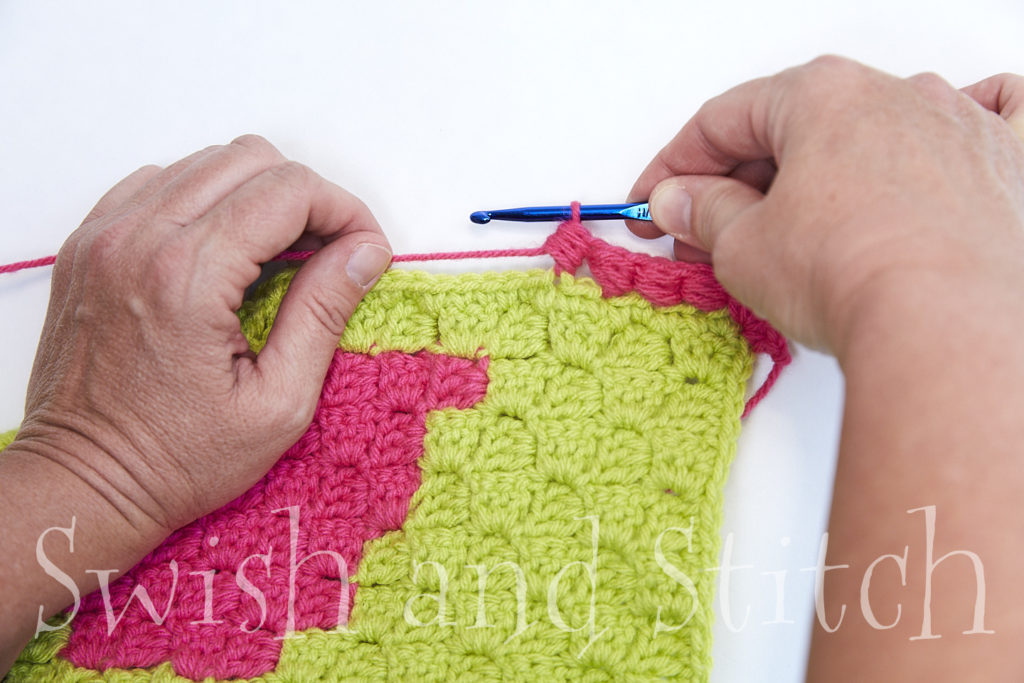
Work from * to * to the end of the row, skipping the last stitch. In the next corner space, work HDC5.
Continue around the afghan in the same manner.
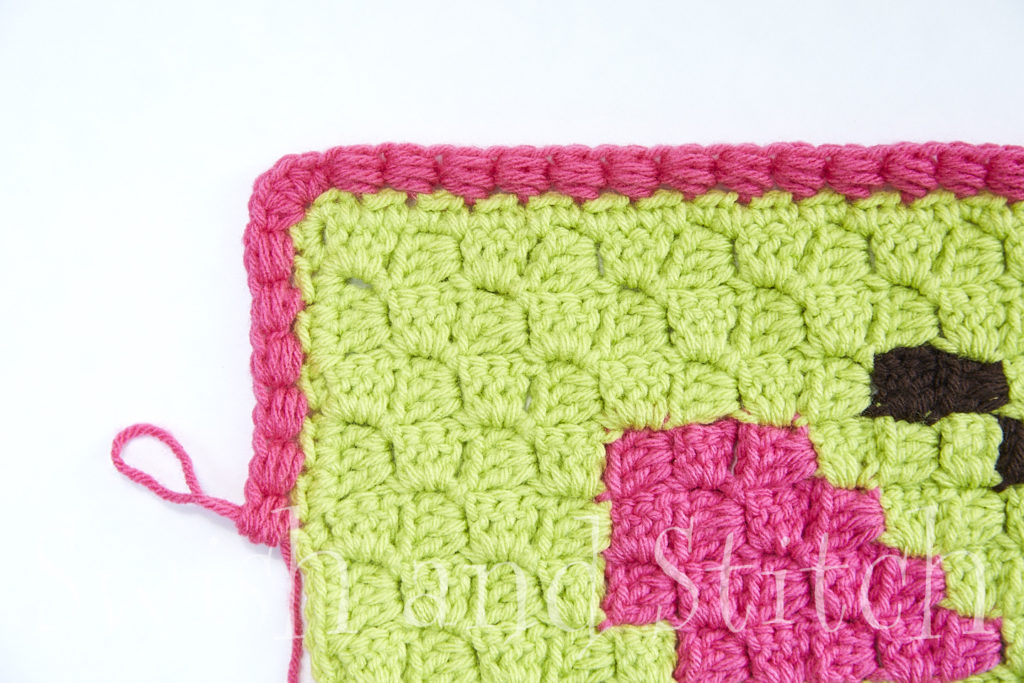
Once you’ve worked around the entire afghan, slip stitch in the top of the first HDC. Fasten off and tuck in the ends.
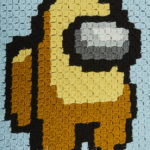
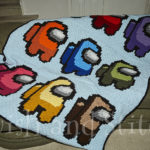
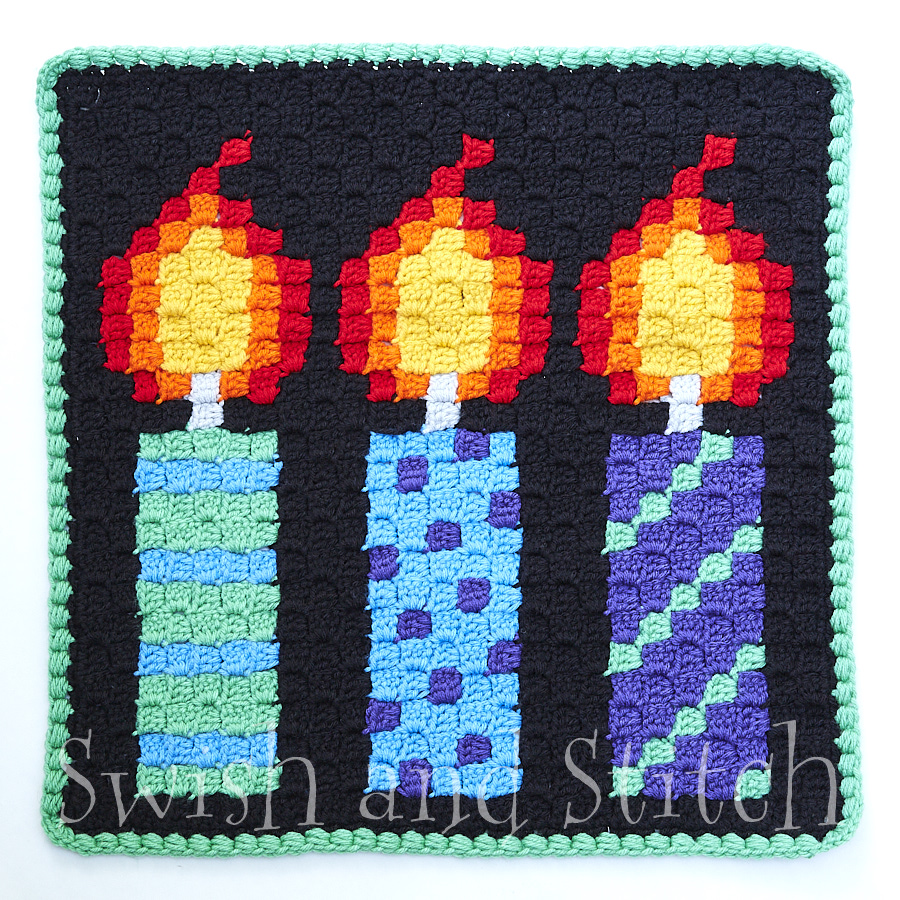
And there you have it! This is a great little border that works well for large or small projects. I used it to edge the Among Us C2C Crochet Afghan, the Pop Art Apples Afghan, and these fun little one-block wall-hangings: Spring Rainbow and Birthday Candles.
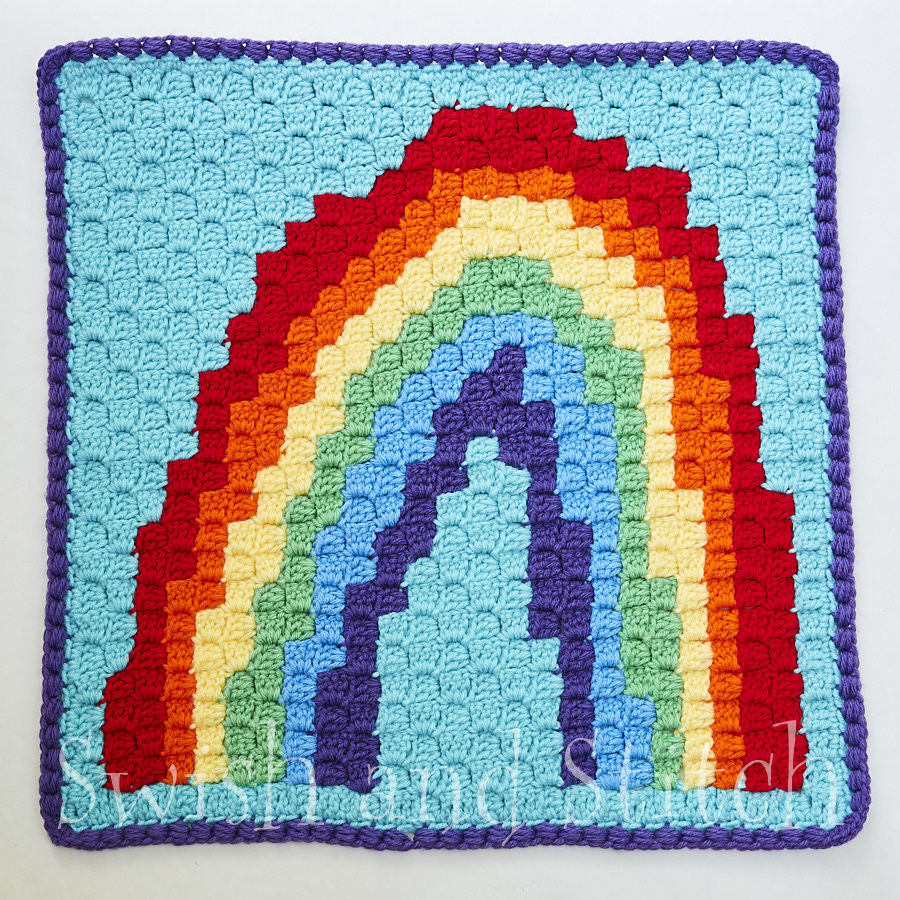
Enjoy!