Some of the links on this site are affiliate links. I make a small commission from sales when you click through the link. There is no additional cost to you.
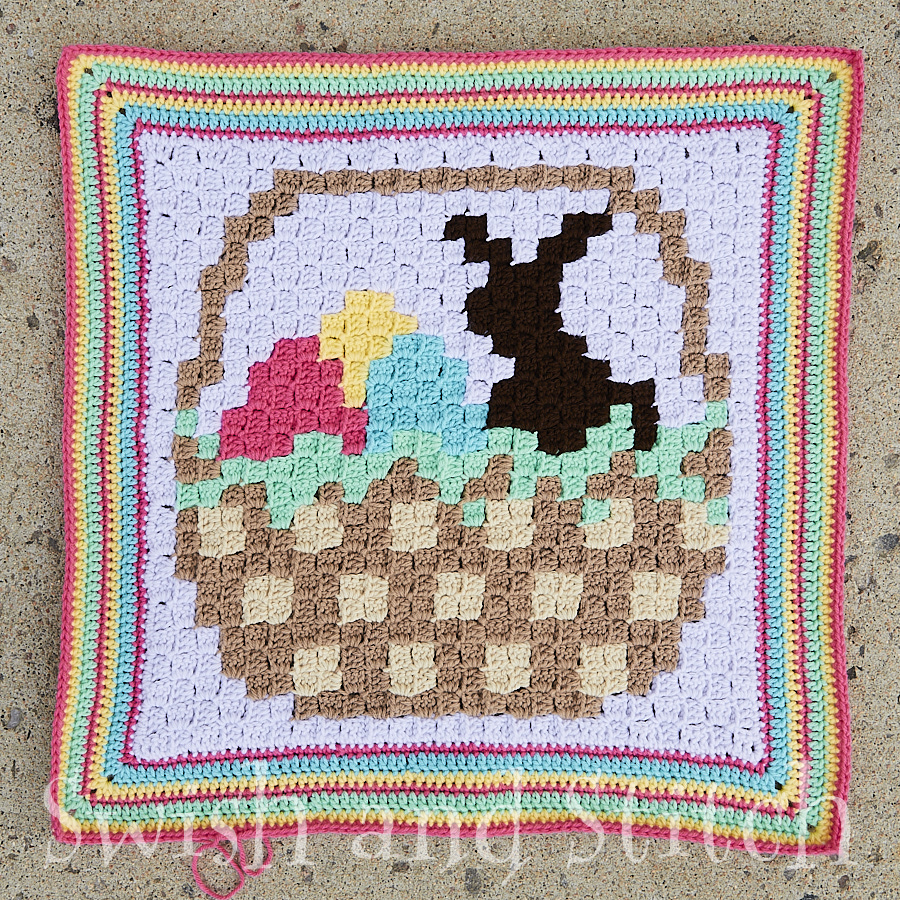
We’ve got just a couple of weeks until Easter, and these Easter Basket Afghan borders do take awhile, so let’s dive right in! There are two border types. The first is the bright striped border. This border is worked in square rows around the Easter basket block. After that, the basket weave border is worked along one edge of the blanket at a time. And finally, we’ll finish the blanket off with a couple more repeats of the bright border. Grab your hook!
Easter Basket Afghan Borders Instructions
Remember, you should have already stitched a row of single crochet in PETUNIA around the Easter Basket block. If you haven’t done it yet, go ahead and add it now. (For a quick refresher on how to do this, see Adding a Single Crochet Edge around a Finished C2C Block.)
Bright Border
Work all of these rows from the front of the afghan.
Row 1: Attach LIPPY (pink) yarn in any stitch with a Single Crochet (SC). SC in each stitch to the end of the row. In the corner stitch, work SC 1, Chain (CH) 2, SC 1. Continue around the blanket, working 1 SC in each stitch and SC 1, CH 2, SC 1 in each corner stitch. Slip stitch to the first SC. Finish off.
Row 2: Attach SEA GREEN (aqua) yarn in any stitch with a Double Crochet (DC). DC in each stitch to the end of the row. In the corner space, work DC 2, CH 2, DC 2. Continue around, working 1 DC in each stitch and DC 2, CH 2, DC 2 in each corner space. Slip stitch to the first DC. Finish off.
Row 3: Attach BUTTERSCOTCH (yellow) yarn in any stitch with a Half Double Crochet (HDC). Work 1 HDC in each stitch to the end of the row. Work HDC 2, CH 2, HDC 2 in the corner space. Continue around, working 1 HDC in each stitch and HDC 2, CH 2, HDC 2 in each corner space. Slip stitch to the first HDC. Finish off.
Row 4: Repeat Row 1.
Row 5: Repeat Row 2 using MINT (green) yarn.
Row 6: Repeat Row 3.
Basket Weave Border
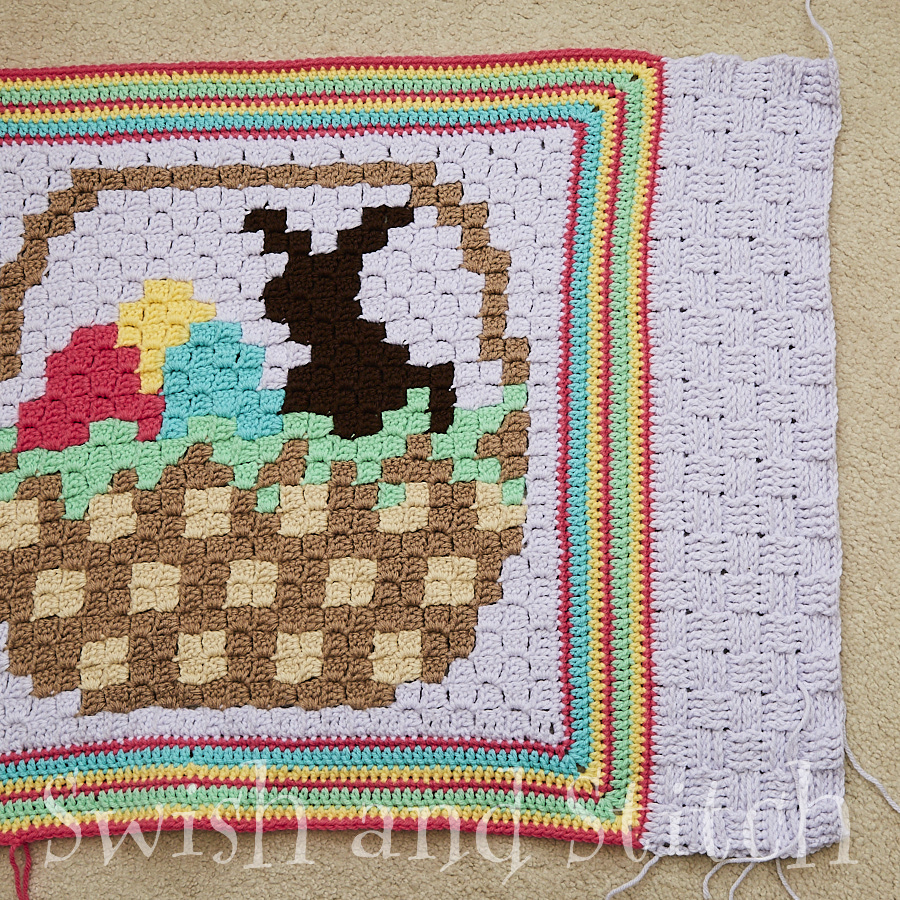
Unlike the Bright Border, the Basket Weave Border cannot be worked around the whole blanket. Instead we will first crochet the side borders and then add the top and bottom borders.
The basket weave border uses Front Post Double Crochet (FPDC) and Back Post Double Crochet (BPDC).
FPDC and BPDC are just like regular Double Crochet, with one exception. Instead of working in the top of each stich, you will work around the post of the stitch from the row below.
For FPDC, after your first Yarn Over, insert your hook from the front of the row under the post and back up to grab your yarn again. Continue the stitch as you would regular DC.
Similarly, for BPDC, after your initial Yarn Over, insert your hook from the back of the row under the post and up to grab your yarn. Finish the stitch as you would regular DC.
If you are a visual learner, click over to my Crochet Videos page. Under Crochet Technique, you’ll find two great videos by Fiber Flux linked.
Basket Weave Side Borders

Right Border
Row 1: With right side up, attach PETUNIA (purple) yarn in the bottom right corner space with a DC. Work an additional 85 DC evenly across the side (see NOTE below) and into the next corner space. (86 DC)
NOTE: Including the corner space, I had 84 stitches across the side of my blanket. I worked in an additional two stiches, one about a third of the way across, and the other about 2/3 of the way across. You need a multiple of 4 + 2 for the basket weave stitch to work out. 86 = (21 x 4) + 2
Row 2: Chain (CH) 2; turn. The CH 2 counts as the first DC here and throughout. (See NOTE below) *In the next 4 stitches work Back Post Double Crochet (BPDC). In the next 4 stitches work Front Post Double Crochet (FPDC).* Repeat from * to * 10 more times, leaving off the last 4 FPDC. DC 1 in last stitch.
NOTE: Typically, when working double crochet, you work a chain 3 to count as the first DC. Since we are working around the posts in the row below, each row ends up shorter than a normal double crochet row. Thus, we only chain 2 instead of 3.
Row 3: CH 2; turn. *In the next 4 stitches work FPDC. In the next 4 stitches work BPDC.* Repeat from * to * 10 more times, leaving off the last 4 BPDC. DC 1 in last stitch.
Row 4: Repeat Row 3
Row 5: Repeat Row 2
Rows 6-7: Repeat Row 3
Row 8: Repeat Row 2
Rows 9-10: Repeat Row 3
Row 11: Repeat Row 2
Rows 12-13: Repeat Row 3
Row 14: Repeat Row 2
Row 15: Repeat Row 3
Left Border
Work the Left Border as for Right Border beginning in the top left corner space.
Basket Weave Top and Bottom Borders
Top Border
Row 1: With right side up, attach PETUNIA yarn in the top right corner of the of the afghan—the corner of the Right Border—with a DC. Work an additional 121 DC evenly across the top (see NOTE) ending in the top left corner of the afghan—the corner of the Left Border. (122 DC)
NOTE: Once again we need a multiple of 4 + 2 for the basket weave border to work. 122 = (30 x 4) + 2
Row 2: Chain (CH) 2; turn. The CH 2 counts as the first DC here and throughout. *In the next 4 stitches work Back Post Double Crochet (BPDC). In the next 4 stitches work Front Post Double Crochet (FPDC).* Repeat from * to * 14 more times. DC 1 in last stitch.
Row 3: Repeat Row 2.
Row 4: CH 2; turn. *In the next 4 stitches work FPDC. In the next 4 stitches work BPDC.* Repeat from * to * 14 more times. DC 1 in last stitch.
Rows 5-6: Repeat Row 4.
Rows 7-9: Repeat Row 2.
Rows 10-12: Repeat Row 4.
Rows 13-15: Repeat Row 2.
Bottom Border
Work the Bottom Border as for Top Border beginning in the bottom left corner of the afghan.
Completing the Easter Basket C2C Crochet Afghan
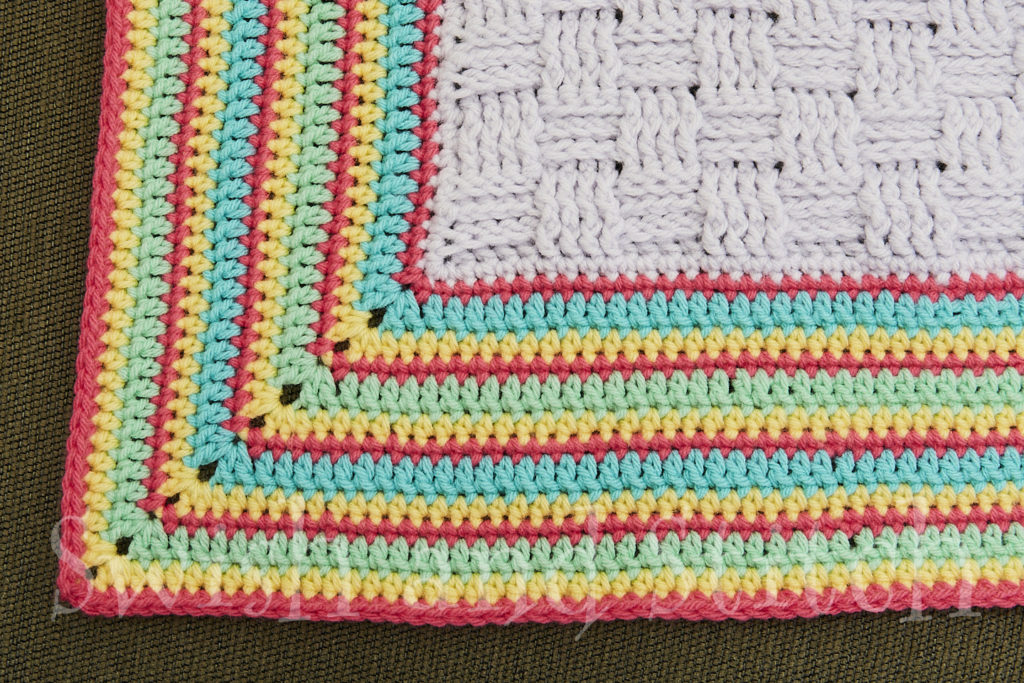
Whew! You’re absolutely right! The basket weave borders are time and yarn intensive. But doesn’t it look great? Now that the basket weave borders are finished, we can finish up with another bright border.
Before starting it though, work one SC row in PETUNIA around the basket weave borders. Whenever available, work in the top of the DC stitches from the previous rows. When working on the rough edges of a border, work enough SC stitches for the border to lie flat. Be sure to work 3 SC stitches in each corner.
Rows 1-12: work the full Bright Border 2 times.
Row 13: Repeat Row 1 from the Bright Border.
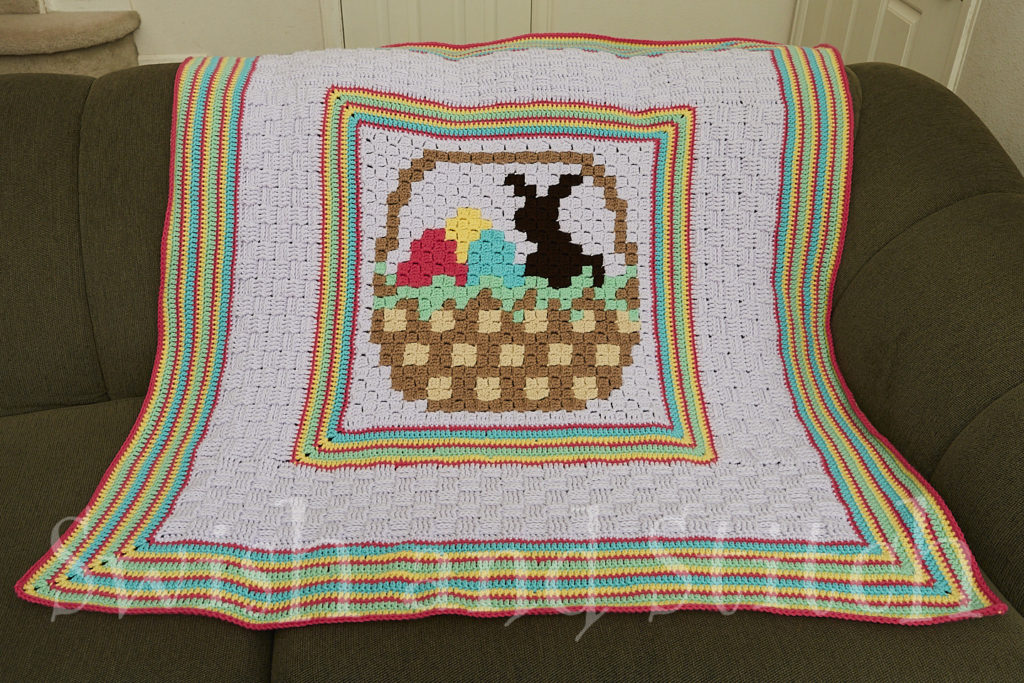
Now that you’ve finished your Easter Basket Afghan borders, stand back and admire your finished blanket! Give yourself a pat on the back. It’s awesome!
As always, I love to see everyone’s work! Send me a photo at lucinda@swishandstitch.com.
~ Lucinda


