Some of the links on this site are affiliate links. I make a small commission from sales when you click through the link. There is no additional cost to you.
Easter Decorating
Easter is just around the corner and I’m getting ready to decorate. I keep things pretty simple for Easter with a couple of Easter baskets, a couple of bunnies, and some pastel spring placemats. I want to create an Easter tree from some tree branches this year. I haven’t yet found the perfect branches, so I’ll have to go on the hunt soon.
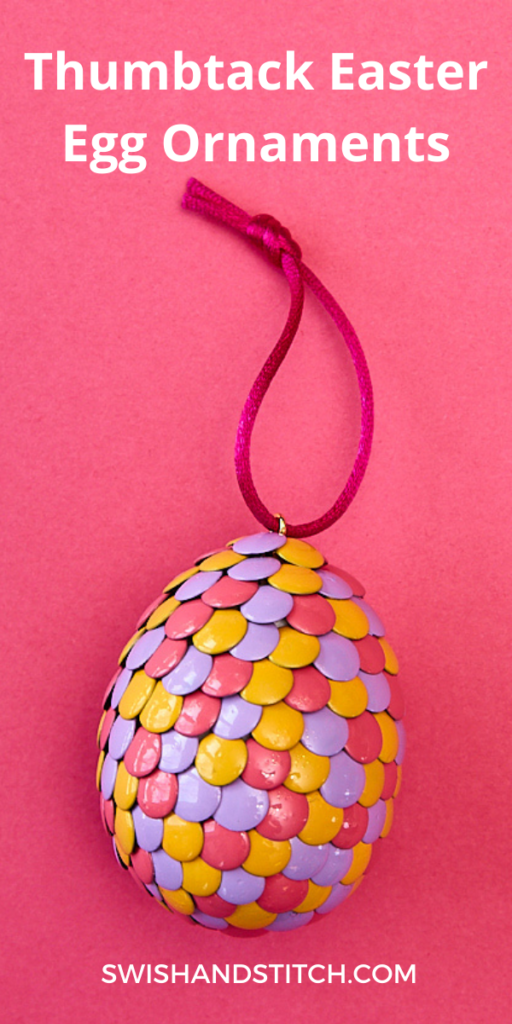
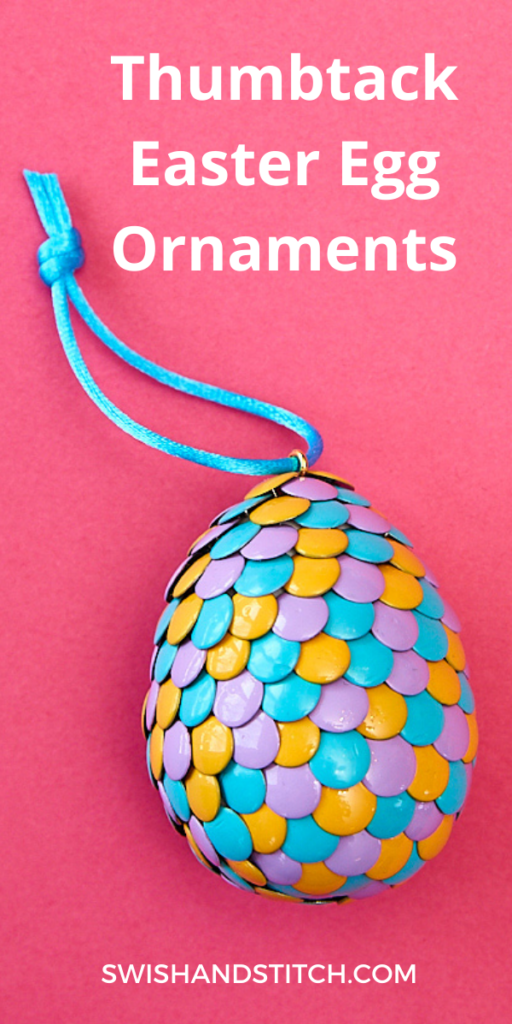
What I do know is that I want to make Thumbtack Easter Egg Ornaments for the tree. These are an adaptation of my Magical Harry Potter Inspired Dragon Eggs. Click on over for the full thumbtack-covered egg tutorial. For the Thumbtack Easter Egg Ornaments, however, I am using smaller eggs, and therefore fewer tacks, so they don’t get too heavy.
These are not hard to make, but they do take time for the nail polish to dry, so let’s get started!
Thumbtack Easter Egg Ornament Supplies

To make one egg, you’ll need:
- 2.5″ foam egg
- 200+ thumbtacks
- cardboard box
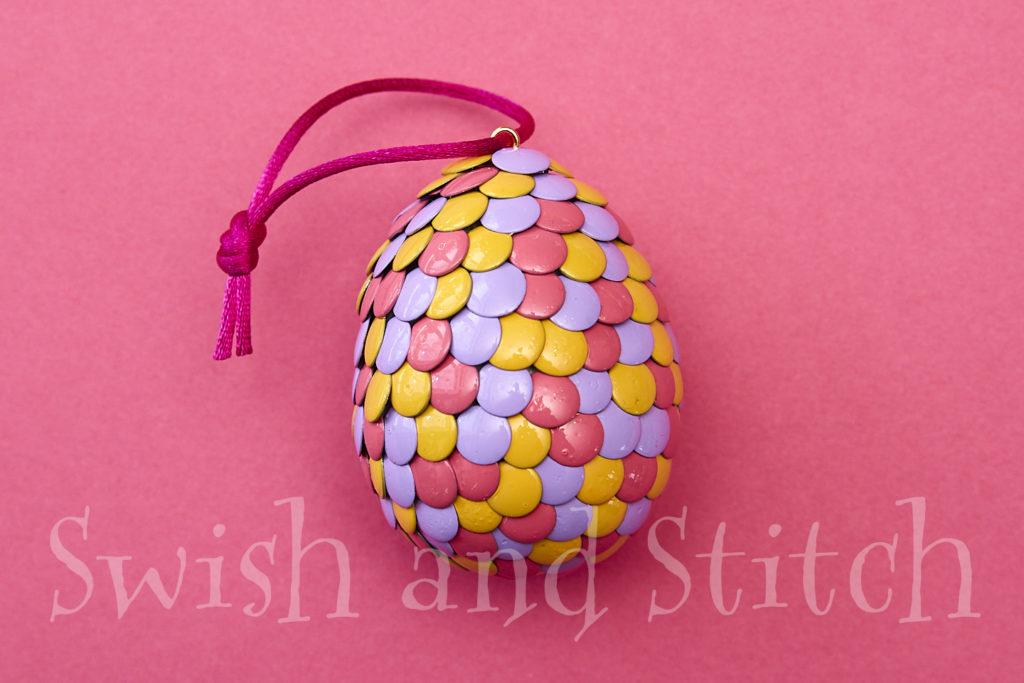
- nail polish in spring colors I used Sally Hansen Xtreme Wear in Lilac, Mellow Yellow, Sun Kissed, Babe, and Watermelon
- strong craft glue (like E6000)
- 10 X 5 mm gold screw eye pins
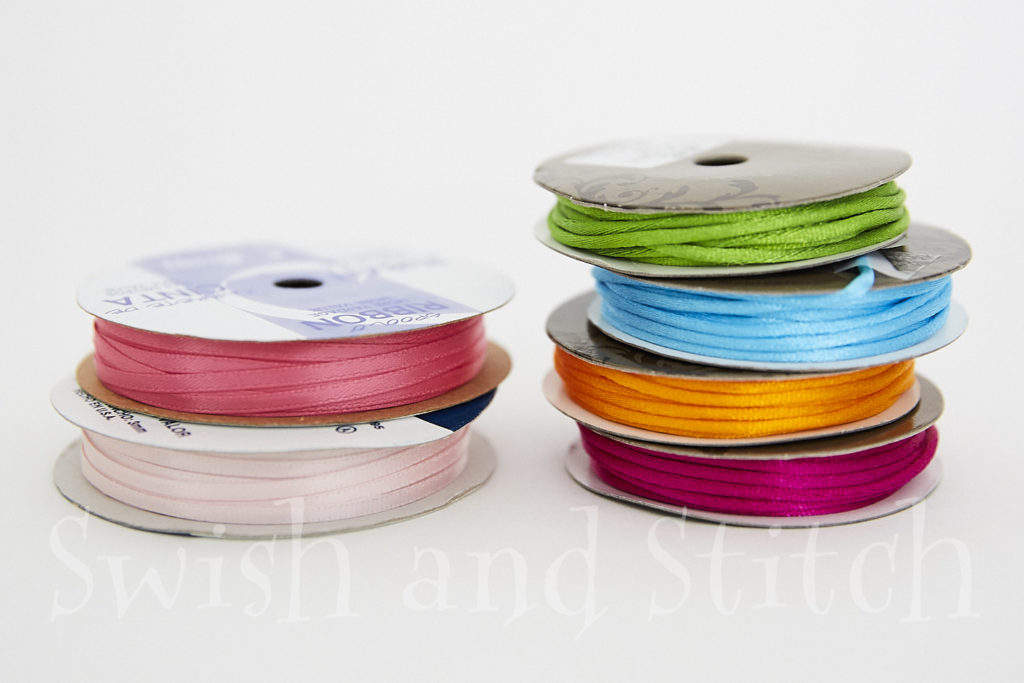
- 1/8″ satin cord or ribbon
Unlike the Harry Potter dragon eggs, I am not using glitter nail polish for these Easter Egg Ornaments. You can if like, of course. Without the glitter polish, I don’t think it needs a top coat either.
Thumbtack Easter Egg Ornaments Instructions
Step 1: Cover the Thumbtacks with Nail Polish
Insert the thumbtacks in rows in a flattened cardboard box. Paint them in your choice of nail polish. Let dry several hours or overnight. For detailed instructions, see How to Make a Magical Harry Potter Inspired Dragon Egg.
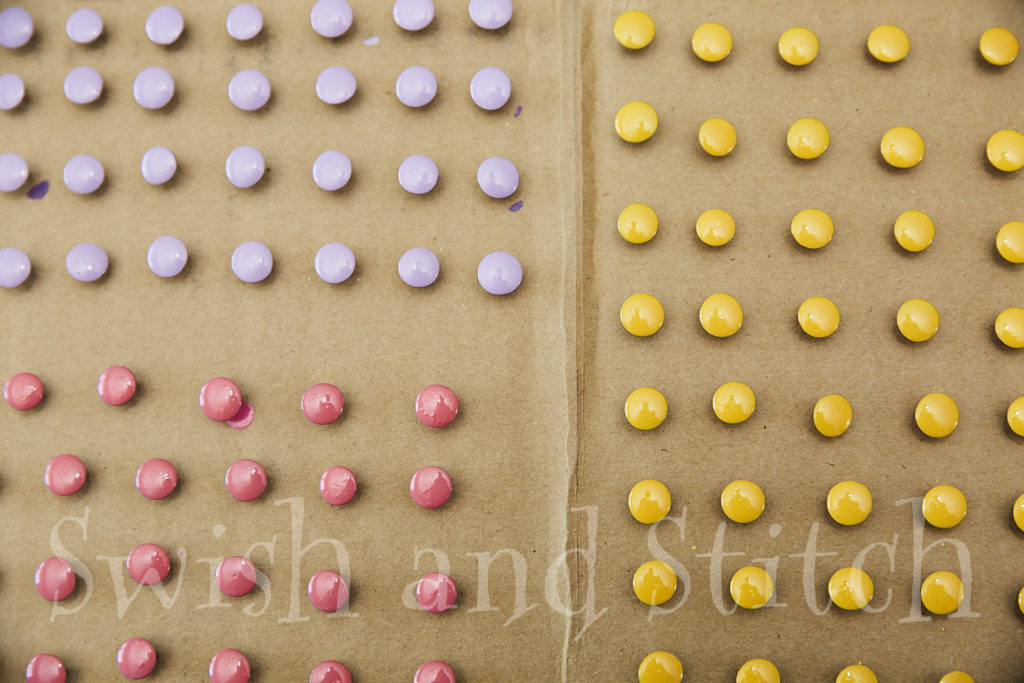
If you are making a solid color egg, this part is easy. Just paint all the tacks the same color.
If you want a striped or otherwise patterned egg, you may not know how many thumbtacks of each color you’ll end up needing. I recommend painting extra tacks so you don’t run out of one color. It’s a drag to realize you need more tacks of a color and have to wait while they dry!
Step 2: Insert the Thumbtacks into the Foam Egg

NOTE: DO NOT cover the entire egg at this stage. Leave the top (the smaller end) of the egg open. This is where we add the eye screw and cord for hanging.
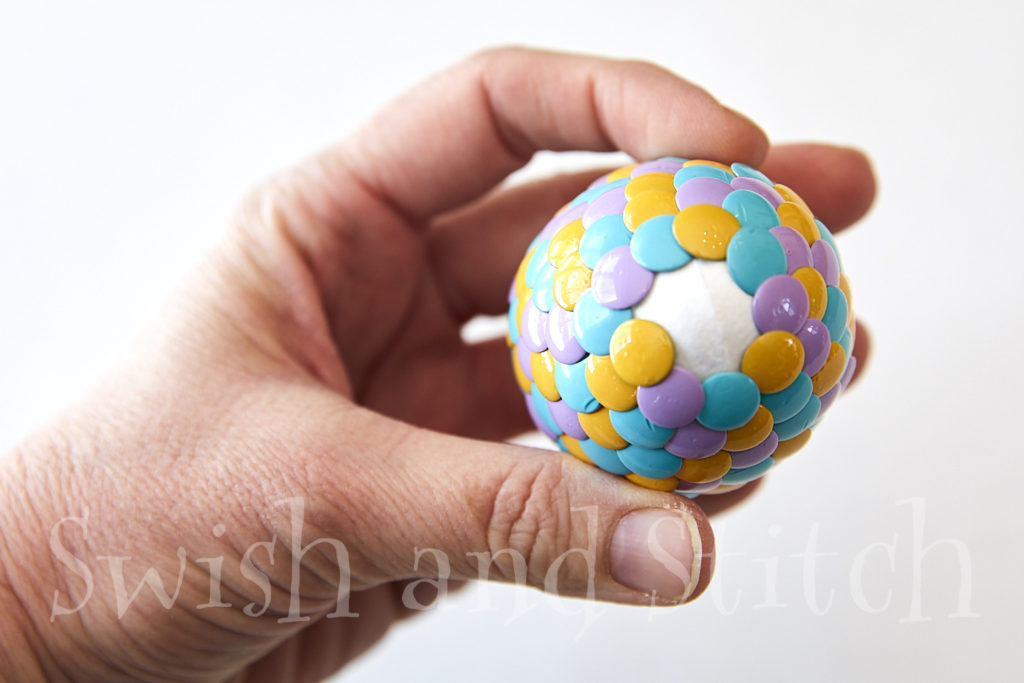
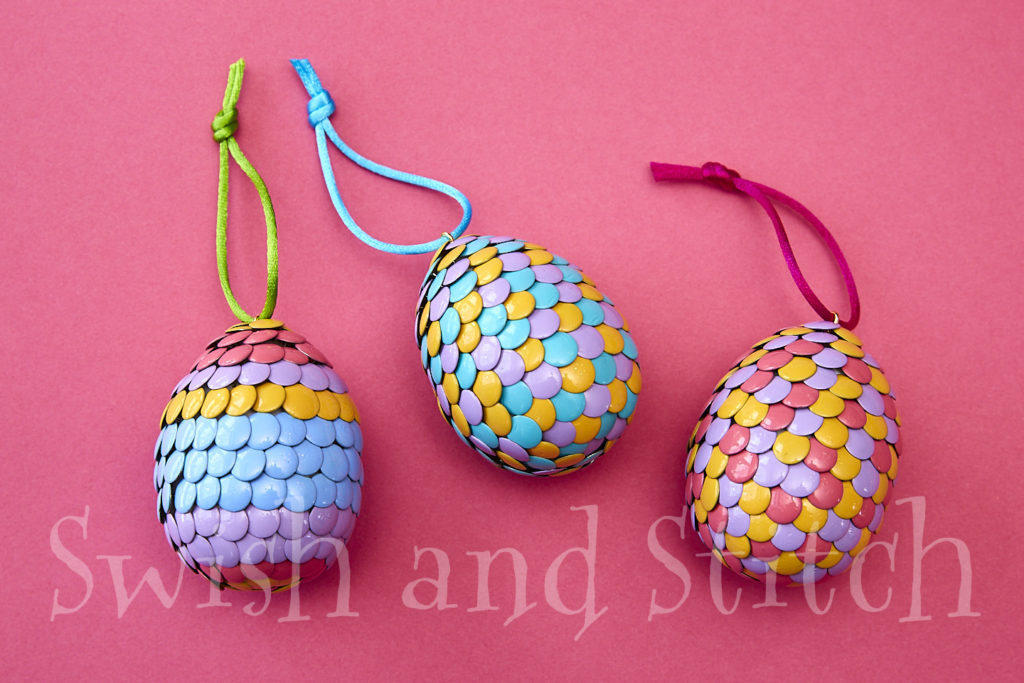
For a solid color or random patterned egg, work in a spiral from the bottom of the egg up. Be sure to overlap previous tacks.
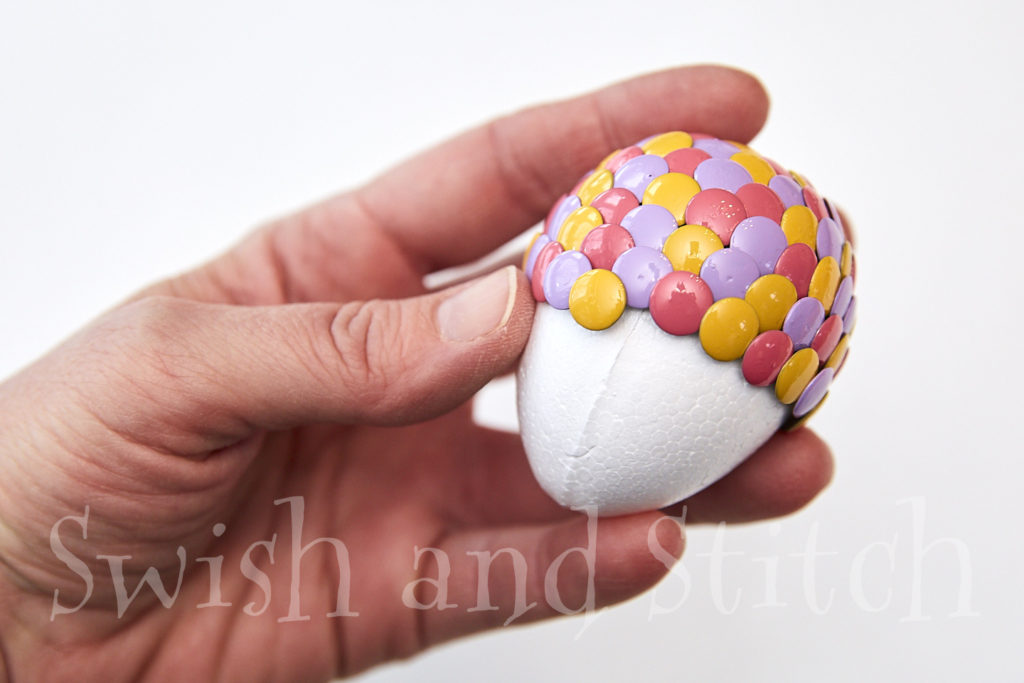
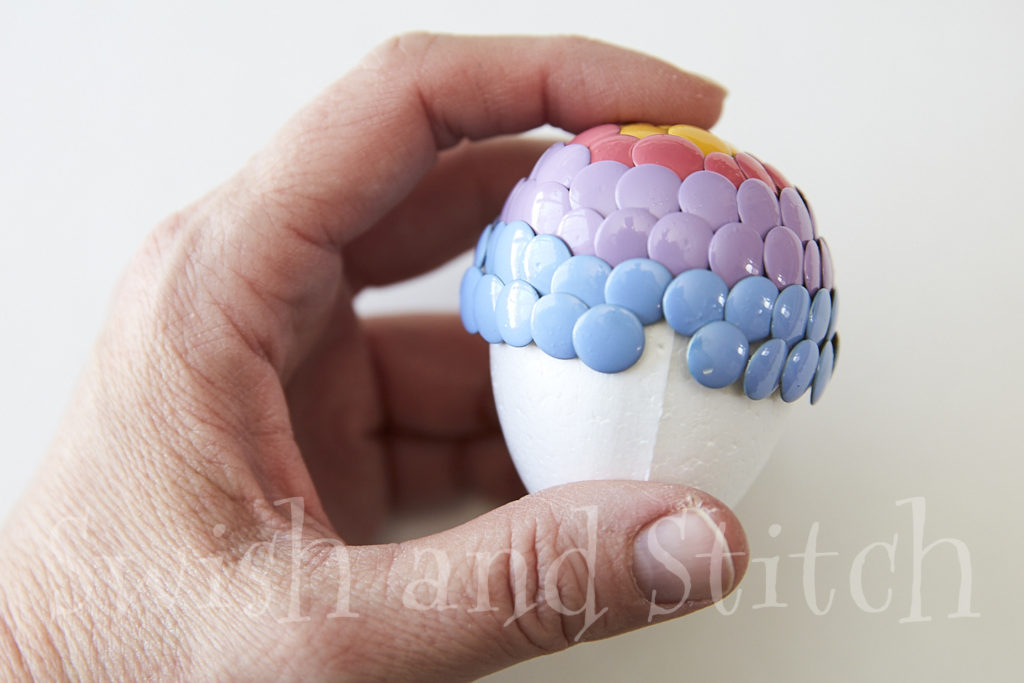
For a striped egg, work in neat circles around the egg. Do not work in a spiral. Finish off one circle before beginning the next.
Step 3: Add the Ornament Hanger
Add a dab of E6000 to the threads of an eye screw. Gently twist the screw into the top of the foam egg.
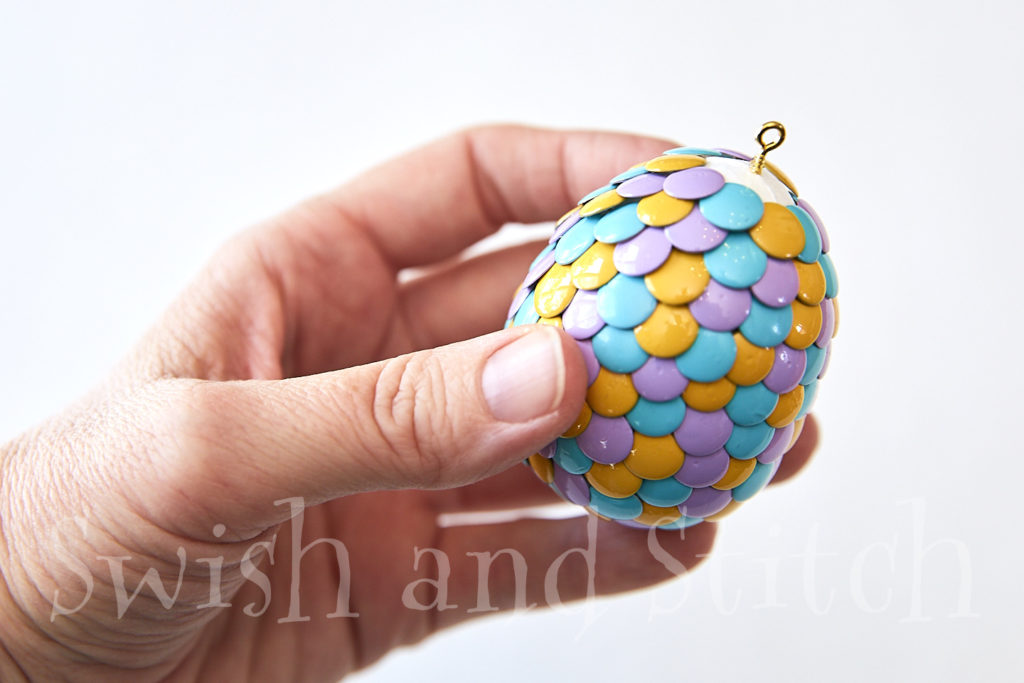
Finish covering the egg with thumbtacks. For the last tack, add a dab of E6000 to the post before inserting it into the egg.
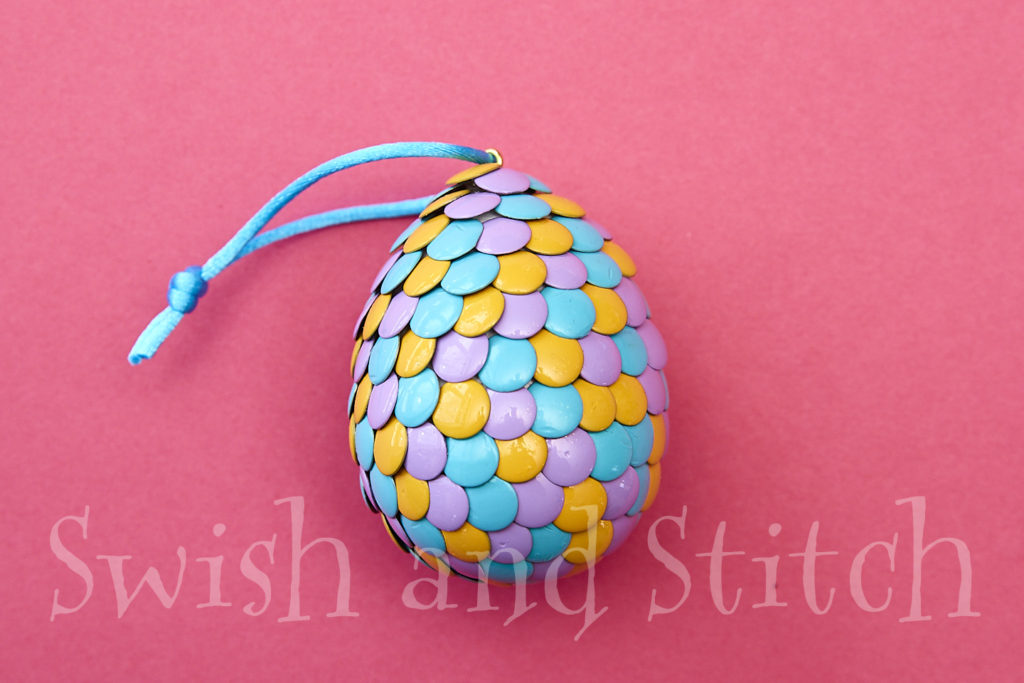
Insert a 8-10 inch length of thin ribbon or cord through the eye screw. Tie the ends together. Trim any excess cord, if desired.
Fabulous!
NOTE: Allow the glue to dry completely before hanging the ornament. Also, these are for decorative use only. If the Thumbtack Easter Egg Ornaments are handled too much, you could pull the eye screw out.
~ Lucinda