Some of the links on this site are affiliate links. I make a small commission from sales when you click through the link. There is no additional cost to you.
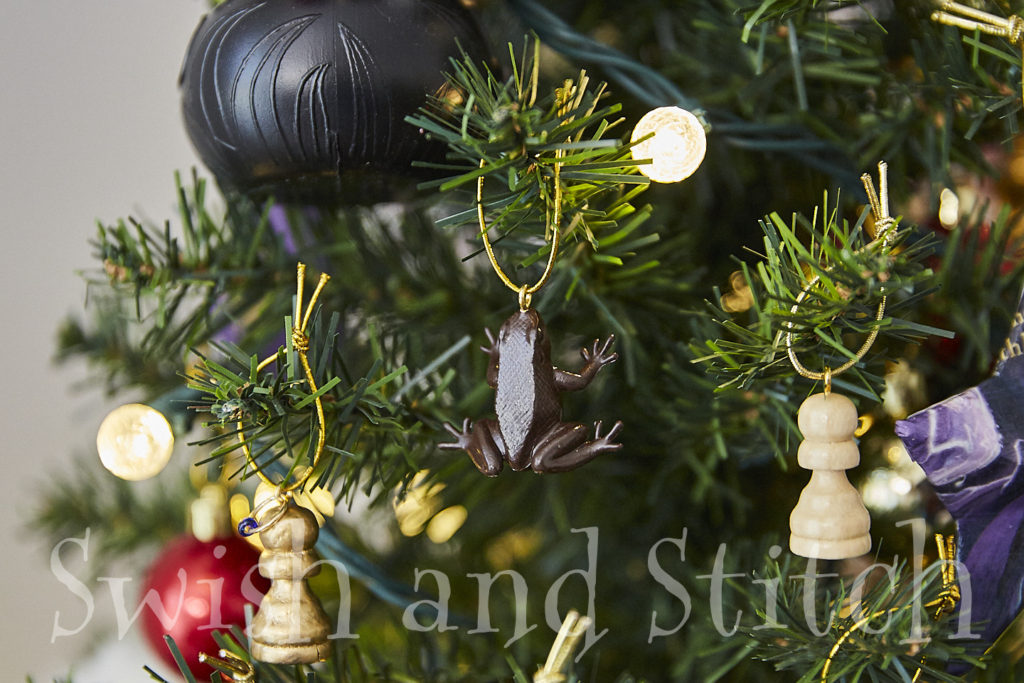
“They’re Not Really Frogs, Are they?”
“But the woman didn’t have Mars Bars. What she did have were Bertie Bott’s Every Flavor Beans, Drooble’s Best Blowing Gum, Chocolate Frogs, Pumpkin Pasties, Cauldron Cakes, Licorice Wands, and a number of other strange things Harry had never seen in his life. Not wanting to miss anything, he got some of everything and paid the woman eleven silver Sickles and seven bronze Knuts.
” ‘. . . What are these?’ Harry asked Ron, holding up a pack of Chocolate Frogs. ‘They’re not really frogs, are they?’ He was starting to feel that nothing would surprise him.”
Harry Potter and the Sorcerer’s Stone
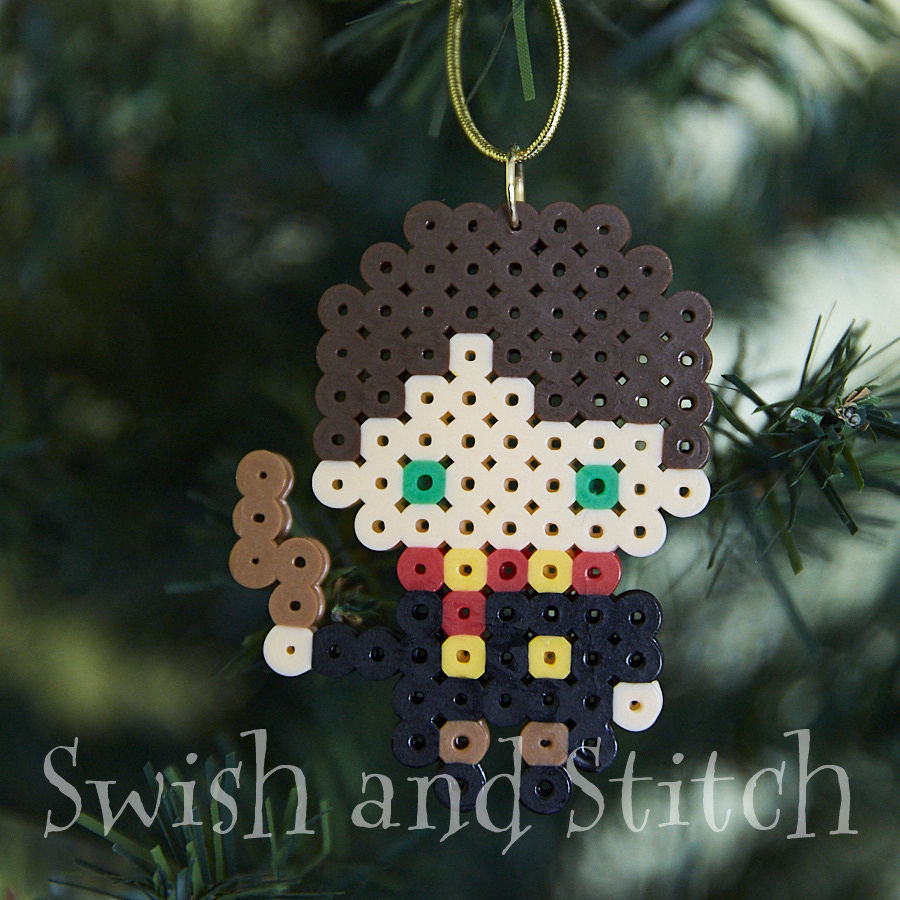
On Harry’s first trip to Hogwarts, he discovers a whole new world of magic, friends, and candy! Today I’m going to show you how to make the easiest Chocolate Frog Ornaments for your Harry Potter Mini Christmas Tree. Please note, these are ornaments, and NOT for human consumption. Just to be clear. 🙂
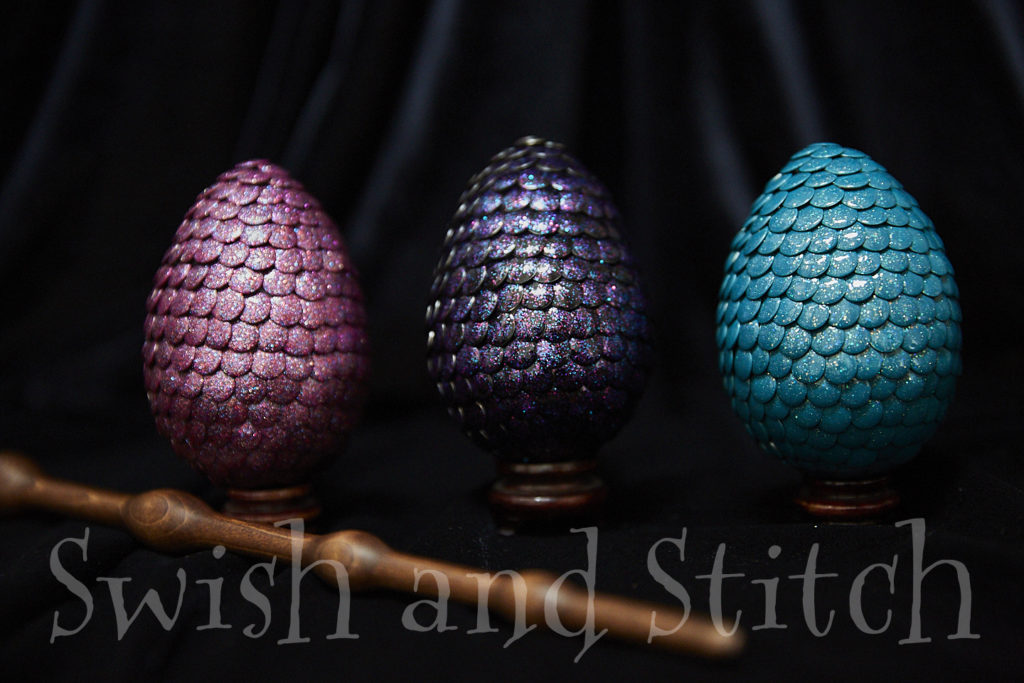
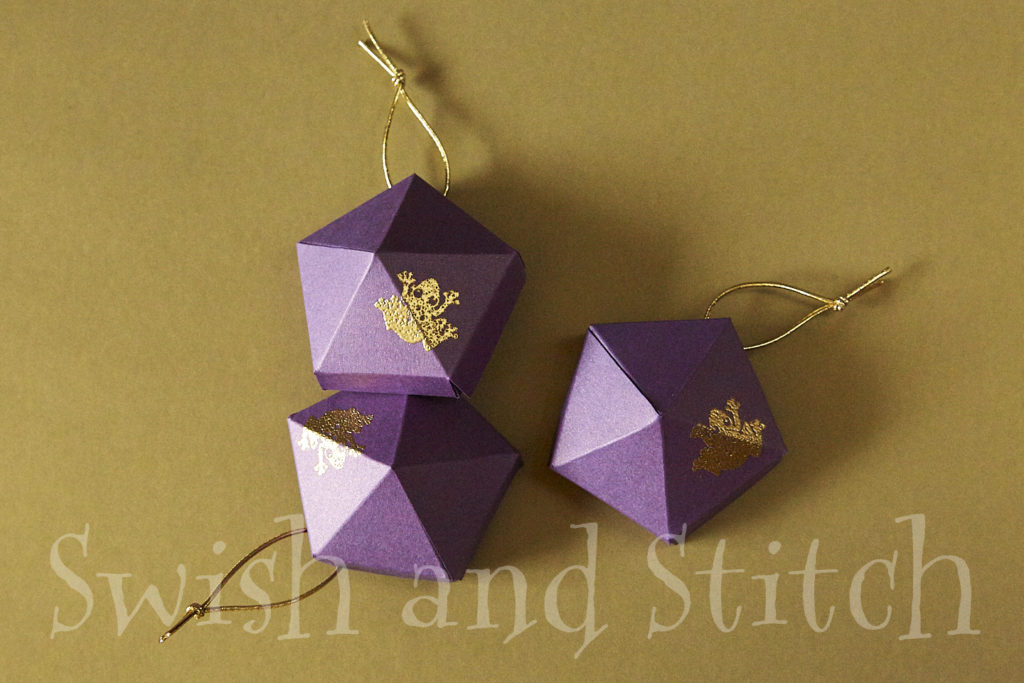
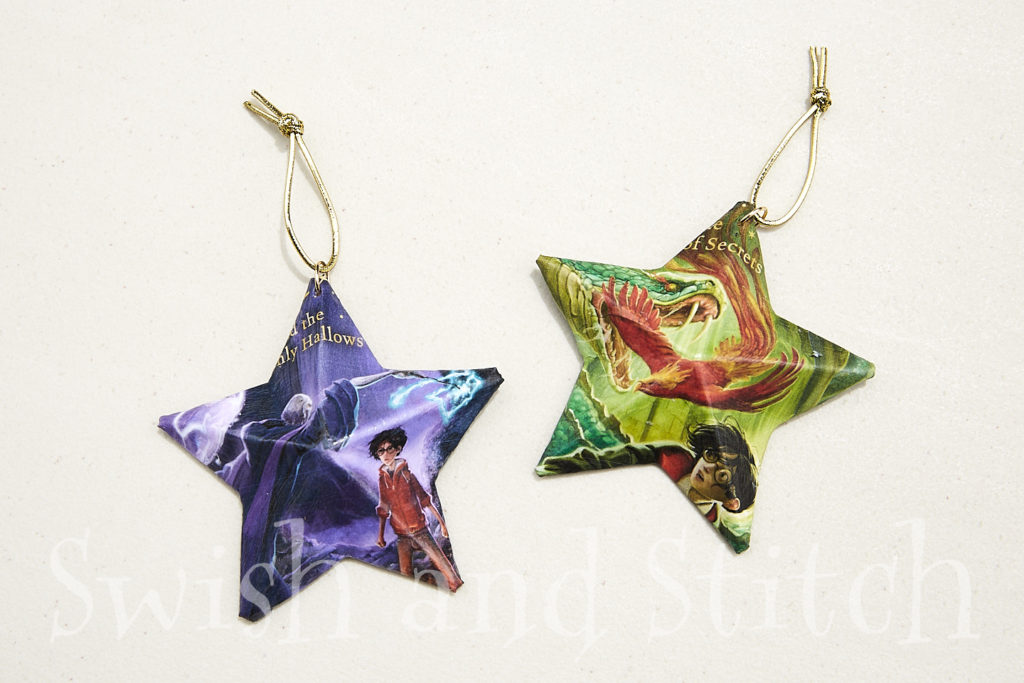
Check out all the ornaments in the Harry Potter Mini Christmas Tree Ornaments Marathon!


Supplies for Chocolate Frog Ornaments
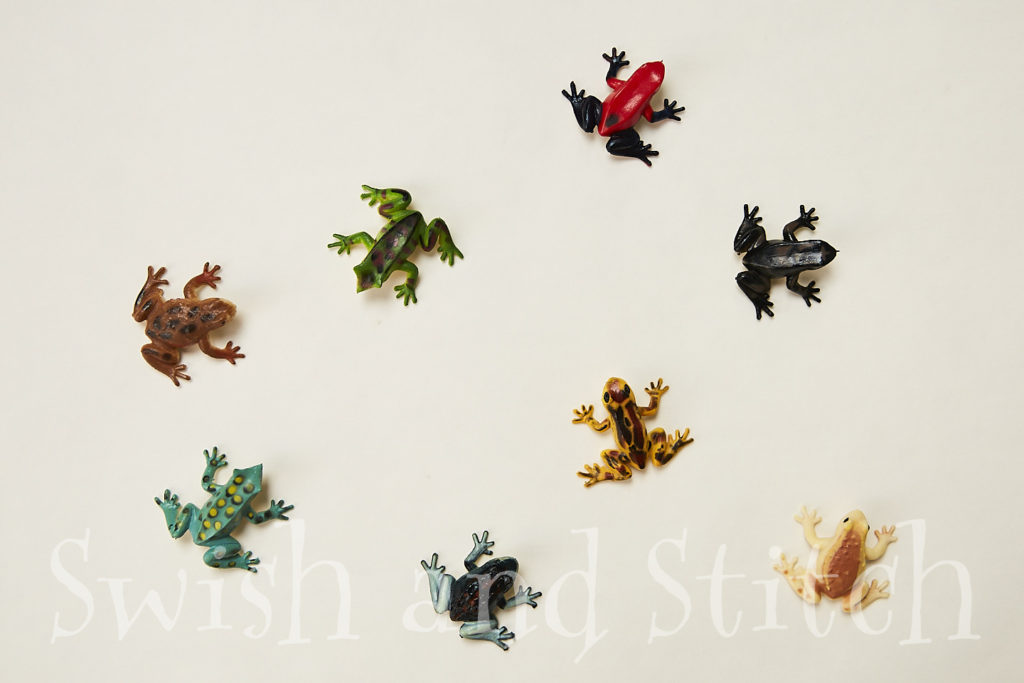
- Plastic Frogs (US Toy) or Vinyl Frogs (Amazon)
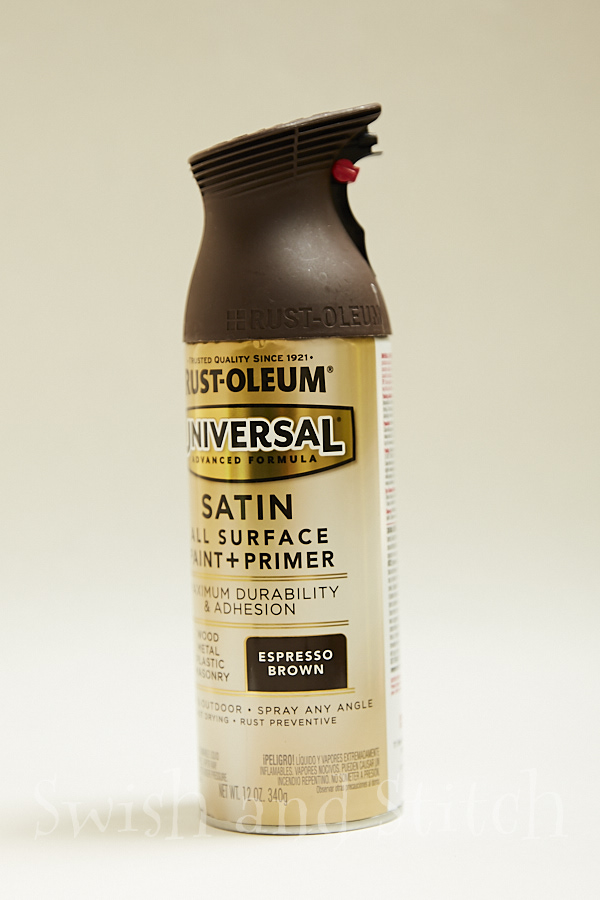
- Rust-oleum Satin All Surface Paint + Primer in Espresso Brown
- 10 X 5 mm gold screw eye pins
- Gold cord or colorful ribbon
Directions
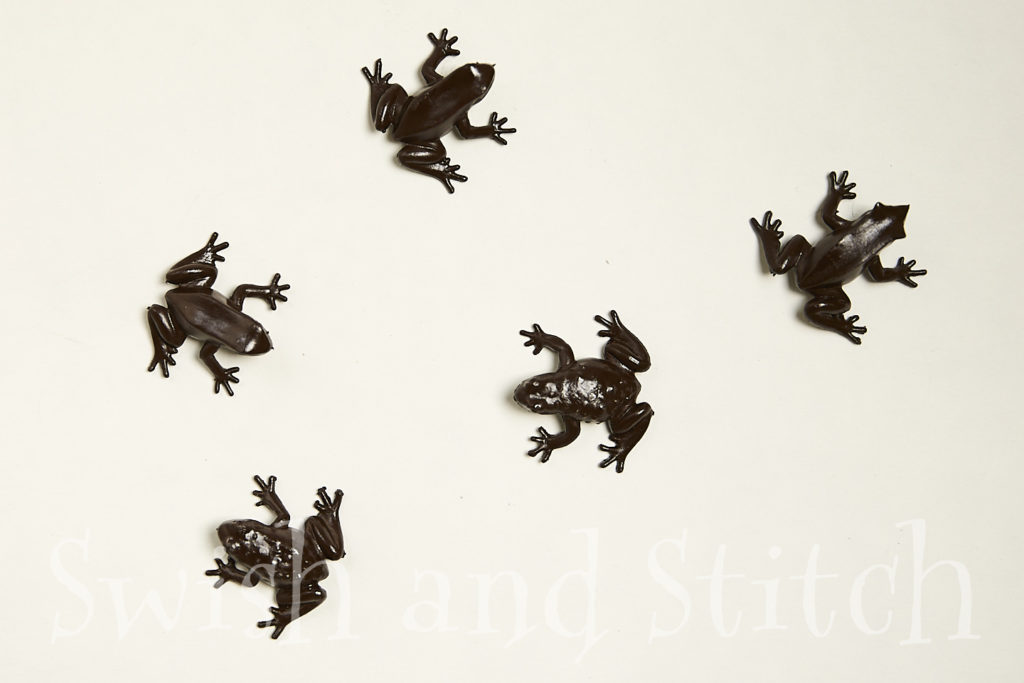
1. Paint the Frogs
Spray Paint for Plastic
Okay, I just have to say a thing or two about my choice of spray paint. (And no, this is not sponsored!) I tried my first frog with some old, cheap spray paint that we had left over from a Cub Scout Pinewood Derby car. What a mistake! The paint never dried! Either that or it just didn’t adhere to the plastic of the frog. Either way, the paint came off on my hands even after sitting for 24 hours. And, um, we live in Colorado. I’ts super dry here and things tend to dry quickly. I am so glad that I tried it on one frog first because I ended up throwing that frog away.
Make sure that you look for paint that specifically says it is for plastic. I had read that Krylon Fusion All-In-One was a good choice for plastic, but my local Home Depot didn’t carry it. Instead, I chose the Rust-oleum Satin All Surface Paint + Primer in Espresso Brown which is perfect. It doesn’t look it on the Home Depot page, but I promise you, the frogs end up a nice mouth-watering chocolaty brown.
Prep and Paint
Be sure to protect your work area. Lay out newspaper or parchment paper to completely cover your surface to a couple of feet beyond where you intend to spray. Spray paint spatters!
Lay out your frogs bottom up. I started with the frogs right side up and must not have allowed the tops to dry completely before turning the frogs over and spraying the underside. The frogs ended up having small flat areas on the tops where they rested while the bottoms dried. If I had waited longer for the tops to dry before flipping them, this might not have happened. Anyway, I still recommend starting with the underside of the frogs.
Also, just a tip, I used a plastic fork to carefully slide the frogs to an unpainted portion of my parchment paper for drying. I didn’t want them to sit in a puddle of paint and end up drying to it.
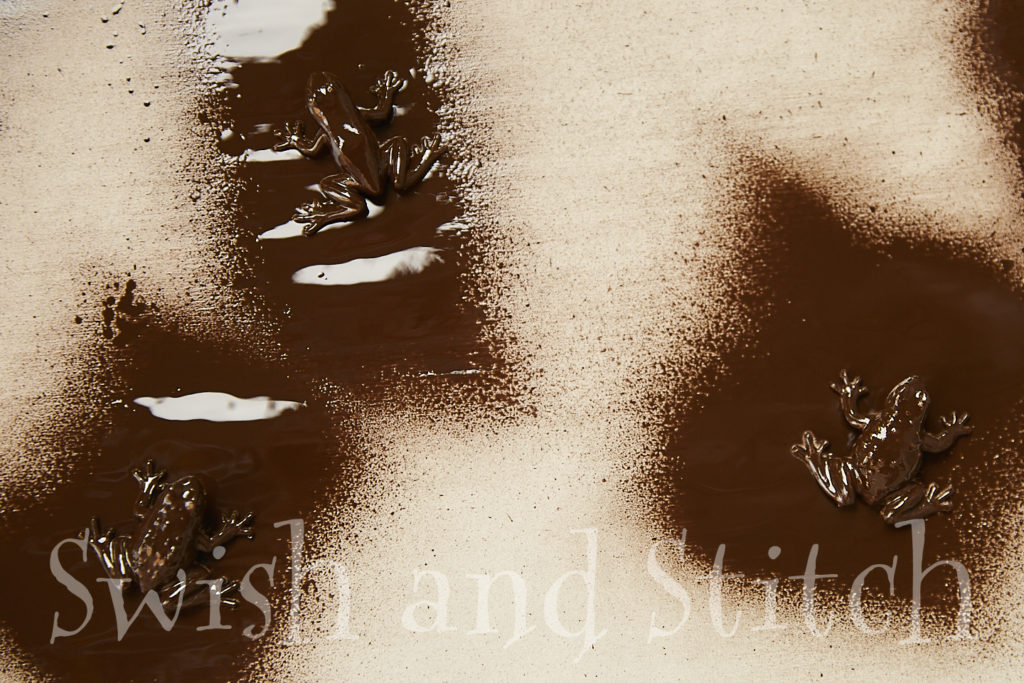
Thoroughly spray the bottoms of the frogs. Make sure you get down low and spray as much of the edges of the frogs as you can. The great thing about this spray paint is that you can spray from any angle, even with the can upside down! That makes it sooo much easier to paint these frogs.
Allow the paint to dry completely. Turn the frogs over and spray the tops of the frogs, again paying attention to the sides of the frogs. Make sure their little faces are completely coated.
Again, allow the paint to dry completely. I would let it dry overnight before finishing the ornaments.
Your frogs should now look almost good enough to eat. 😉 Yummy!
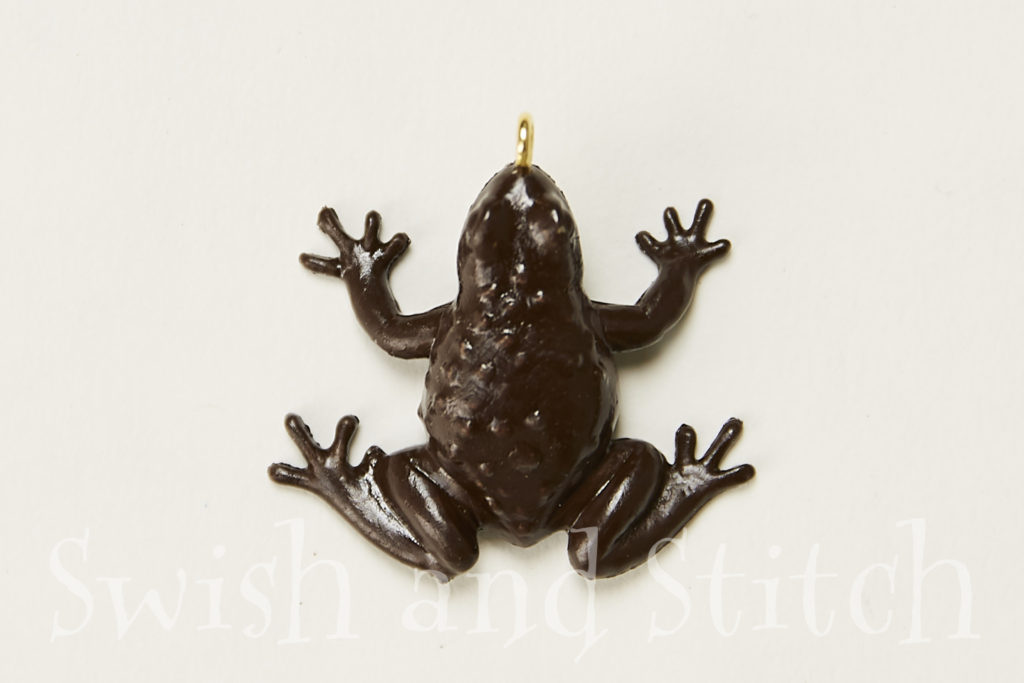
2. Add the Eye Screws
Okay, you’re going to be surprised just how easy this is. As long as you’ve chosen frogs that are a soft rubbery plastic, you don’t need a drill to make a pilot hole or anything.
Carefully hold the eye screw on the nose of the frog. Applying pressure, carefully twist the screw in.
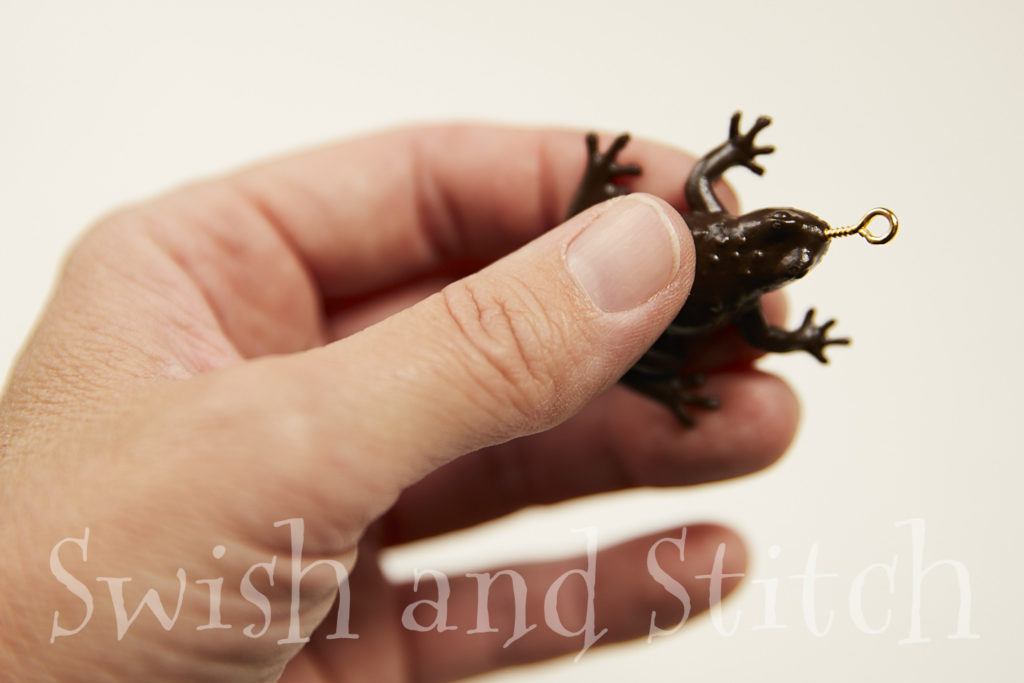
Ta-da! I told you it was easy!
A couple of things to pay attention to:
- Be very careful to insert the screw in straight. You don’t want the eye screw to accidentally come out the frog’s head or throat.
- End with the eye screw turned so you can’t see the hole when looking down from the top of the frog. When the ribbon or cord is inserted through the eye screw, the chocolate frog ornament will hang properly on the tree.
3. String the Cord
You’re almost finished! All the Chocolate Frog Ornaments need is ribbon or cord for hanging. For a cohesive look on my Harry Potter Mini Christmas Tree, I chose gold cord for all of my ornaments. These would also look good with 1/8-inch satin ribbon instead. Perhaps in Hogwarts House colors?
Cut 6-7 inches of metallic cord or ribbon. Insert the cord or ribbon through the eye screw. Hold the two ends of the cord together and tie a simple knot. Trim the ends if desired.
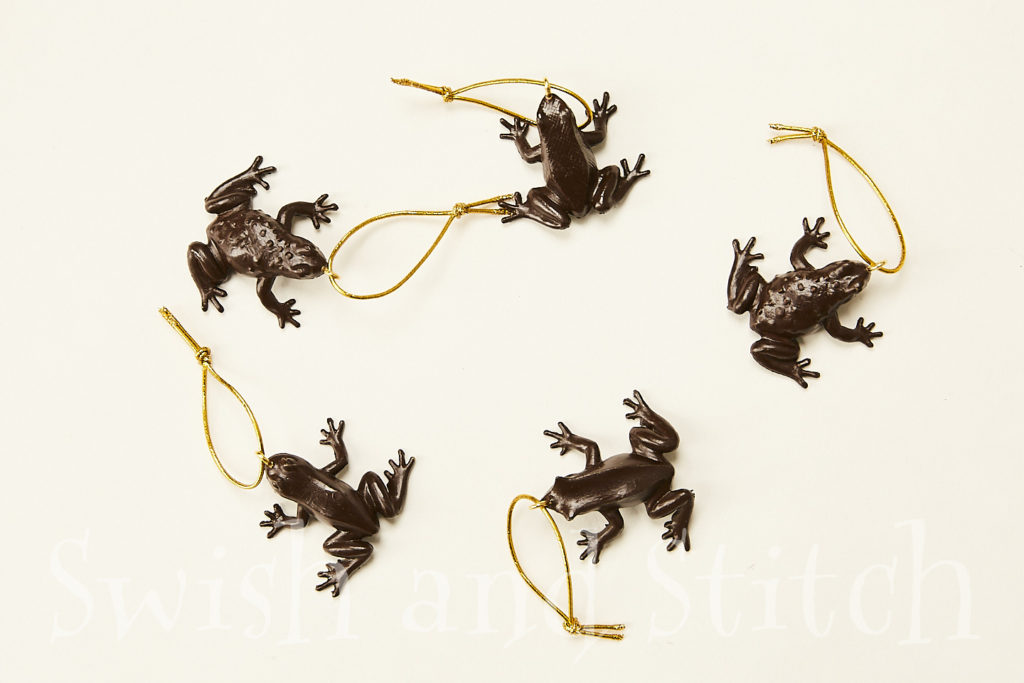
Your chocolate frog ornaments are now ready to be hung on your tree! Aren’t they adorable? And so quick and easy you could easily make a dozen or two and share them with all your favorite Harry Potter fans.
~Lucinda
For more Harry Potter fun, try these other great crafts!