Some of the links on this site are affiliate links. I make a small commission from sales when you click through the link. There is no additional cost to you.
“Luna had decorated her bedroom ceiling with five beautifully painted faces: Harry, Ron, Hermione, Ginny, and Neville. They were not moving as the portraits at Hogwarts moved, but there was a certain magic about them all the same: Harry thought they breathed. What appeared to be fine golden chains wove around the pictures, linking them together, but after examining them for a minute or so, Harry realized that the chains were actually one word, repeated a thousand times in golden ink: friends . . . friends . . . friends . . . ”
Harry Potter and the Deathly Hallows
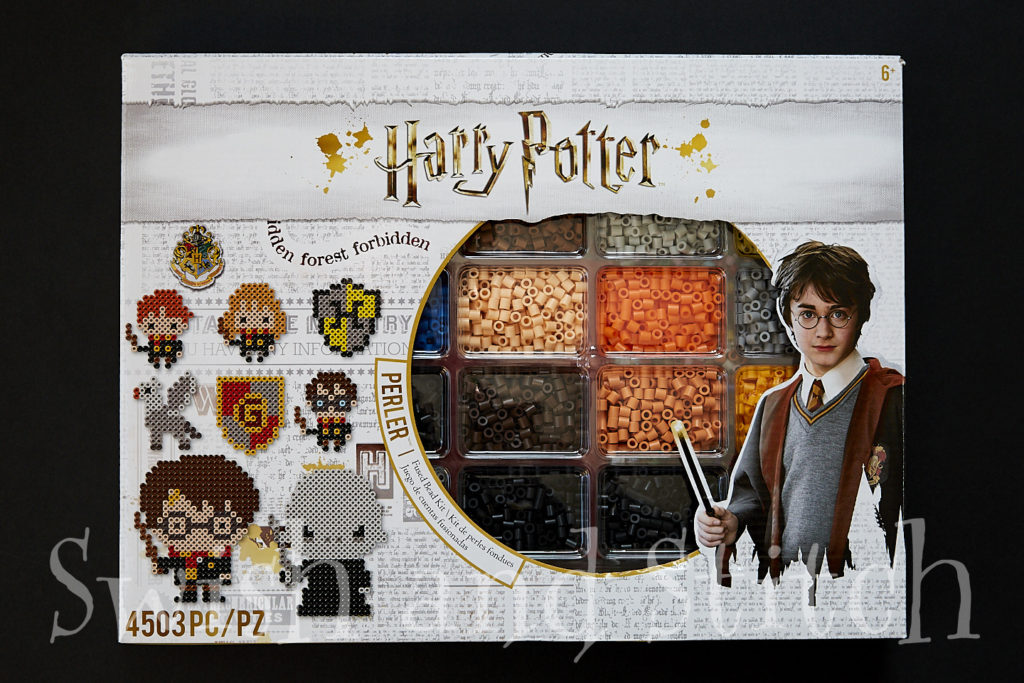
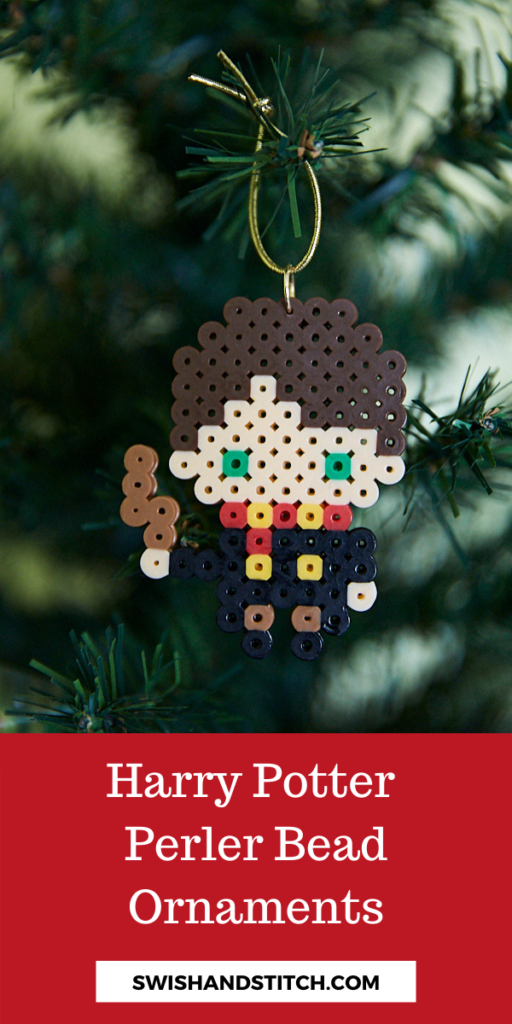
Being a Harry Potter fanatic, I am highly tuned into anything all things Harry Potter: books, crafts, party ideas, and products. When I saw the Perler Harry Potter Deluxe Fused Bead Kit, I bought it. I am not usually an impulse buyer, but I knew that these Perler projects would fit right in with my other Harry Potter ornaments. And I was right! The kit includes just about everything you need. I just added some jump rings and cord to turn the projects into wizard-worthy ornaments.
Check out all the ornaments in the Harry Potter Mini Christmas Tree Ornaments Marathon!


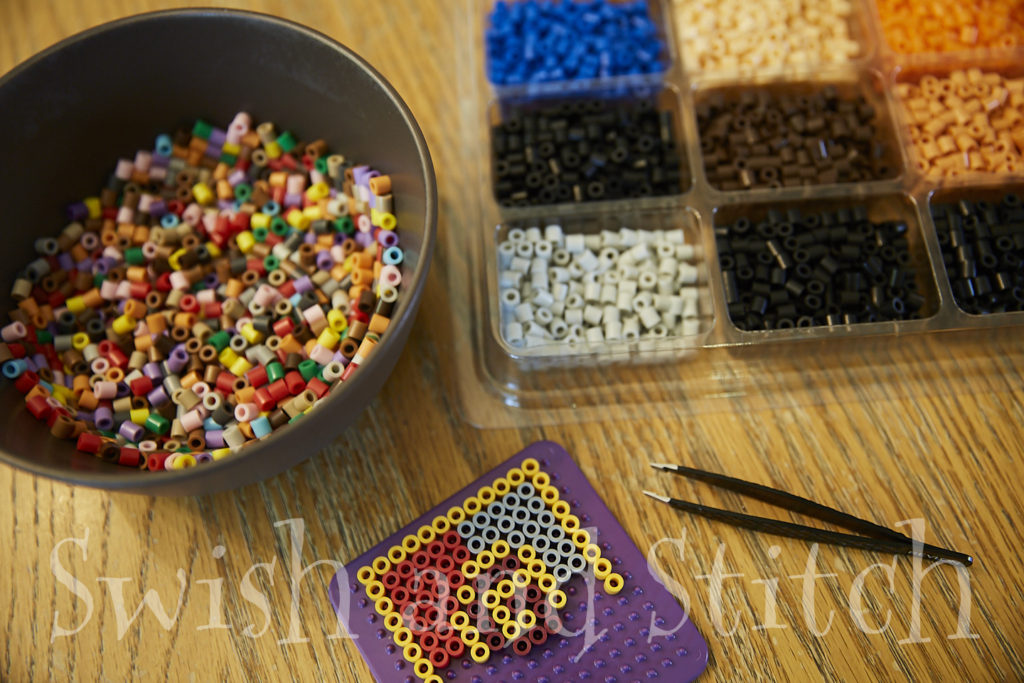
Harry Potter Perler Bead Ornament Supplies
These Harry Potter Perler bead ornaments are super easy and only require a few supplies.
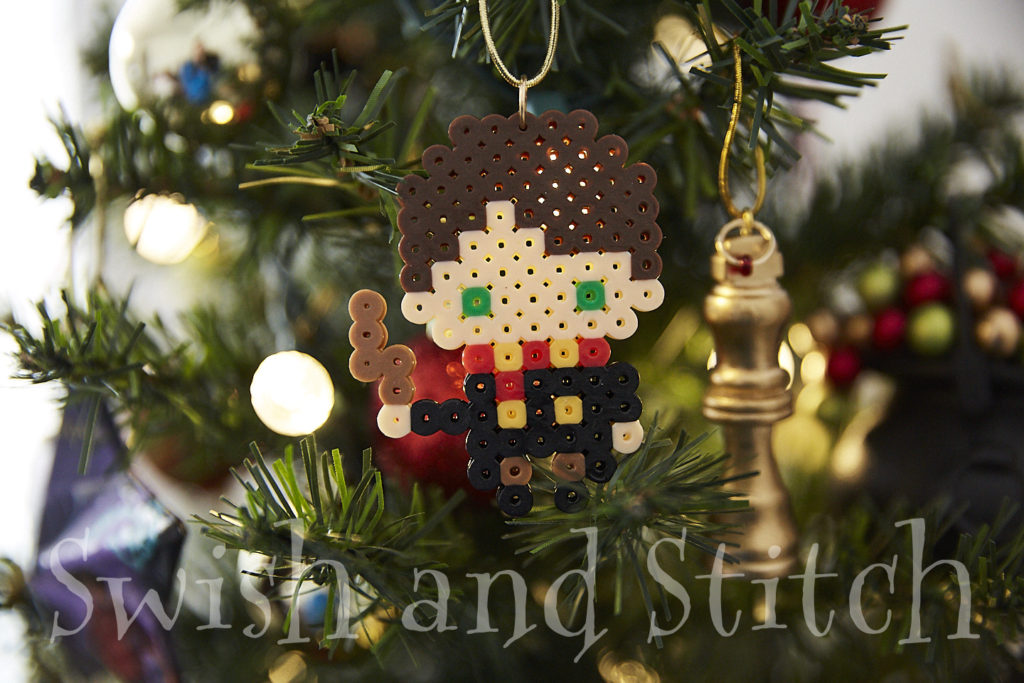
The Perler Harry Potter Deluxe Fused Bead Kit includes patterns for the house crests and the Harry Potter characters that I used for my tree ornaments. It includes other characters, as well as larger versions of Harry, Ron, Hermione, Dumbledore, and Voldemort. I stuck with the small characters for the ornaments since I am decorating a 3-foot Christmas tree.
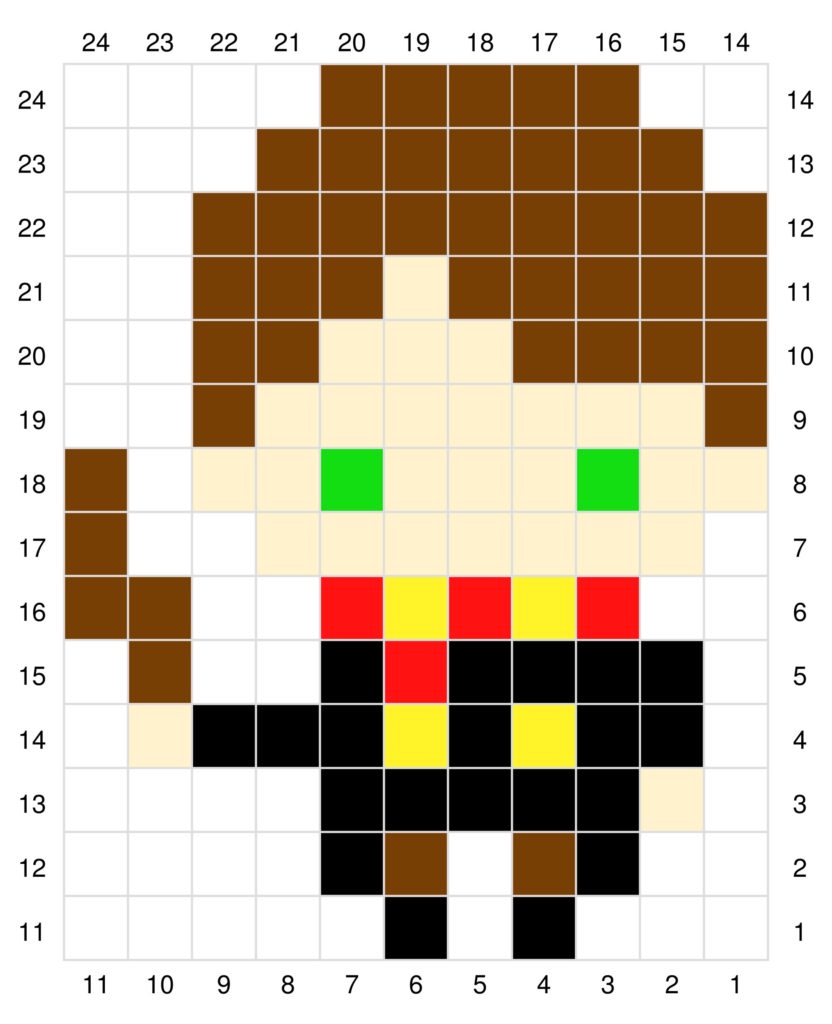
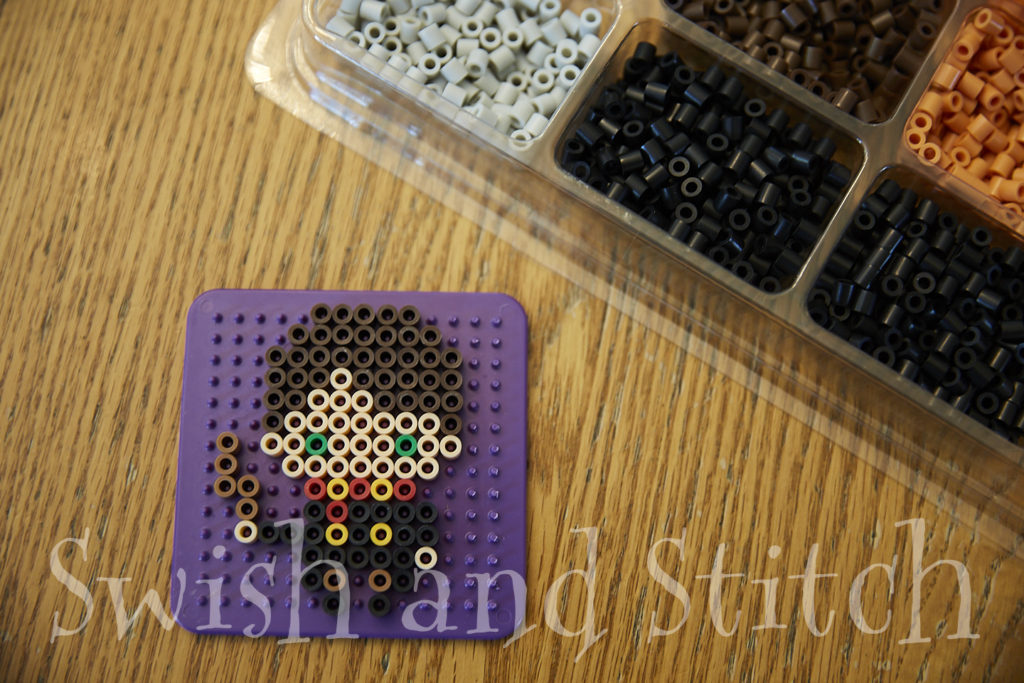
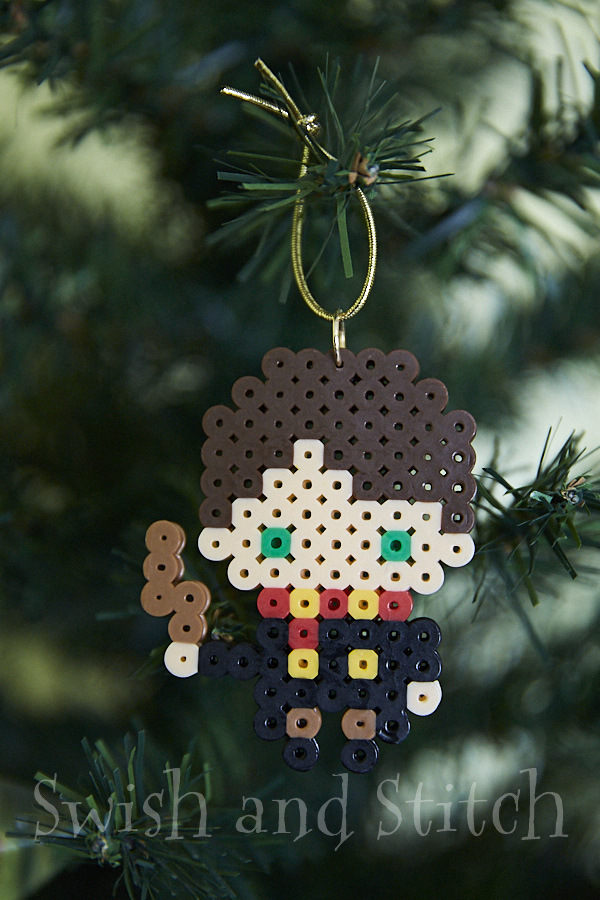
To be honest, I didn’t like the small Harry Potter character. His head is too small and the face is almost entirely taken up by glasses. Now I know that Harry’s glasses are an iconic feature. However, I didn’t feel it necessary to portray them in such a small ornament.
So I designed my own. I think anyone can tell who he is supposed to be by his green eyes and red and gold house scarf. Here is my version.
He fits very nicely on a small pegboard. The kit only comes with a large pegboard, but you can purchase additional pegboards if you like.
Directions
1. Place the Perler Beads on the Pegboard
If you’ve never worked with Perler or other fused beads, there’s nothing simpler. It’s kind of like paint by number. Just choose the pattern you want, and place beads on the pegboard according to the pattern.
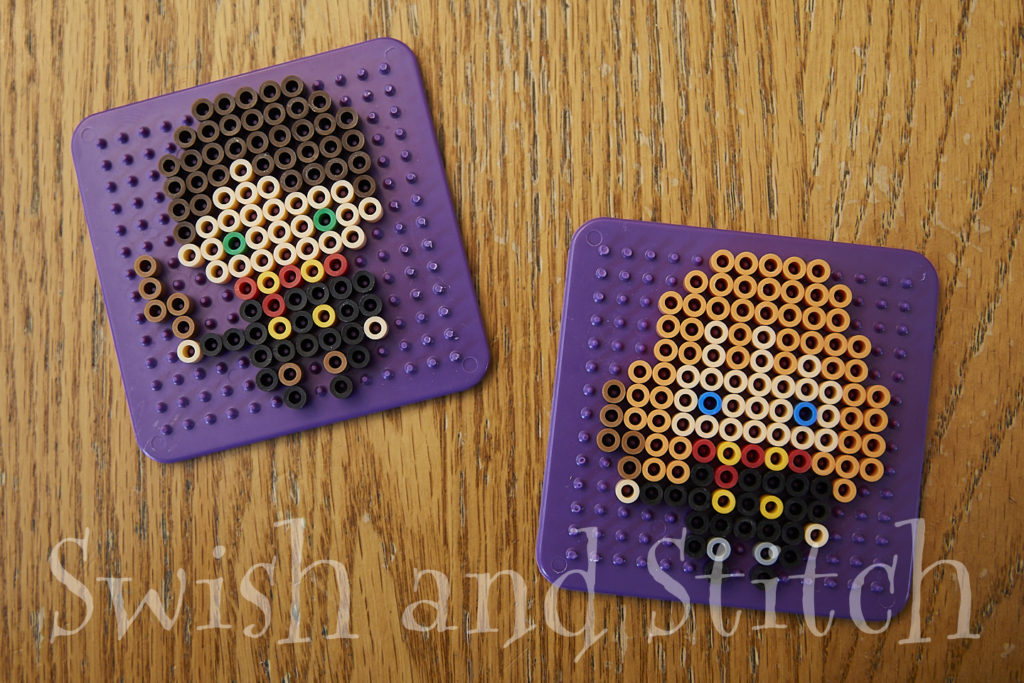
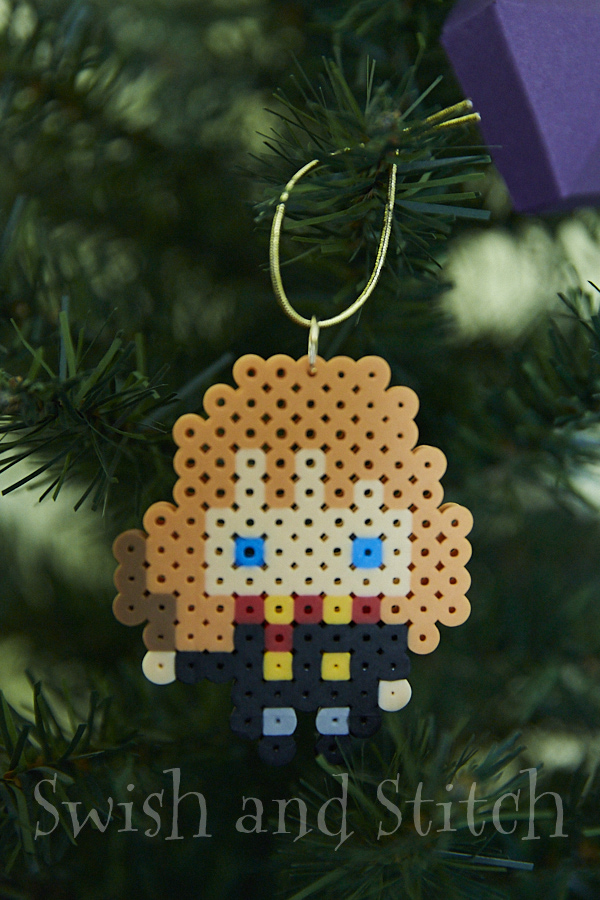
Here’s my version of Harry with Hermione.
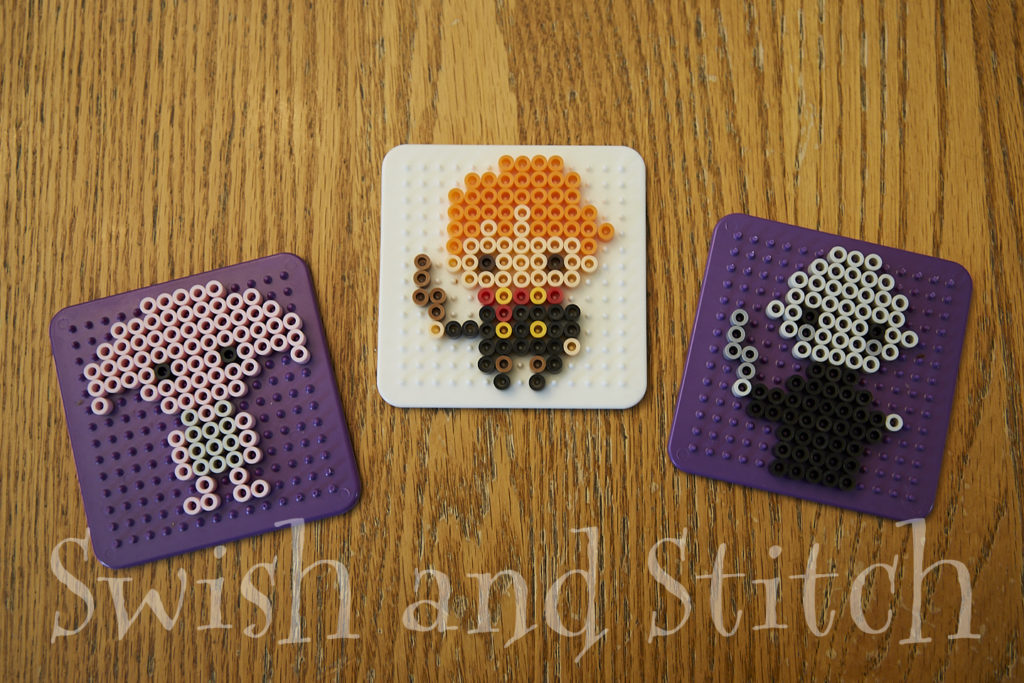
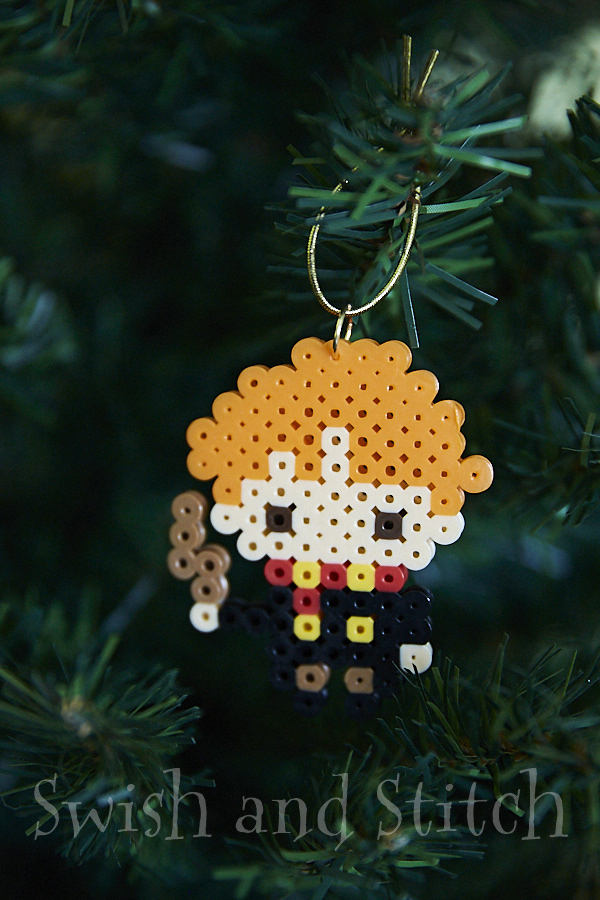
And Dobby, Ron, and Voldemort.
2. Iron the Perler Bead Harry Potter Ornaments
Preheat your iron to the medium setting.
The hardest part of this whole process for me is carrying my creations over to my ironing board. 🙂 I always seem to jostle them and have to reposition a couple of beads. Hopefully, you have steadier hands than I do and can get them to your ironing board without mishap.
The kit comes with a sheet of parchment paper to cover the beads with while ironing. Just place it on top of the beads and iron in a circular motion. According to Perler.com, “When ironed properly, the beads will still have an open center.”
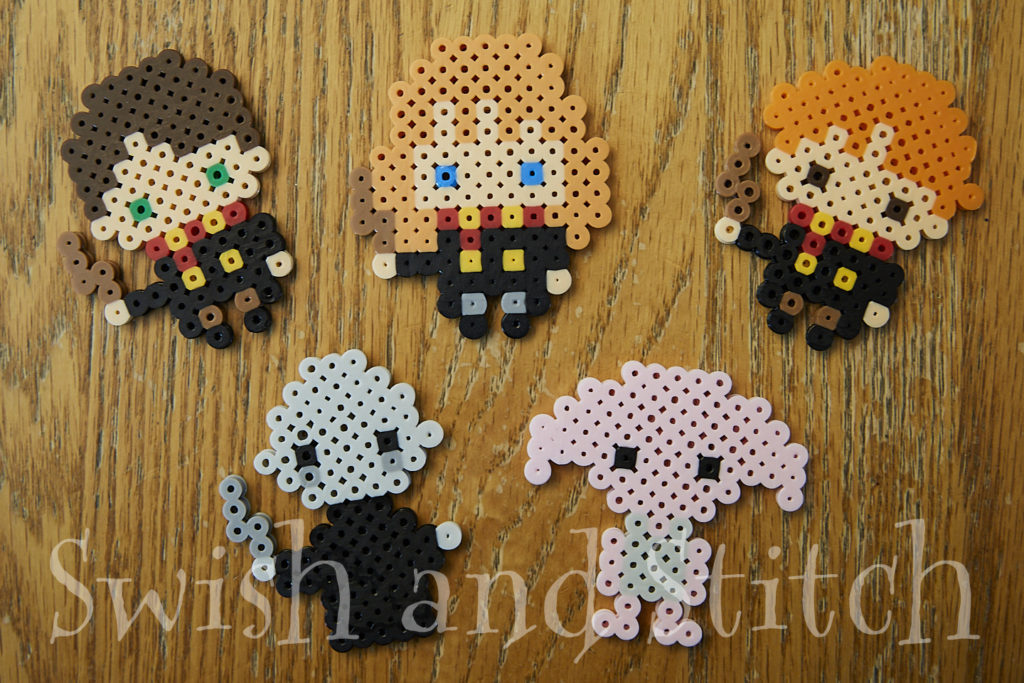
You can see the open centers in the beads in the Harry Potter characters here.
I admit sometimes I iron too long and some of the beads fill in. It’s kind of a fine line between ironing enough so the beads melt together and ironing too much. It doesn’t really matter if you iron too long, it just changes the look of the project a little.
I love the little wands, but they’re super delicate. Make sure to iron them enough to melt them properly together.
3. Insert the Jump Ring and Hanging Cord
If you have left holes in the beads while ironing, inserting the jump rings is super easy. Just choose a hole in the top row of your ornament and insert the ring.
If your holes are more filled in and you can’t get the jump ring through, use a needle or pin and re-open a hole where you want it. Then, insert the ring.
Once your rings are inserted, cut a piece of gold cord 5-6 inches. Thread the cord through the jump ring and tie a simple knot. Trim the ends, if desired.
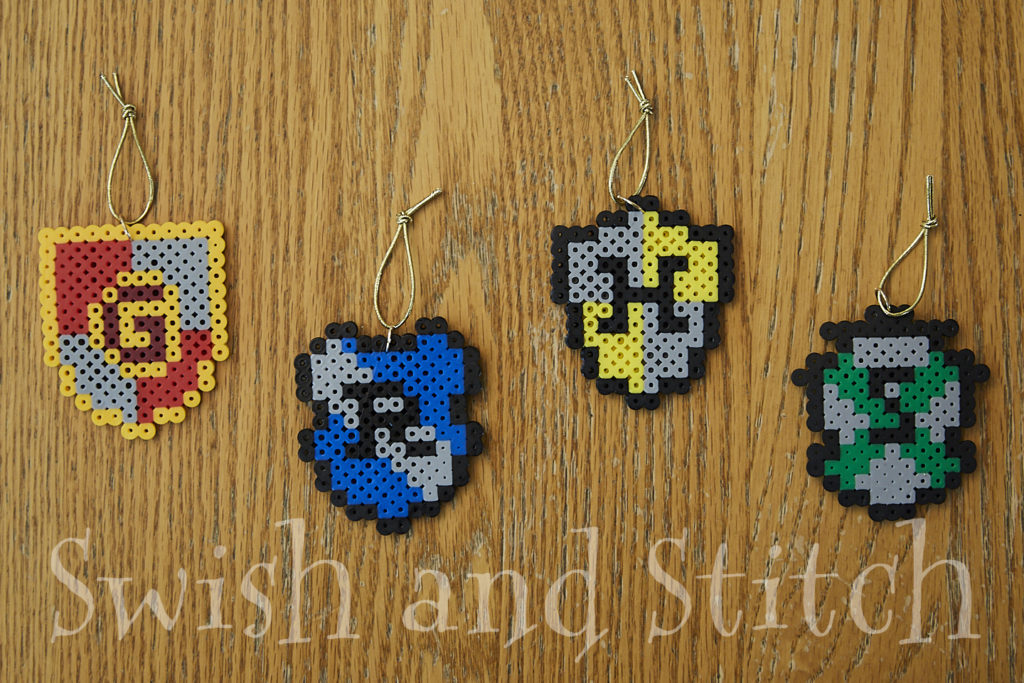
Here are the finished house crest ornaments.
This is what Harry and his friends look like hanging on my tree.
Aren’t they great!
And this project is super kid-friendly! My own kids are grown, but I have a young friend (about 9) that likes to come over and will spend hours making Perler bead projects. She can easily sort and place the beads, and she has no problem following the patterns. The only step she can’t do is ironing them. That needs to be done by an adult.
Enjoy!
~ Lucinda
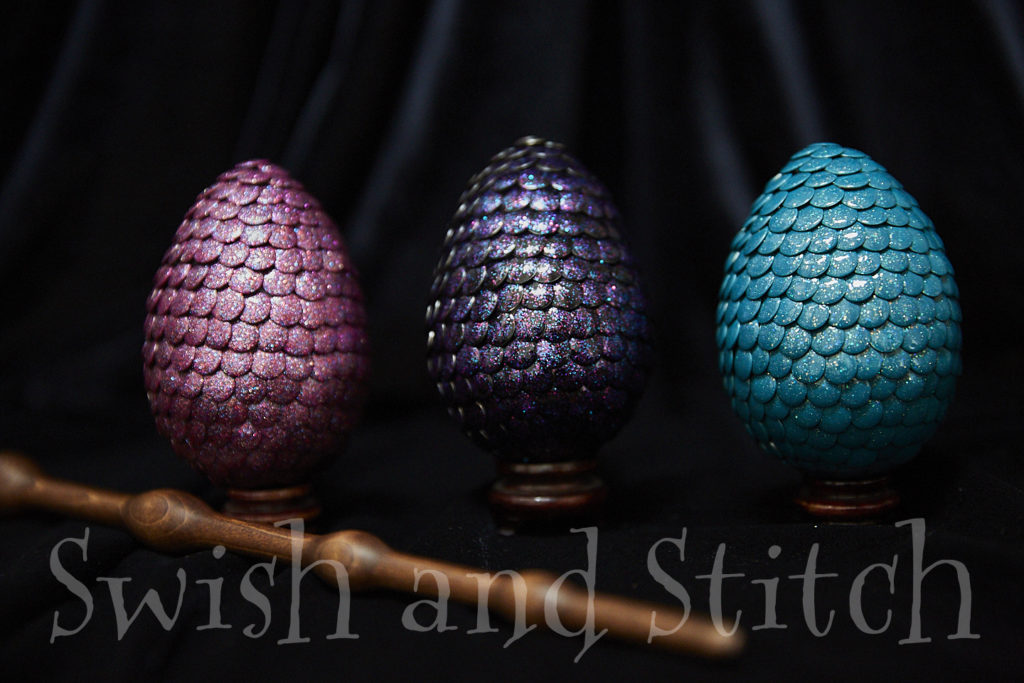
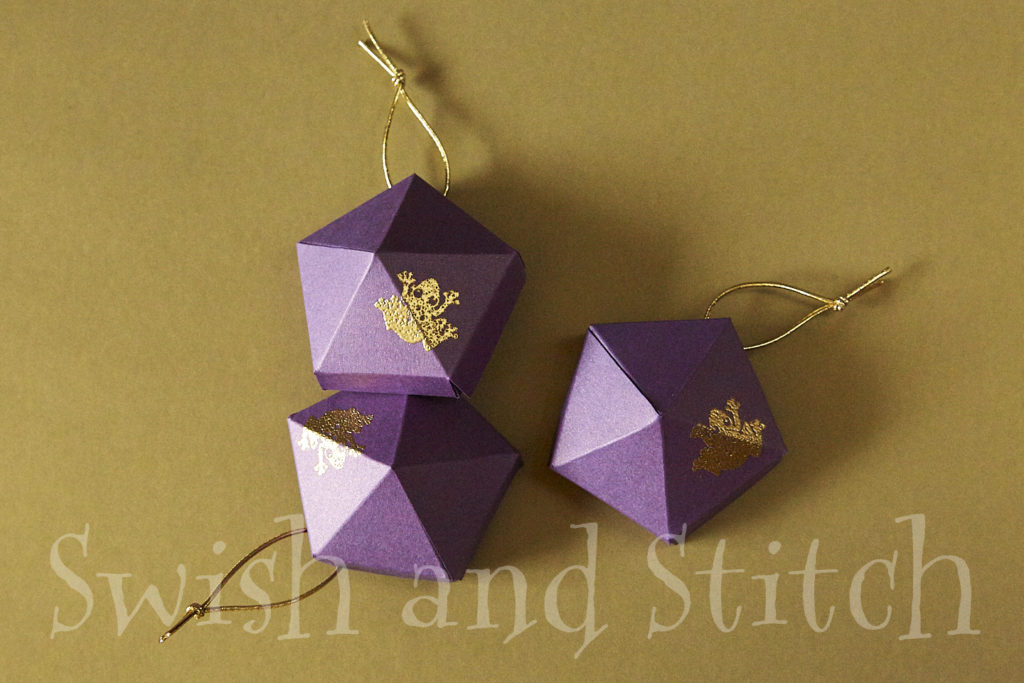
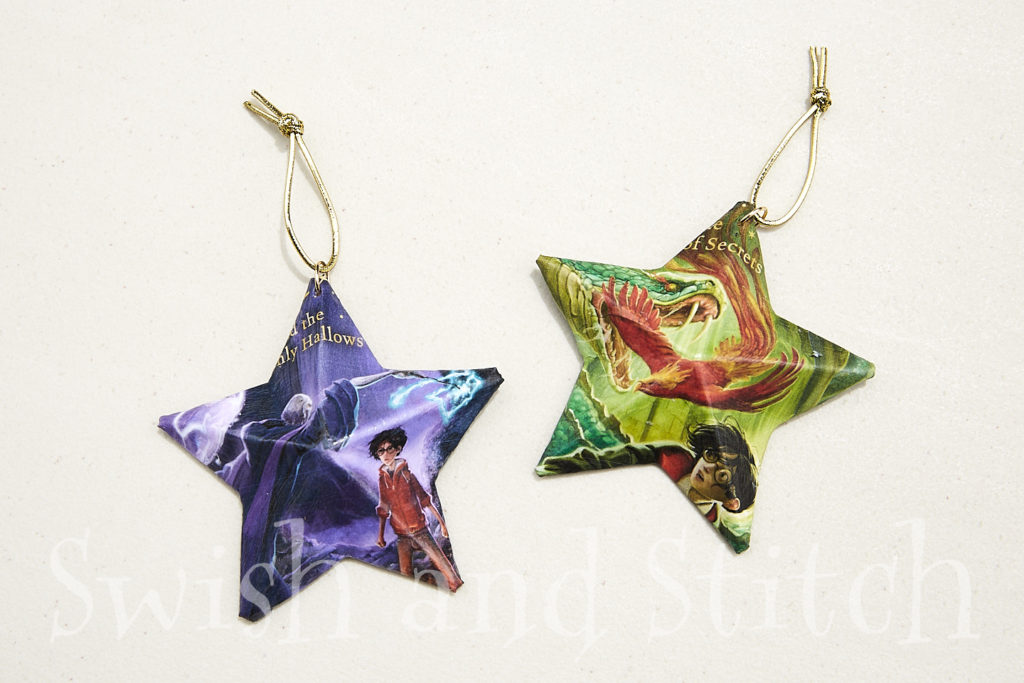
For more Harry Potter fun, try these other great crafts!


Pingback: 10 Harry Potter Perler Beads Patterns - DIY Crafts
Pingback: Magical DIY Harry Potter Christmas Ornaments