Some of the links on this site are affiliate links. I make a small commission from sales when you click through the link. There is no additional cost to you.
DIY Harry Potter Papier Mache Star Ornaments Tutorial
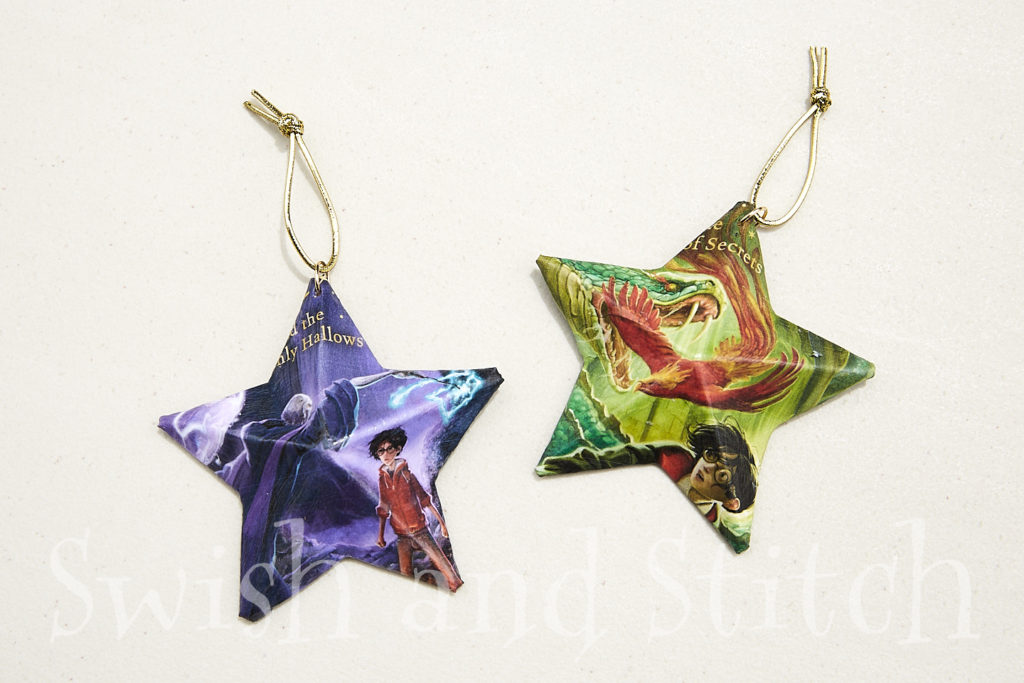
Today I’ve got another super easy wizarding craft for you that yields stunning results for just a few minutes of work. We will be making papier maché star ornaments. I say “making” them, but it’s even easier than that. I will show you how to cover pre-made ornaments to turn them into something truly eye-catching and unique.
For more Harry Potter themed fun check out these other awesome crafts!
Materials for Papier Mache Star Ornaments
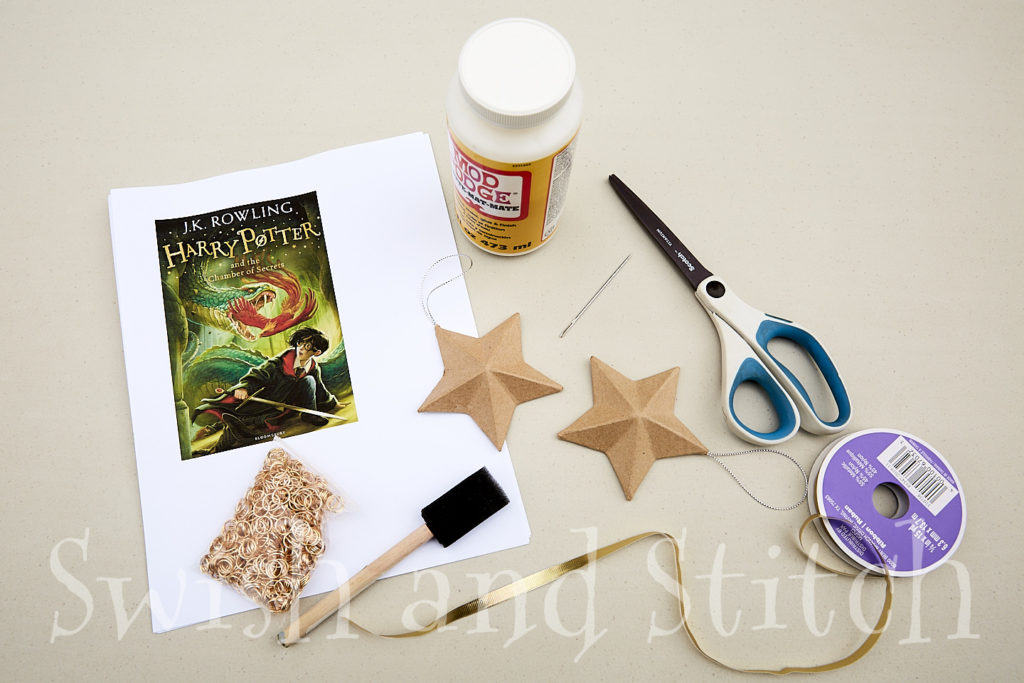
To make a papier maché star ornament, you will need:
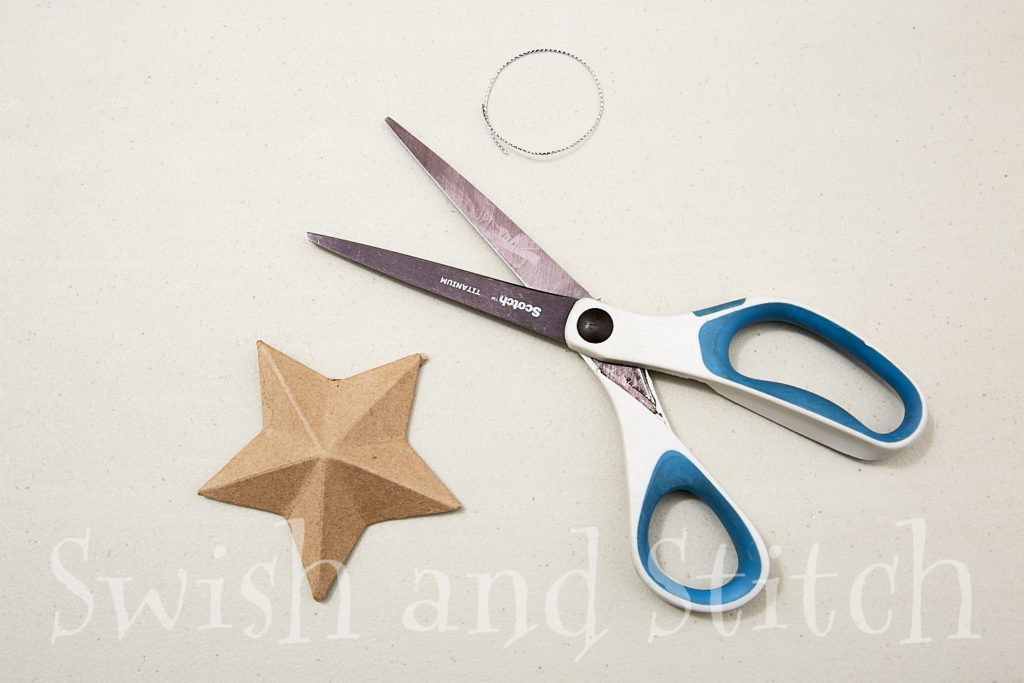
- a 3.5″ pre-made papier maché star ornament
- Mod Podge – a craft glue and sealer
- a foam paintbrush
- paper of your choice or two identical printed images at least 4.25 inches wide
- a 10mm gold jump ring (optional)
- gold elastic cord (optional)
- long needle or hammer and thin nail
- 1/4-inch gold ribbon (optional)
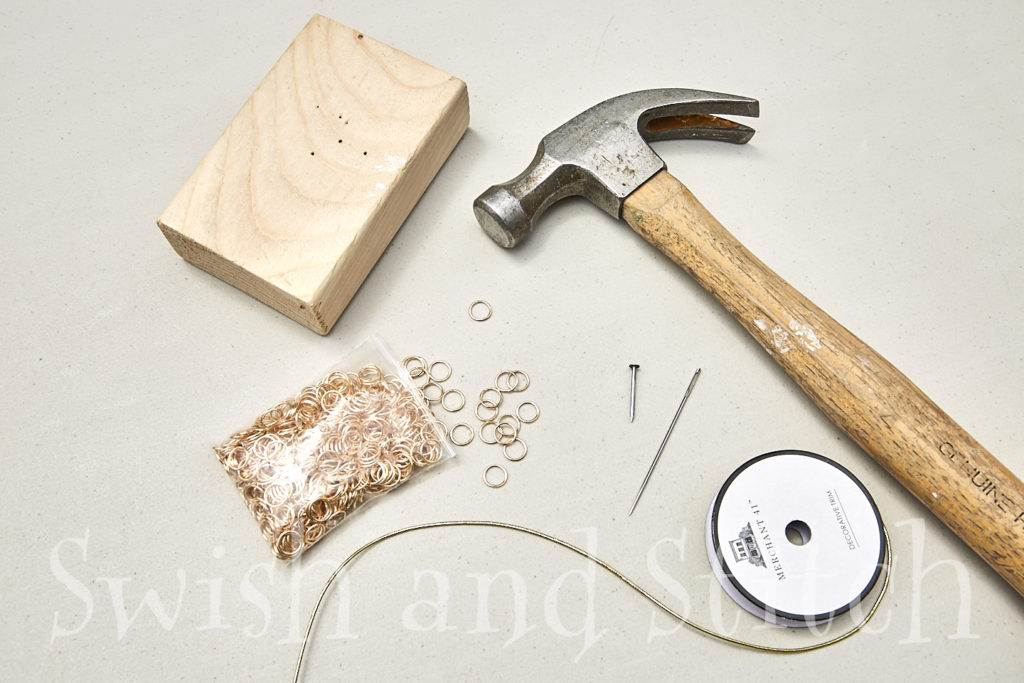
I purchased a package of five star ornaments at Hobby Lobby for around $3. They already had silver cord attached for hanging, but I wanted gold accents for the ornaments. I cut off the silver cord and used a gold jump ring and and elastic cord instead. Feel free to leave the silver cord attached if silver works with your chosen color scheme.
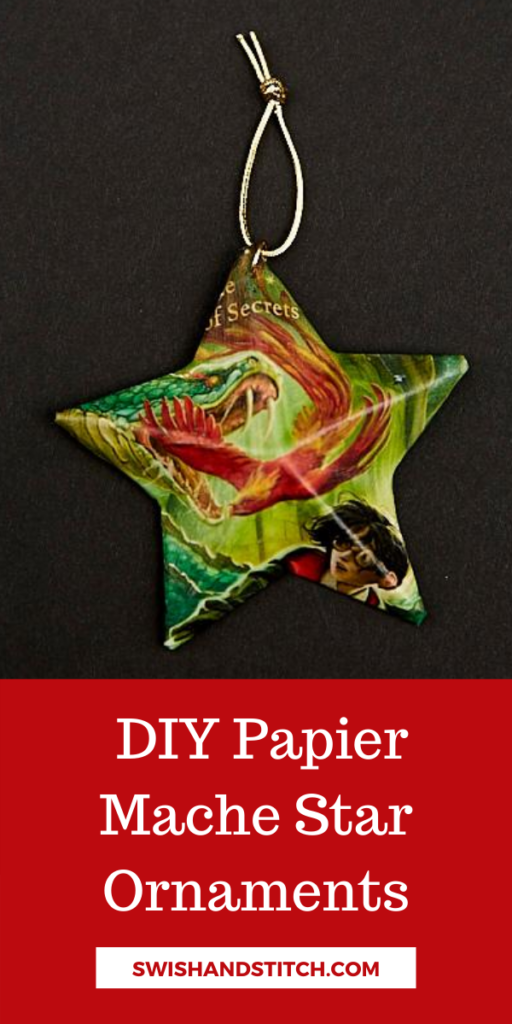
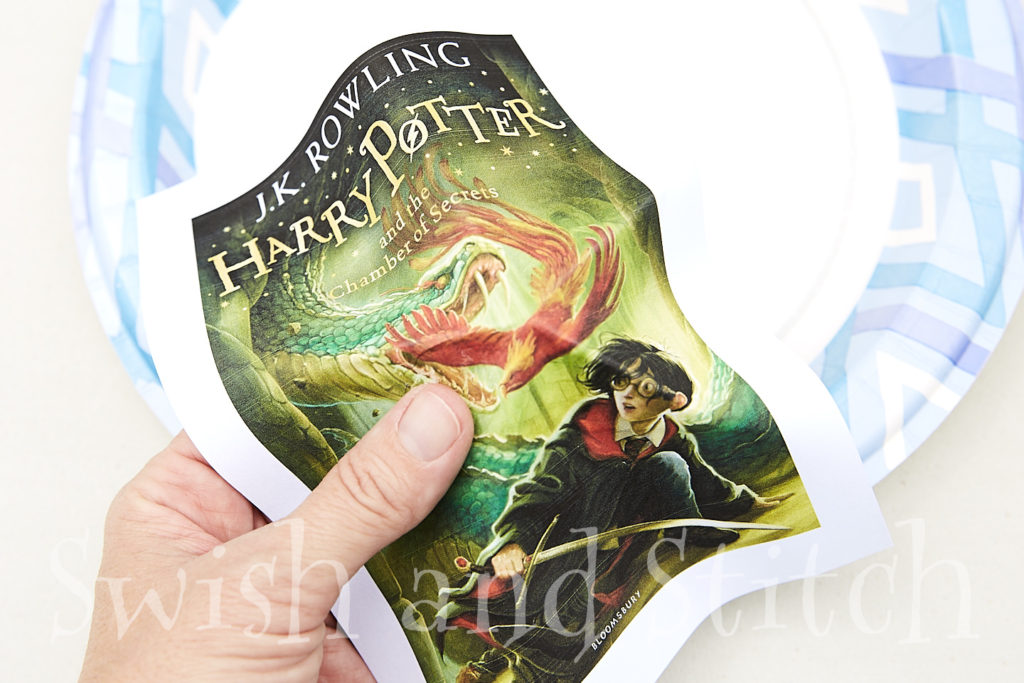
Of course, you can customize these ornaments for any theme, but I wanted to make a Harry Potter ornament (who wouldn’t? 😉 ), so I scoured the internet for downloadable images. Since the 3.5-inch star is dimensional, you need to print the images larger than 3.5 inches in width. I found that 4.25 inches worked well. You can print the image larger, but you will lose more of the picture if you print it too large.
Now that you have your image, you are ready to cover your star.
Directions for Papier Mache Star Ornaments
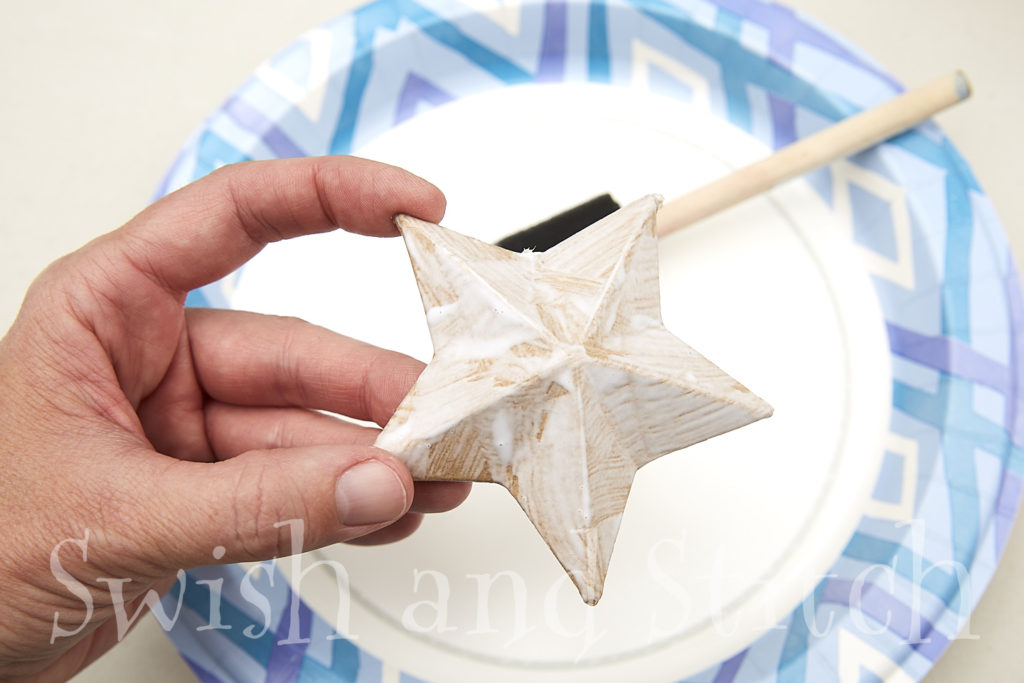
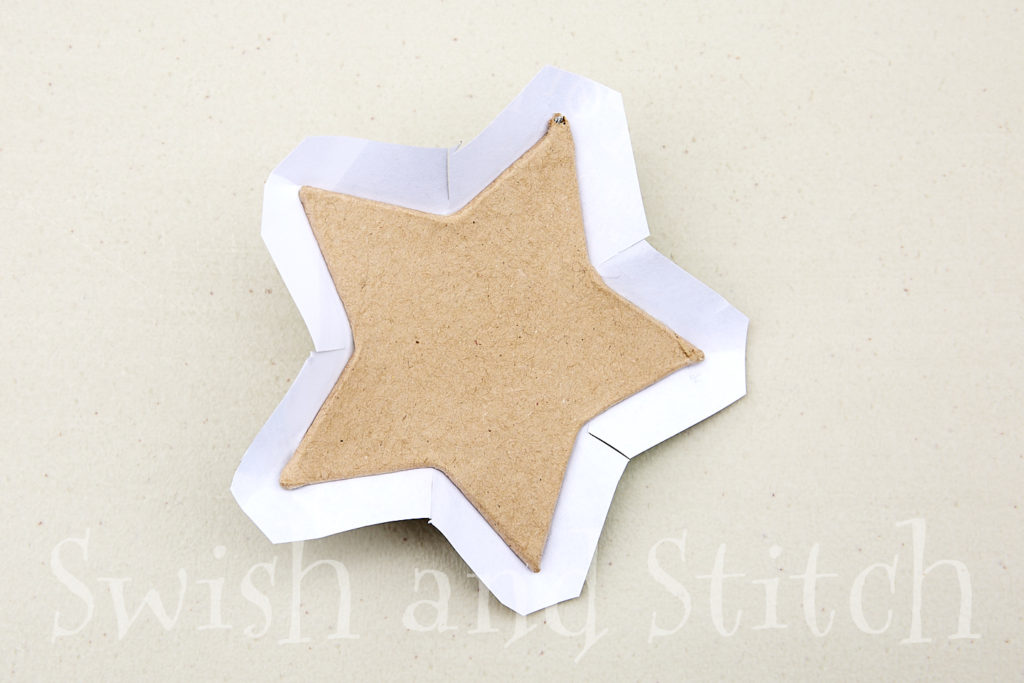
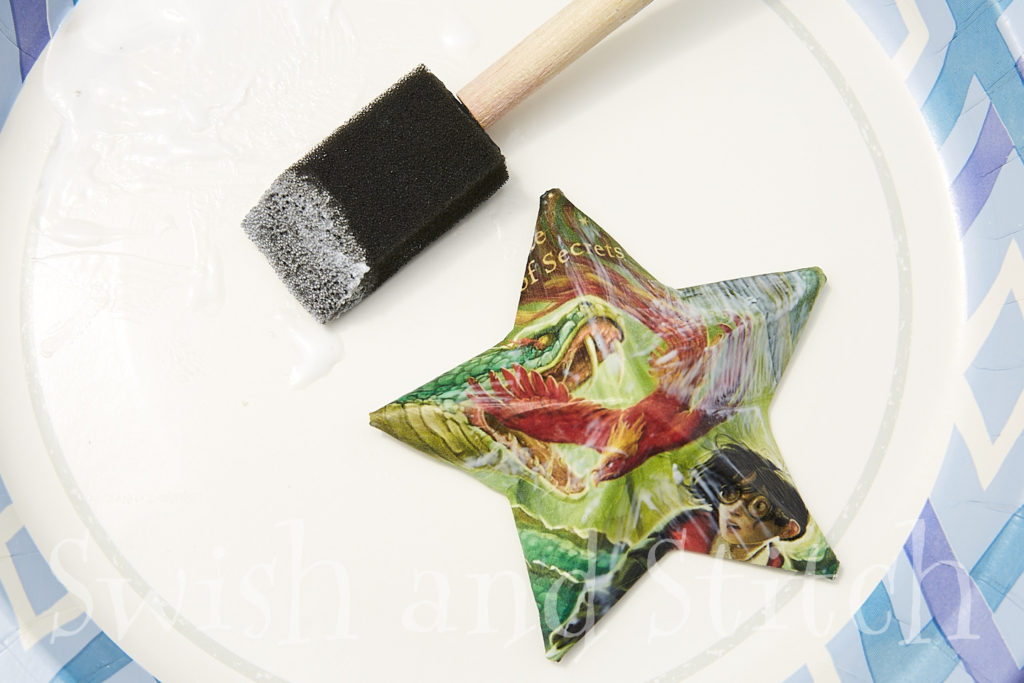
Using the foam brush, smear an even coat of Mod Podge over the front of the ornament. The front is the dimensional—not flat—side of the ornament.
Position your picture as desired over the star. Beginning from the center of the star, smooth the paper over the star to fit.
Be sure that the paper is in contact with the star in the depressions or “valleys” as well as on the “hills.” Press the paper to the surface firmly. Continue to smooth the paper from the center of the star out to the tips. Once it begins to stick (this will only take a few seconds), don’t shift the paper . If you do, you’ll end up with wrinkles on the surface.
When the paper feels secure, turn the star over. Cut around the star about 1/2 an inch outside the edges. Snip the paper straight in to the inverse points (where the star’s “arms” meet). Also, cut off the points of the star to about 3/8-inch from the ornament’s points.
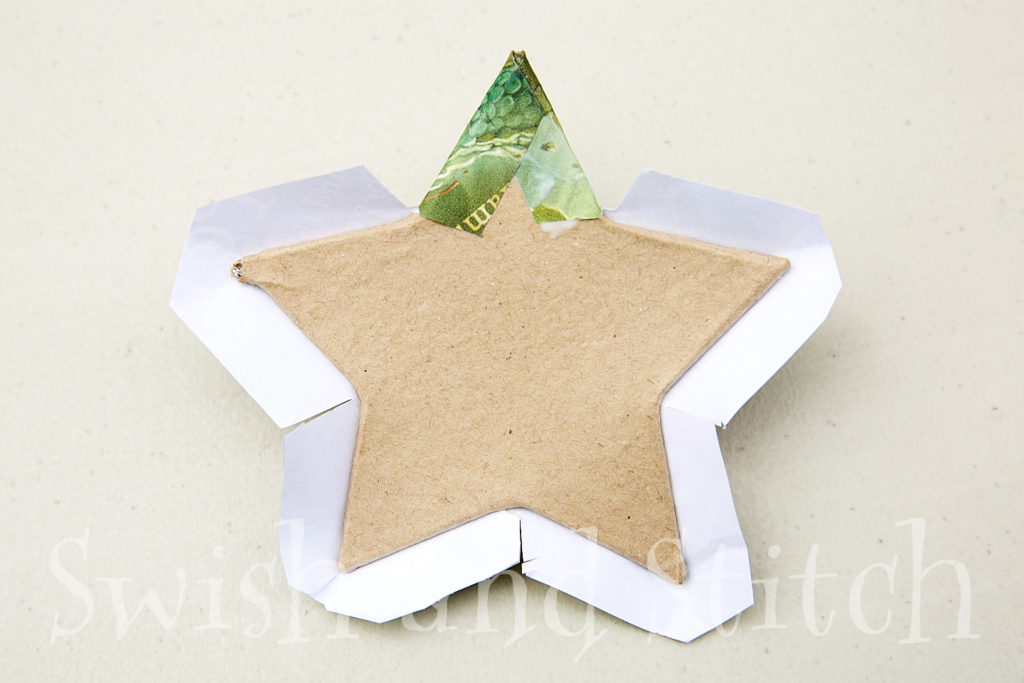
Cover one “arm” of the star with Mod Podge. Fold in the paper over the point and press firmly to the glue.
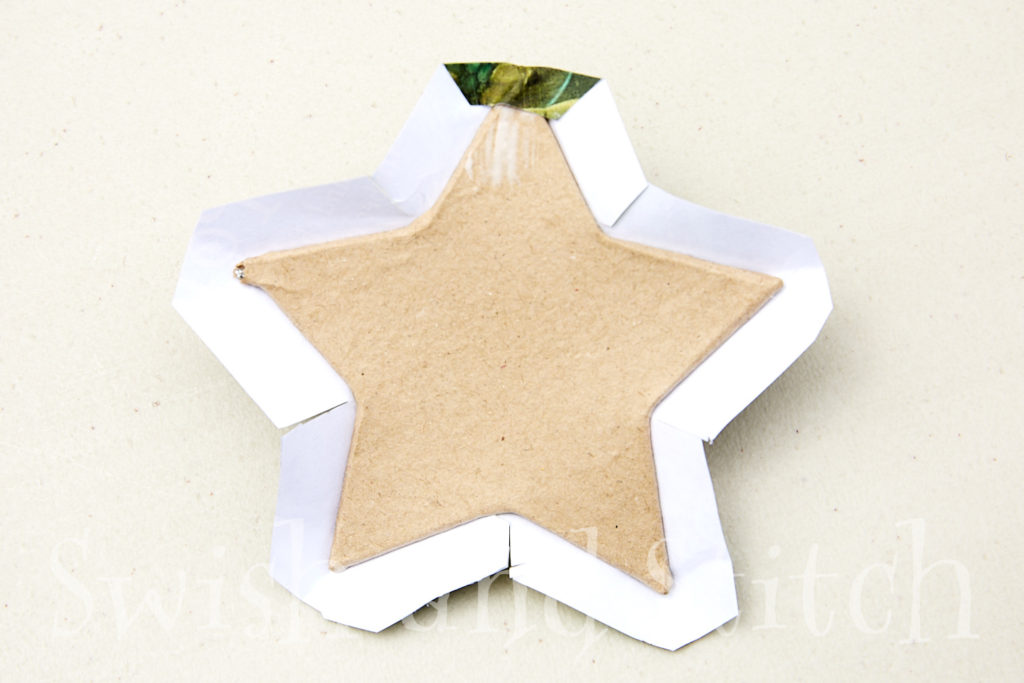
Dab a little Mod Podge on the paper that was just folded in. Then, fold in one side flap and press down and then the other, adding Mod Podge wherever needed to secure.
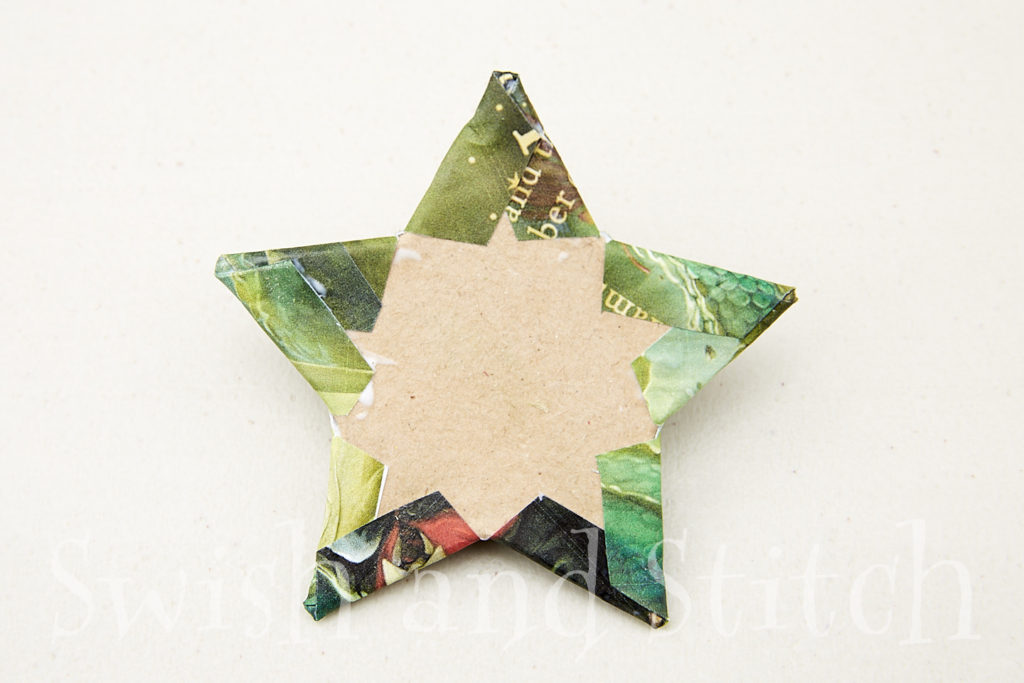
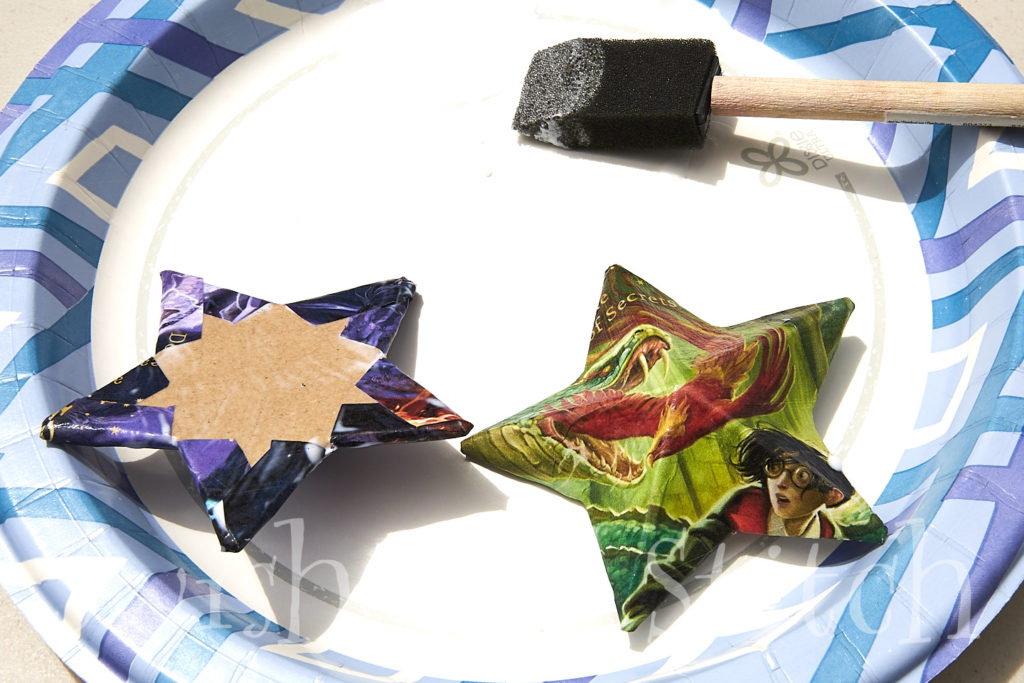
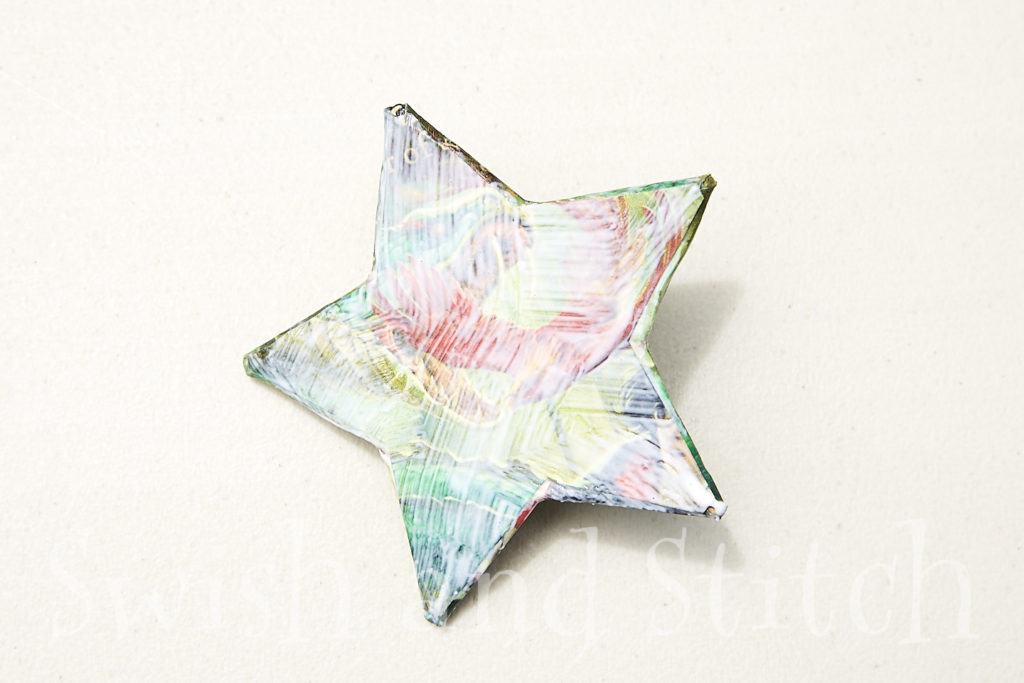
Repeat this for each arm of the star. It will look like this when all five arms have been glued.
Now, to ensure everything is well secured and sealed, cover the entire back with Mod Podge and allow to dry a few minutes. In Colorado on a hot summer day, this dries fast!

When it is no longer tacky, turn the ornament over and cover the entire front with an even layer of Mod Podge. Allow to dry completely. If desired, you can add an additional coat of Mod Podge to the front for a thicker layer of sealant. Allow to dry.
Working on a second ornament while the first dries
Once the front of the star is completely dry, place it on the wrong side of the second image and trace a very tight outline. This will give a nice finished look to the back of the ornament.
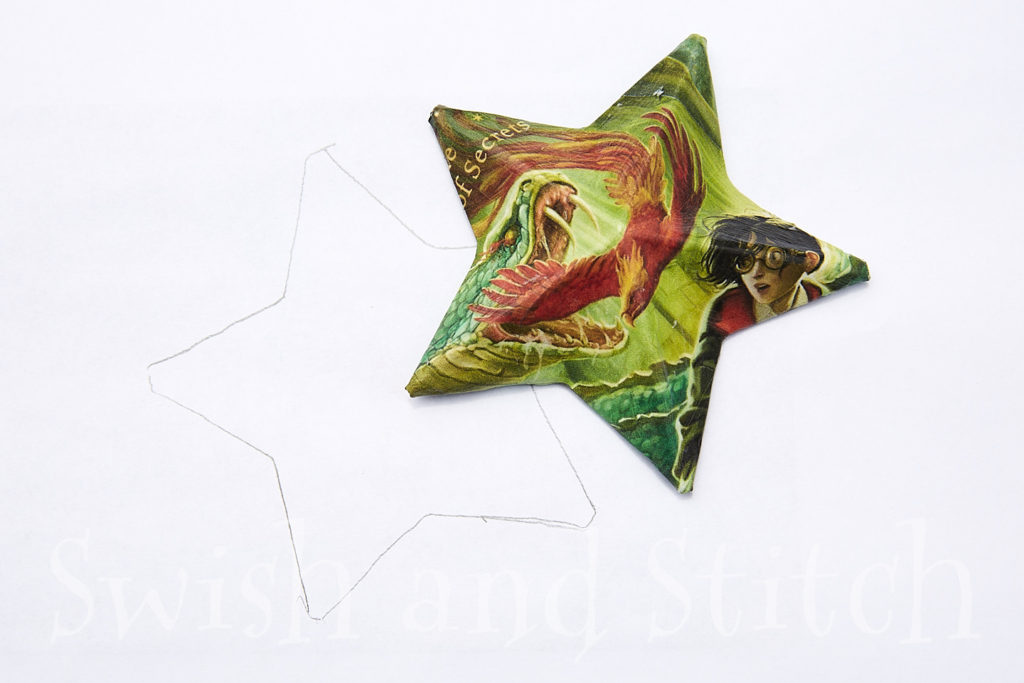
This star will be adhered to the back of the ornament to cover all the flaps. Cut inside the outline you have just traced. It is better to cut a little small than a little large so none of the edges stick out.
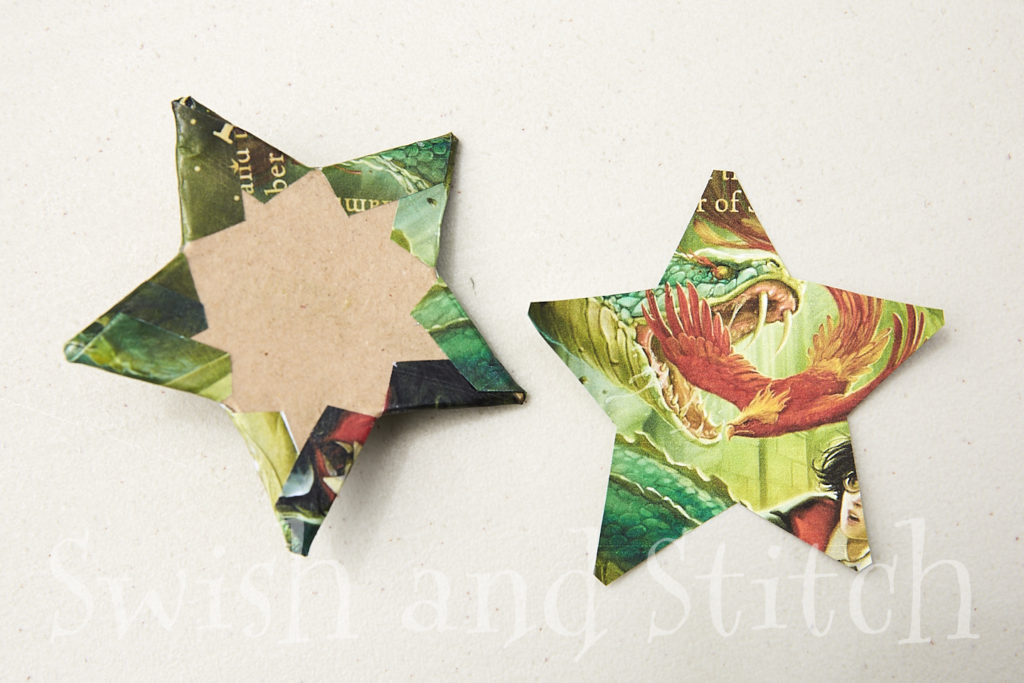
Spread an even layer of Mod Podge over the back of the ornament. Center the paper star, and press it firmly in place. Cover the entire back with a final layer of Mod Podge to seal. Allow to dry thoroughly.
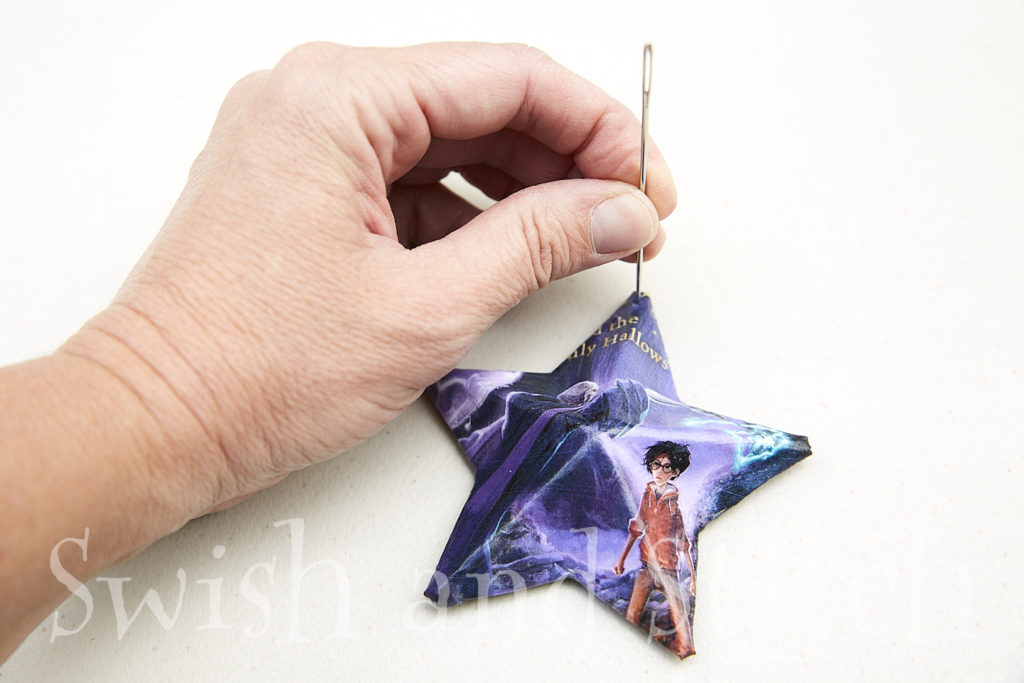
If, like me, you have chosen to cut off the silver hanging cord, it is time to turn the star back into an ornament.
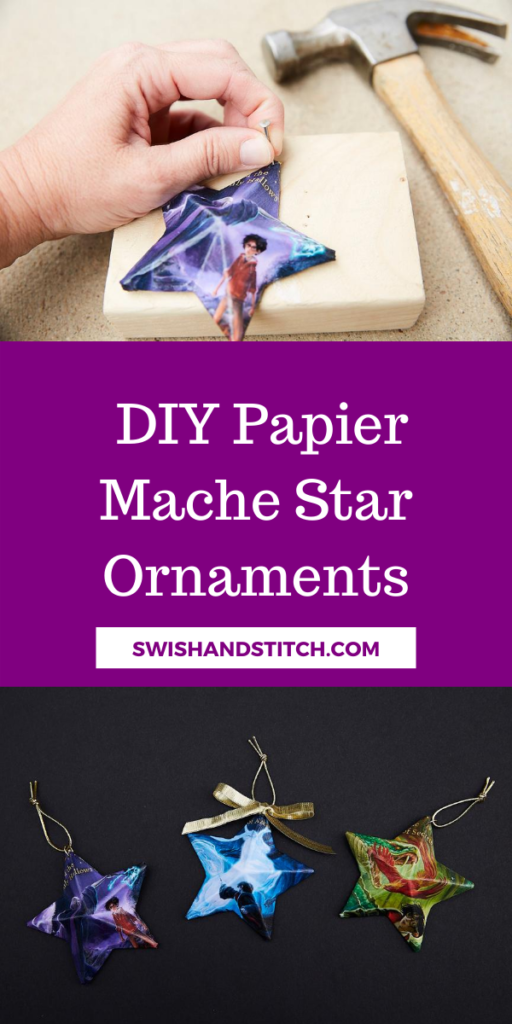
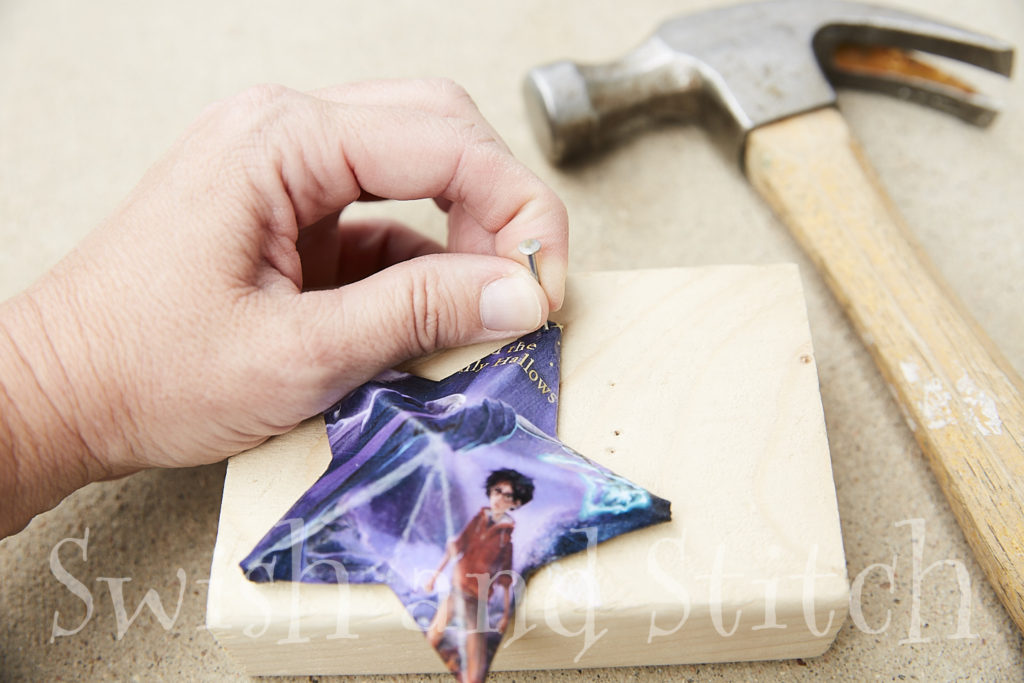
Using the needle, pierce the ornament through about 1/4-inch from the tip of one arm of the star. I started with a needle to place the hole exactly where I wanted it, then switched to the hammer and nail to punch all the way through.
Make sure to place a block of wood under your star as you hammer.
Insert a jump ring into the hole you just made. Do not open a jump ring as shown on the left in the photo below. This weakens the ring. Instead, twist one end toward you and the other end away to open the ring as shown on the right.
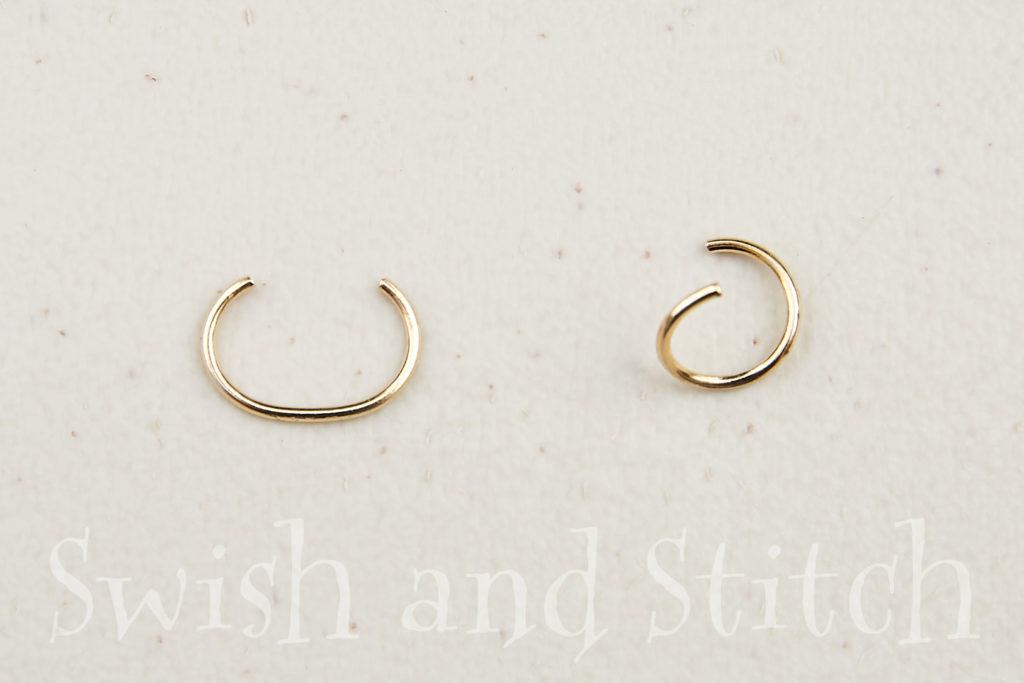
These jump rings were easy to open without any tools. If your jump rings are stiffer, use two sets of pliers to hold the ends of the ring while twisting.
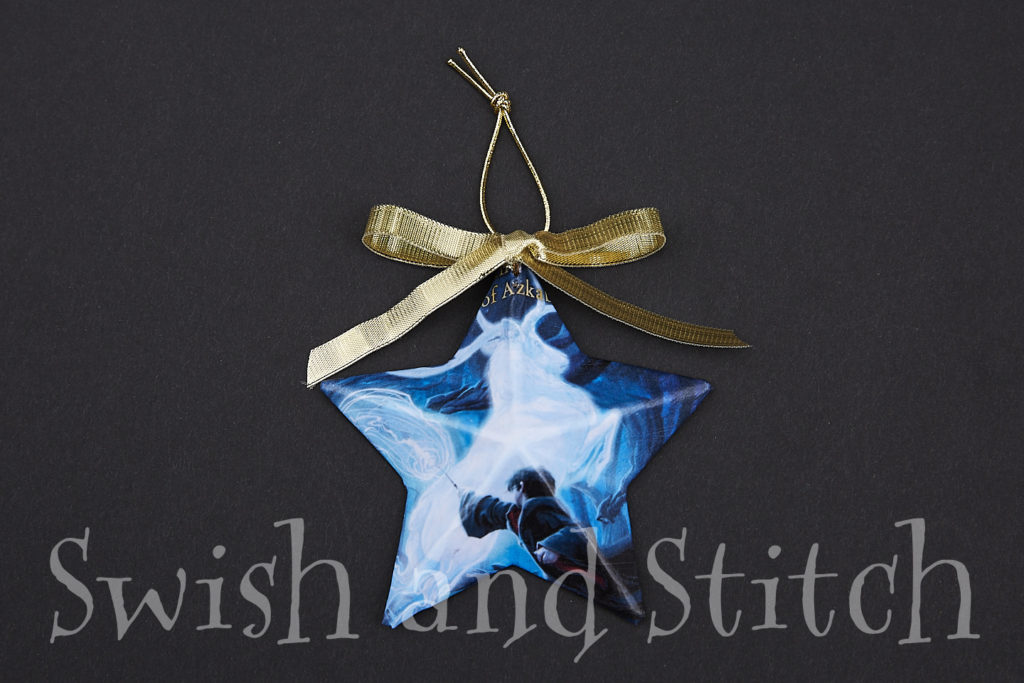
Again, using two sets of pliers and a twisting motion, close the jump ring. Thread about six inches of gold cord through the jump ring. Hold both ends together and tie a simple knot near the end of the cord.
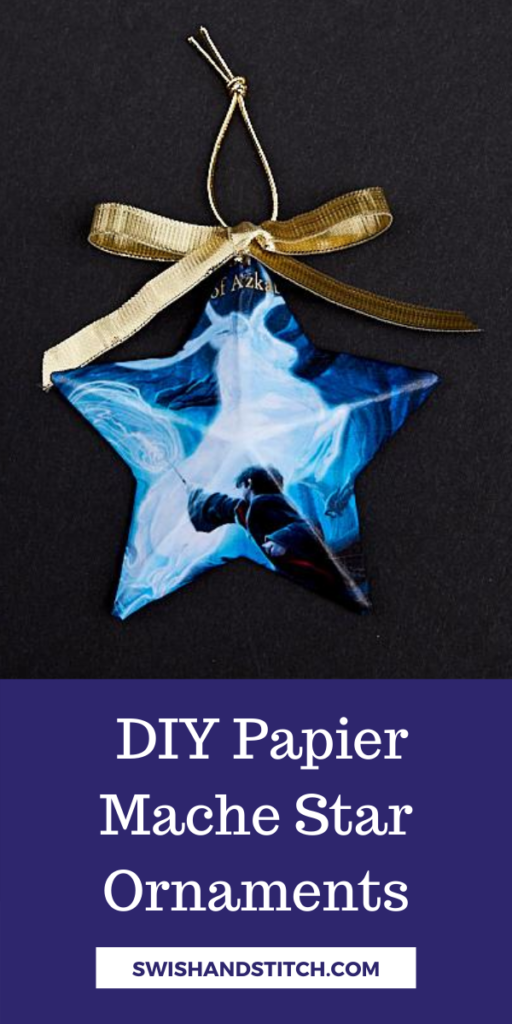
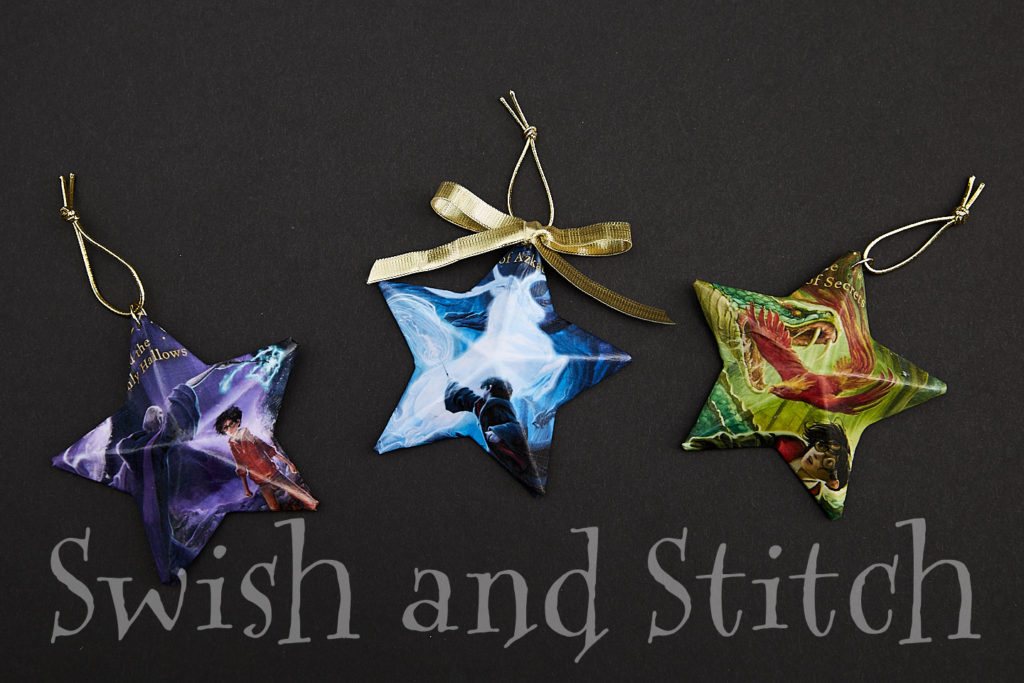
If you like, tie a gold bow from the 1/4-inch gold ribbon through the jump ring. Et voilà! You’re all finished! A star worthy of being hung on a Christmas tree in the Great Hall at Hogwarts!
Aren’t these great? And sooo easy to make! Make them for your own tree or for your favorite Harry Potter fanatic!
~ Lucinda