Some of the links on this site are affiliate links. I make a small commission from sales when you click through the link. There is no additional cost to you.
That’s Chess!
“When Harry finally left the table, he was laden down with a stack of things out of the crackers, including a pack of non-explodable, luminous balloons, a Grow-You-Own-Warts kit, and his own new wizard chess set . . .”
“Harry and the Weasleys spent a happy afternoon having a furious snowball fight on the grounds. Then, cold, wet, and gasping for breath, they returned to the fire in the Gryffindor common room, where Harry broke in his new chess set by losing spectacularly to Ron.”
Harry Potter and the Sorcerer’s Stone
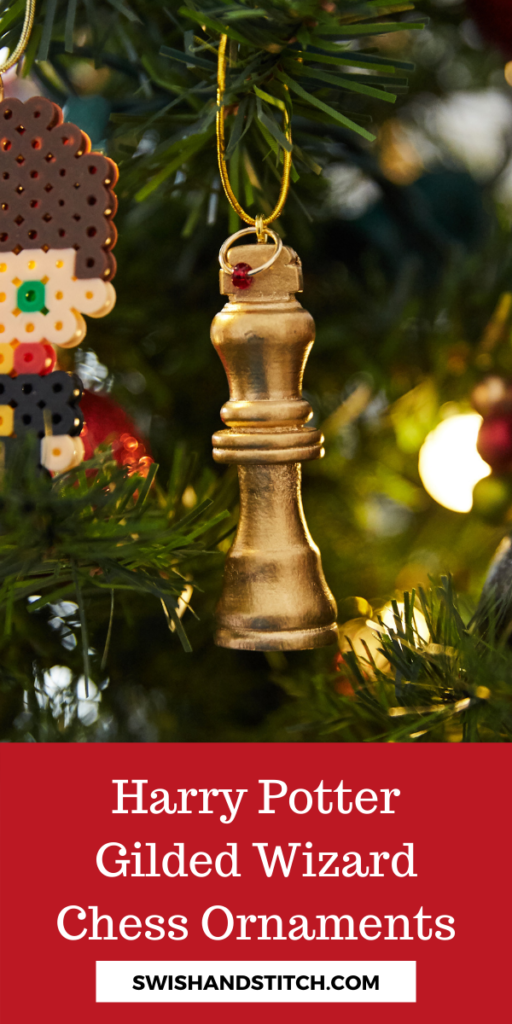
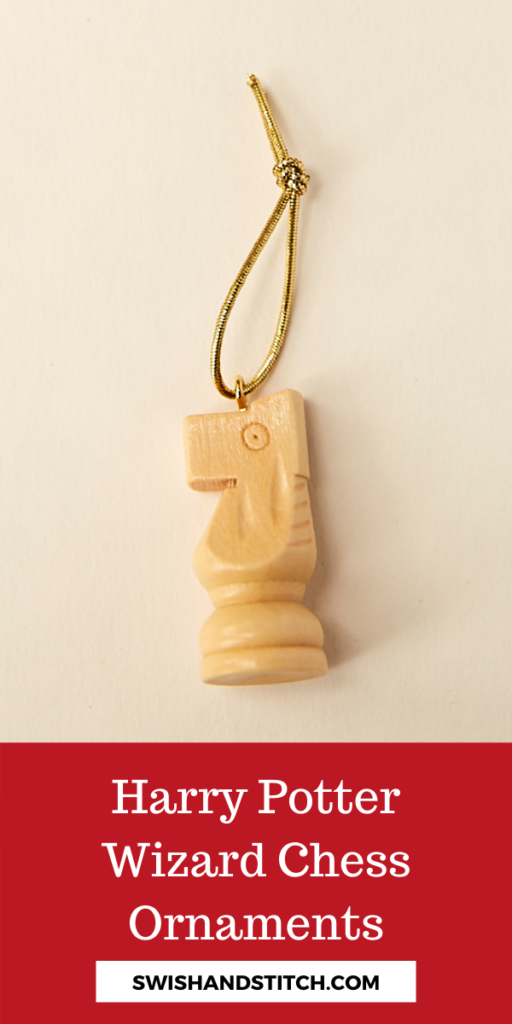
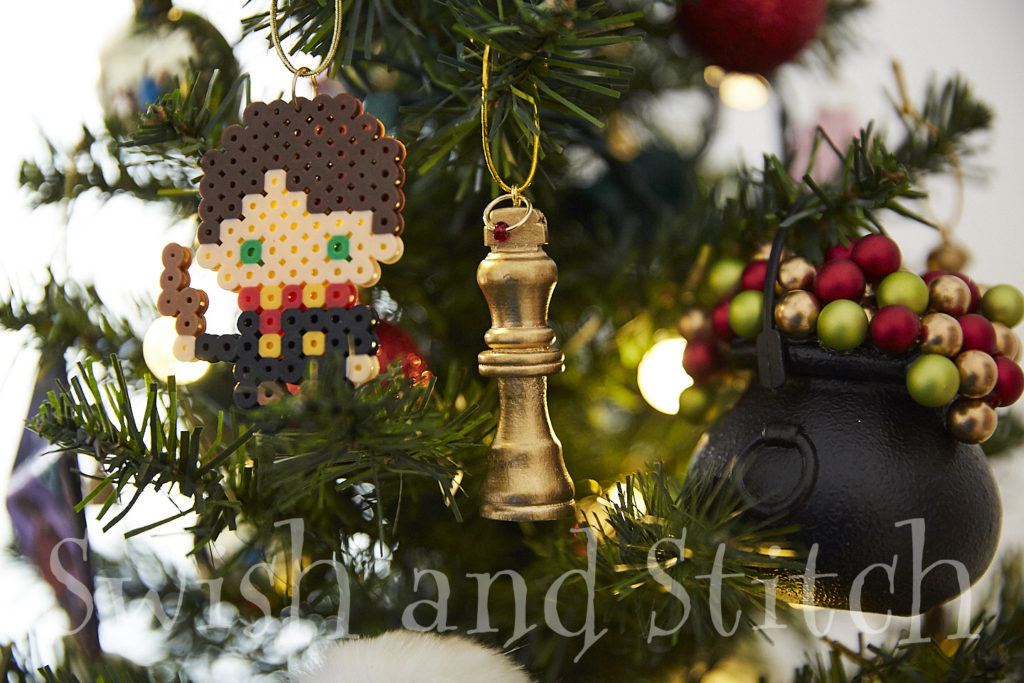
Harry gets his first Wizard Chess set for Christmas his first year at Hogwarts. But Ron is the true master. Ron defeats Professor McGonagall’s enchanted giant chess set as he, Harry, and Hermione are battling to protect the Sorcerer’s Stone. Today I’m going to show you how to make quick and easy Gilded Wizard Chess Ornaments for your Harry Potter Mini Christmas Tree.
Check out all the ornaments in the Harry Potter Mini Christmas Tree Ornaments Marathon!


Wizard Chess Ornament Supplies
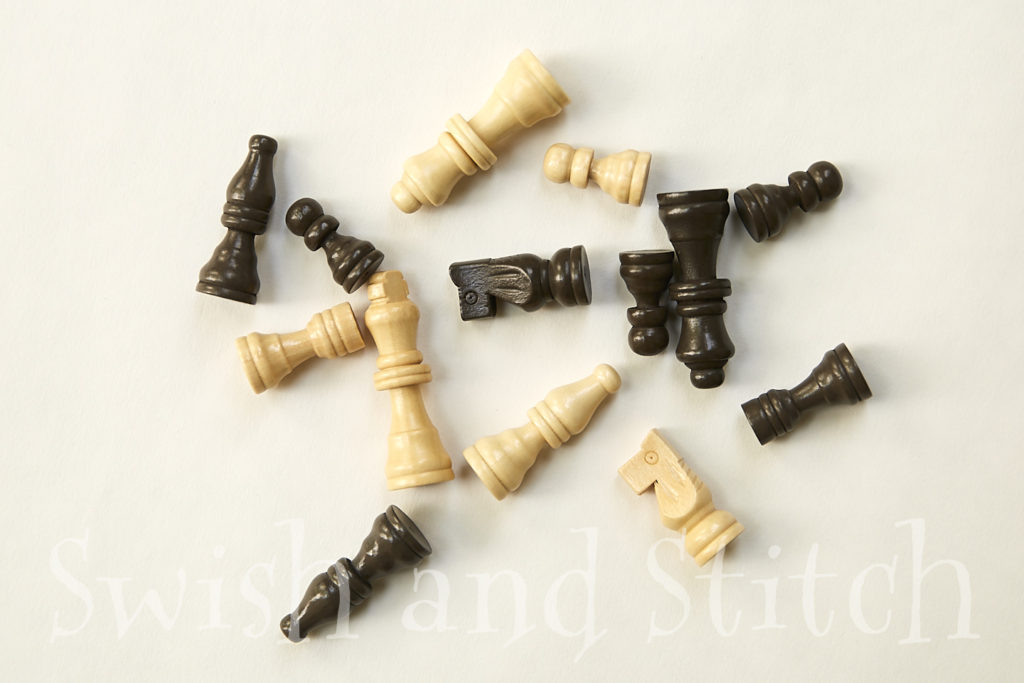
- Wooden chess pieces
- Gilding paint (optional)
- Klean Strip Brush Cleaner (if gilding)
- 10 X 5 mm gold screw eye pins
- Gold cord
Directions
1. Paint the Top Half of the Chess Pieces
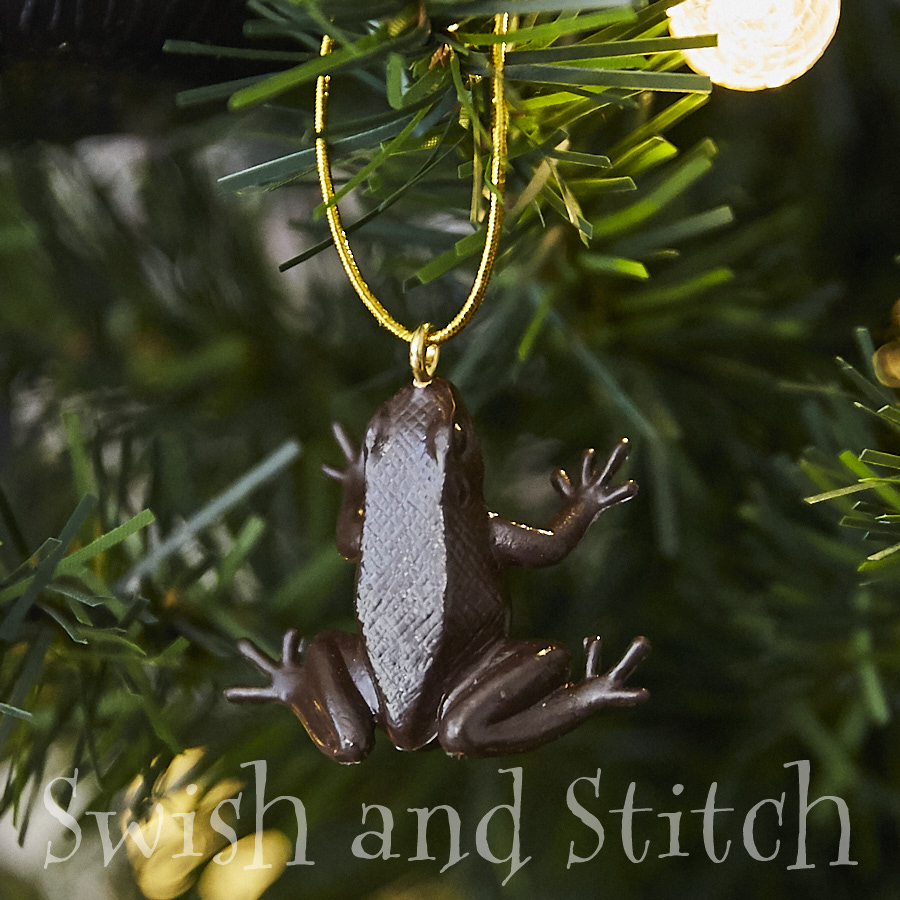
Remember how in DIY Harry Potter Chocolate Frog Ornaments I said that I tried out some old spray paint from making Pinewood Derby cars and had a disaster on my hands? Well, this time I tried out some old gilding paint from making Pinewood Derby cars and it worked great!
Painting the chess pieces is optional; you can certainly leave them as they come if you choose. I liked the natural color of the lighter chess pieces, but didn’t like the dark brown pieces. I wanted to glitz them up for Christmas. You could also try gold acrylic or spray paint, but I liked the coverage and sheen of the gilding paint. It only took one quick coat for complete coverage.
If you choose not to gild your chess pieces, skip to Step 2.
I used Sheffield Bronze Paint Corporation Gold Leaf Finishes, though Craft Smart and Martha Stewart have similar products and may be easier to find locally.
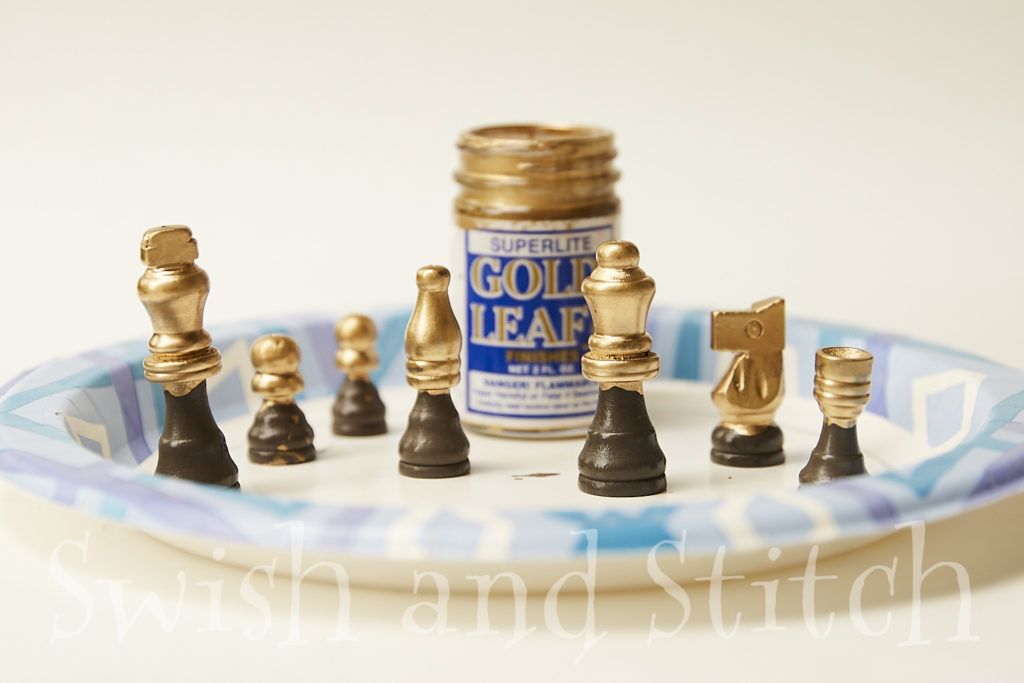
Simply brush gilding paint over the top half of the ornaments and let dry. I tried to end the paint under a ridge to hide any potential flaws. The gilding paint dries pretty quickly, but I would give the chess pieces a good hour to dry before handling them.
Be sure to clean your brush after painting. Gilding paint will not clean off with soap and water. I used Klean Strip Brush Cleaner that I found in my local hardware store and it worked like a charm. I even used it on a brush that had dried with paint on it, and it took that right out as well.
2. Insert Eye Screws
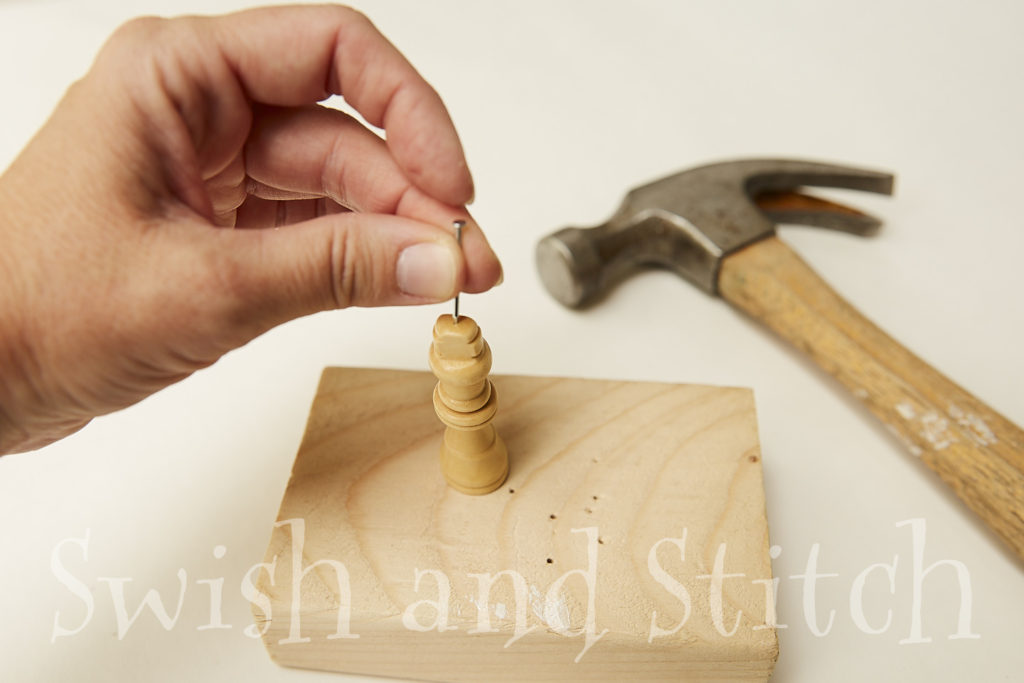
Inserting the eye screws in the chess pieces is not quite as easy as it was for the Chocolate Frog Ornaments. This time you will need to start with a pilot hole.
The ideal way to create the pilot hole is with a drill, and if you have a teeny bit, by all means, use it! Drilling a pilot hole will make it easier to screw in the eye screw AND will help to minimize splitting in the wood.
The eye screws have super thin shanks, and I did not have the proper bit, so I used a hammer and nail. Just to be clear, this is NOT the ideal way to create a pilot hole; a drill is better. And mine probably could not be classified as true pilot holes. I just held a nail in place at the top of my chess pieces and tapped the hammer a couple of times, to start the hole for the screws.
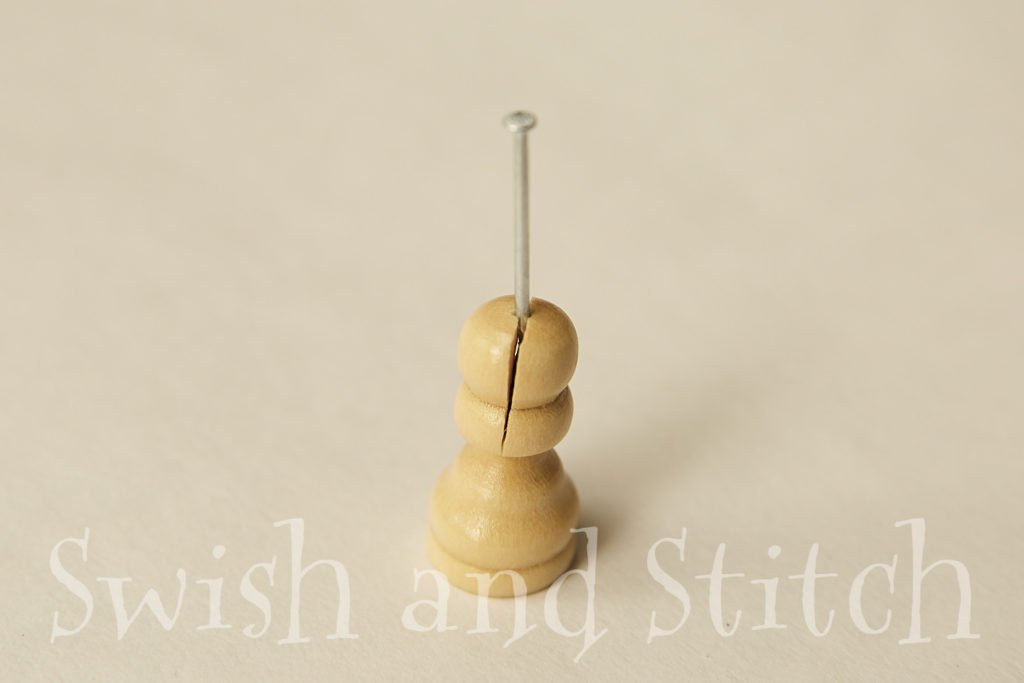
I have to confess, I did split the wood on a few of my pieces as I hammered a pilot hole. For some reason though, I only had problems with the ones I left the natural light wood color. This is why you should drill and not hammer.
You can try using a little wood glue if this does happen. Allow it to dry overnight for the tightest bond. Then, screw the eye screw in. Do not hammer again or you’ll like re-open the split.
Once your pilot hole is drilled, twist in your eye screws. I found I needed to use a pair of pliers to help twist the screws in.


Once all your eye screws have been inserted and you’ve rescued any split wood, it’s time to finish gilding your chess pieces.
3. Gild the Bottom of the Chess Ornaments
Before you paint the bottom half of your chess pieces, you need to prepare them for drying.
Find something you can hang your chess pieces on to act as a drying rack. I used a wire shelf that I use in my pantry for this purpose. Protect the surface underneath the shelf in case of drips, though I neglected to do this and had no drips. Lucky for me! 🙂
Then insert Christmas tree hooks or paper clips through the eye screws. I didn’t want to dig out my Christmas decorations box from my crawl space to look for the Christmas tree hooks, so I used vinyl-coated paper clips. They worked perfectly to hang the chess pieces up while they dry.
Now that everything’s prepped, gild the bottom half of the chess pieces. Immediately hang each chess piece on your drying rack once it is painted.
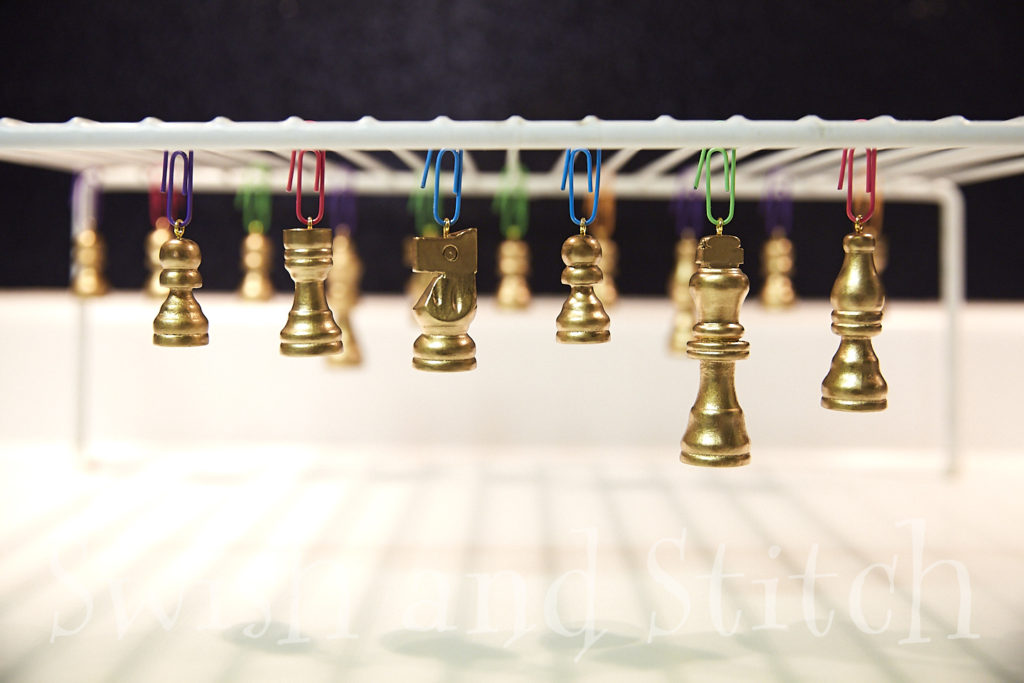
Again, allow the gilding paint to dry for at least a good hour. I painted mine just before bedtime and let them dry overnight.
4. Add the Hanging Cord
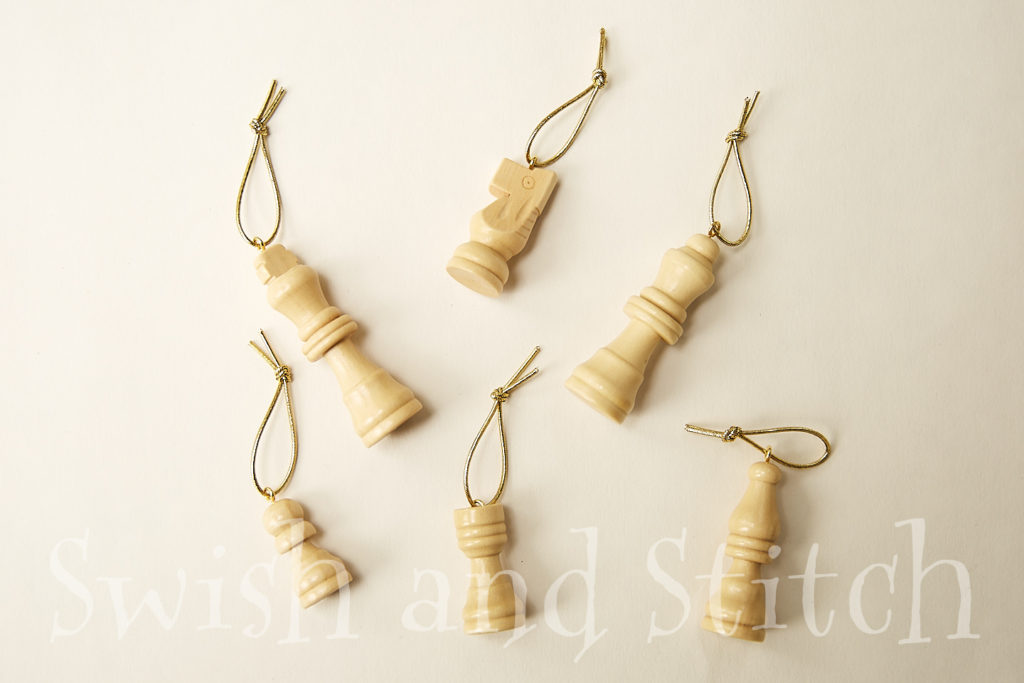
Cut 6-7 inches of gold metallic cord. Insert the cord through the eye screw. Hold the two ends of the cord together and tie a simple knot. Trim the ends if desired. And there you have it! Hang your lovely ornaments on your tree and admire them to your heart’s content!
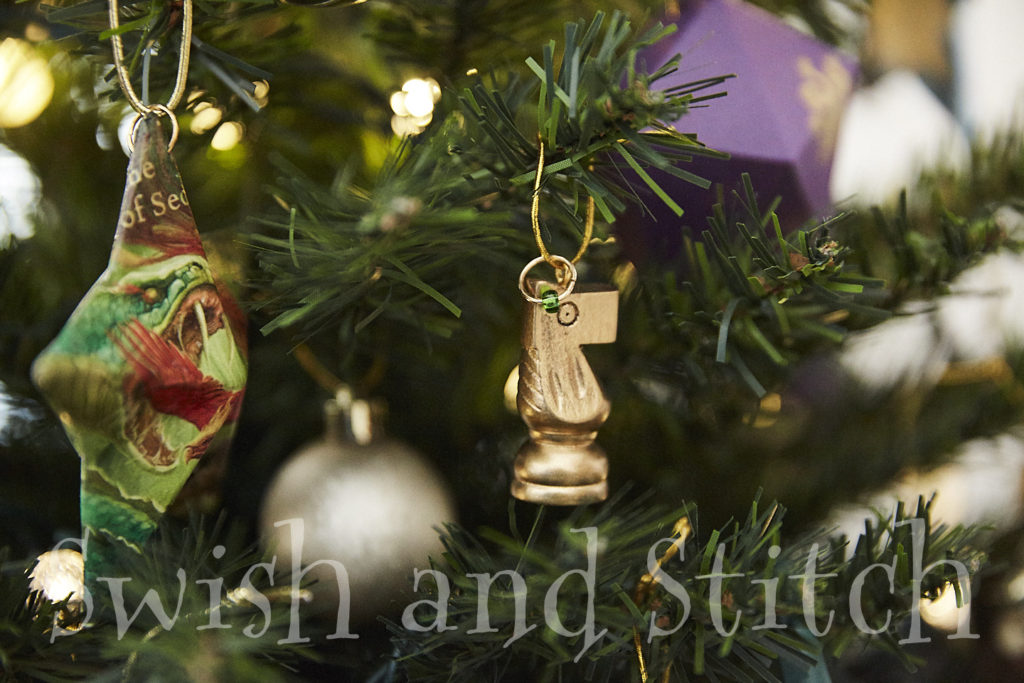
If you like, you can add embellishments to your ornaments. I added 10 mm Gold Jump Rings and some seed beads in house colors to several of my ornaments. Be creative; make these ornaments your own!
~ Lucinda
For more Harry Potter fun, try these other great crafts!