Some of the links on this site are affiliate links. I make a small commission from sales when you click through the link. There is no additional cost to you.
Finishing the Fiesta! C2C Crochet Afghan
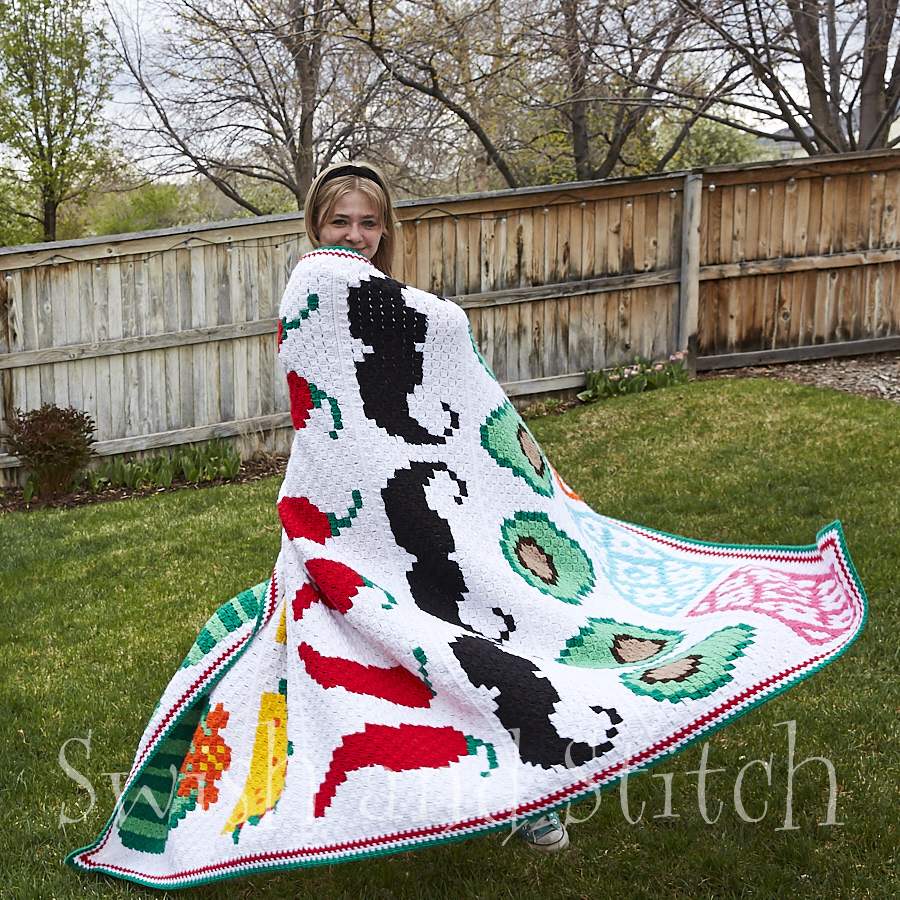
The panels for the Fiesta! C2C Crochet Afghan have been so much fun to stitch! Now it’s time to pull the whole project together. A striking border finishes off this fun project. Let’s get to it!
Want to customize your blanket? Look for the 11 panel options in the Fiesta! C2C Crochet Afghan Pattern at Swish and Stitch Crafts on Etsy.
To really mix things up and customize your afghan, check out all of the possibilities in the Fiesta! Afghan C2C Crochet Afghan Pattern available in SwishandStitchCrafts on Etsy.
This premium patterns includes printable PDFS with the charts and line-by-line instructions for all of the free panels plus 5 additional EXCLUSIVE panels!
The additional panels include:
- Maracas
- Pinatas
- Ponchos
- Sombreros
- and Sugar Skulls

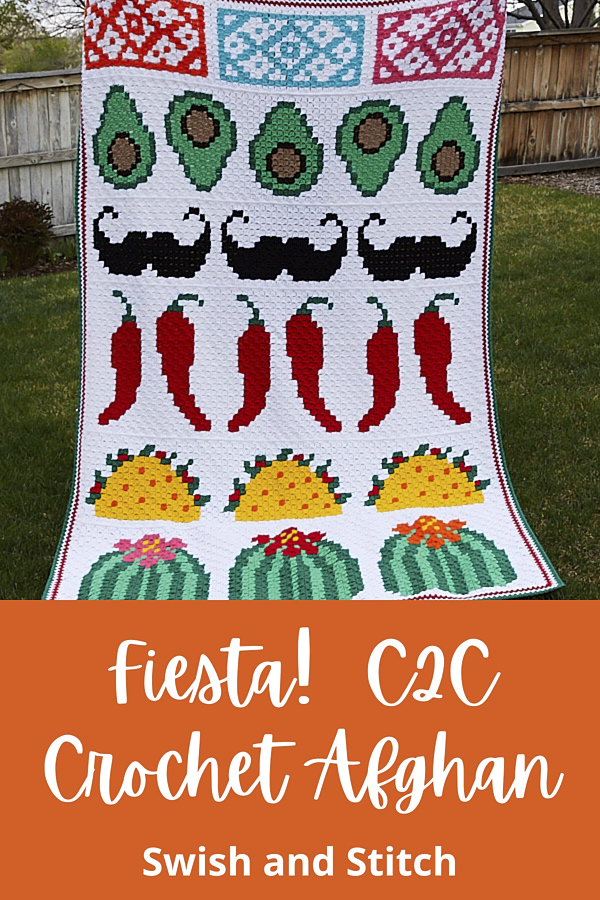
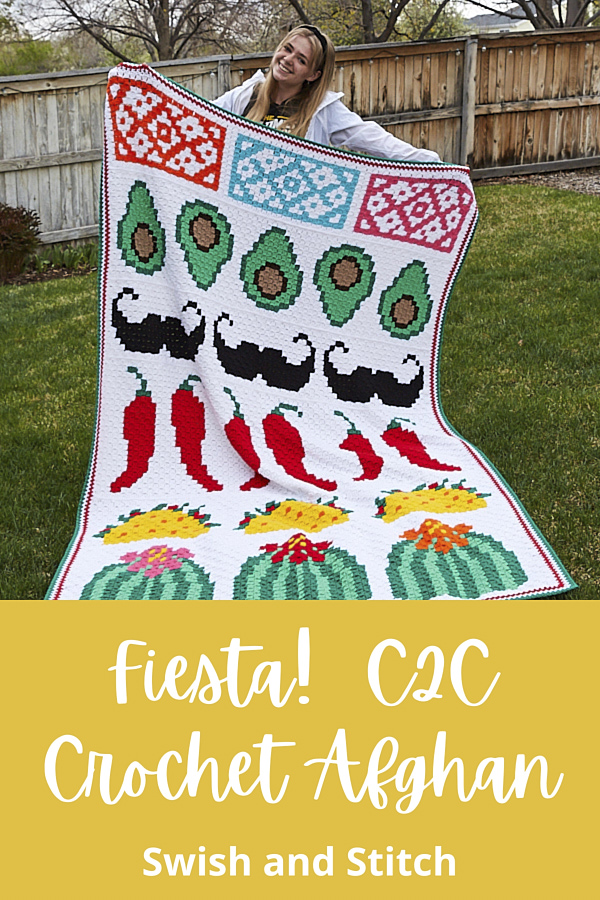
If you’re just getting started on this super fun, super bright afghan, click on over to the intro post Fiesta! C2C Crochet Afghan to find the full list of materials. You can find the other Southwestern-inspired Fiesta! panels here:
- Papel Picado (paper flags)
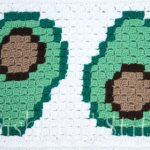
- Avocados
- Mustaches
- Chile Peppers
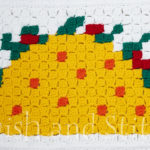
- Tacos
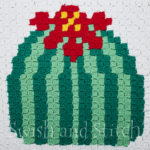
- Barrel Cactus
Preparing the Fiesta! C2C Crochet Panels
Remember that you should have already edged each panel with a row of single crochet. If you have not done this, do it now. The single crochet row makes it easier to match up stitches and sew the panels together. The single crochet row should be done in the same color as the background of each block. So for this afghan, edge each panel in WHITE.
Make sure all of your panels are right side up when adding the single crochet row. It’s true that the panels are reversible, however, the direction that the stitches lie is different on the front and the back. For a cohesive look make sure all of your panels face the same direction.
For the joining and borders, you will need:
~ Loops and Threads Impeccable Yarn 4.5 oz skeins in the following colors (amounts are approximations):
- White — 3.2 oz (for joining and border rows)
- Red Hot — 1.6 oz (border rows)
- Kelly Green — 1.6 oz (border rows)
~ Size H/5.0 mm Crochet Hook or whatever hook you used to crochet the blocks
~ Size I/5.5 mm Crochet Hook, if needed
~ Yarn Needle
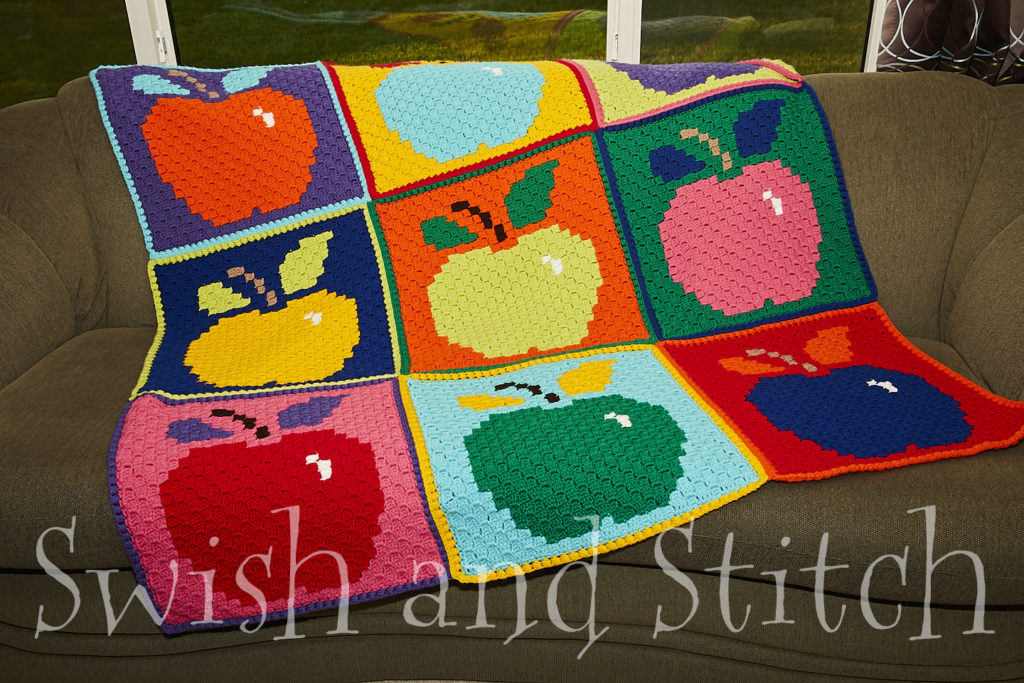
Looking for Trendy, Popular, Modern patterns like the Pop Art Apples Afghan? Check out Swish and Stitch Crafts on Etsy.
Joining the Fiesta! C2C Crochet Afghan
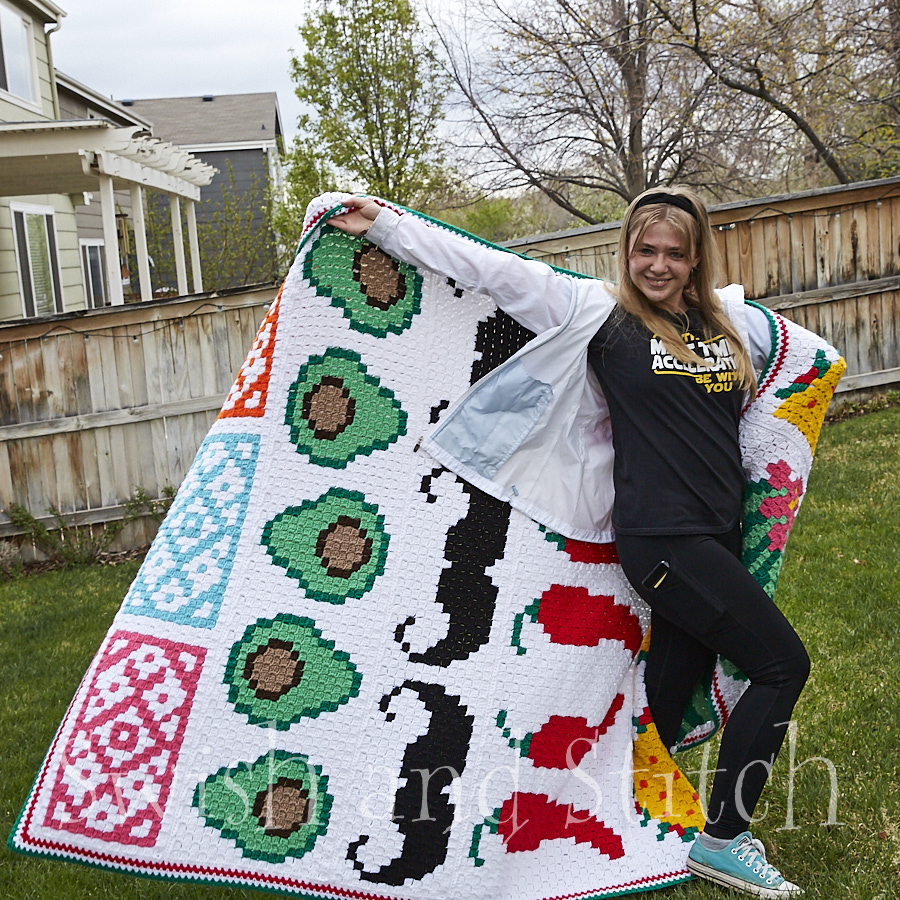
The Fiesta! Afghan Layout
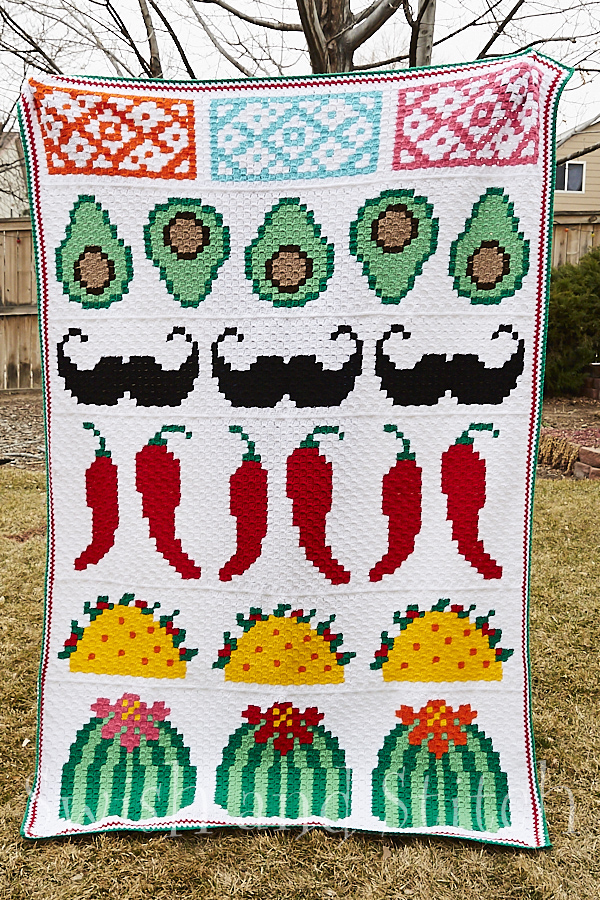
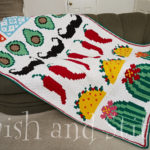
Begin by laying out your panels in whatever order you wish. Whatever looks pleasing to you is right! Here are some of the thoughts that I had that resulted in my chosen layout.
- Since the Barrel Cactus Row is visually heavy I chose to put it at the bottom of the blanket.
- It seemed appropriate to place the Papel Picado or paper flags at the top since for a Mexican holiday they would be strung across streets to wave in the breeze.
- I wanted to separate the tall panels (the Chile Pepper Row and the Barrel Cactus Row) so the blanket would look more balanced.
- Similarly, I spread out the narrowest rows (the Papel Picado Row, the Mustache Row, and the Taco Row) for balance.
- And finally, I separated the Avocado Row from the Barrel Cactus Row so there would be green-heavy panels in both halves of the blanket.
Is that too methodical to be art? No way! Even art follows design principles. If you want your afghan to look the same as the sample blanket arrange your panels in the following order:
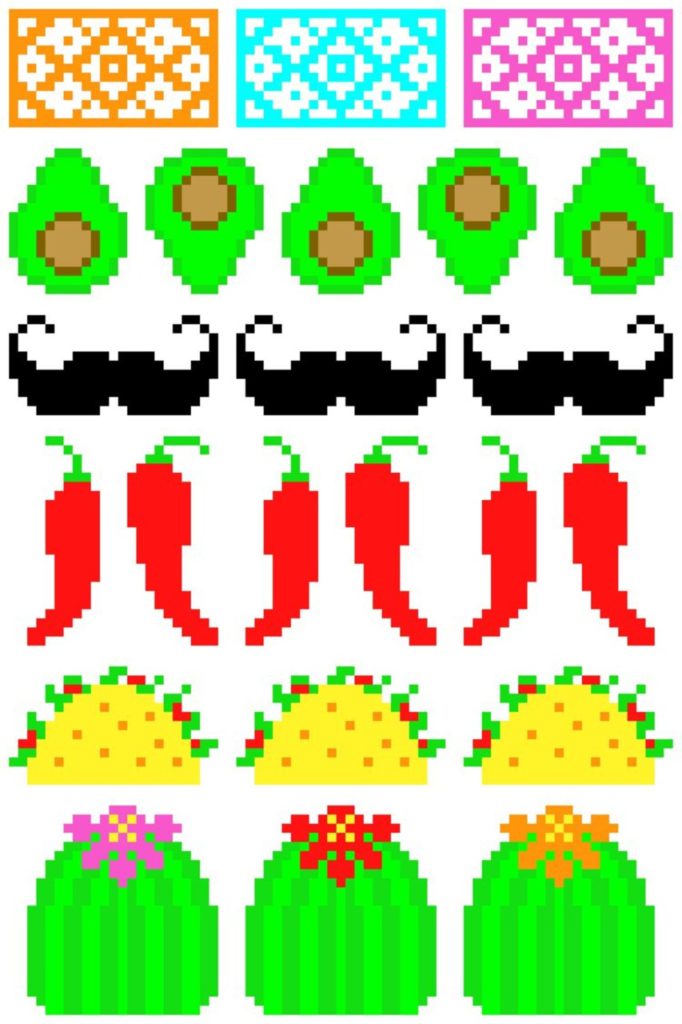
Assembling the Fiesta! Afghan
You may join your panels together by whatever method you prefer. I have used either a basic whip stitch or a flat slip stitch join. For this afghan, I used a flat slip stitch. I like the flat slip stitch join when I am sewing together blanket-width panels. For smaller blocks, I like the whip stitch. I think the whip stitch is better at filling in the points where four blocks meet. Which method do you prefer?
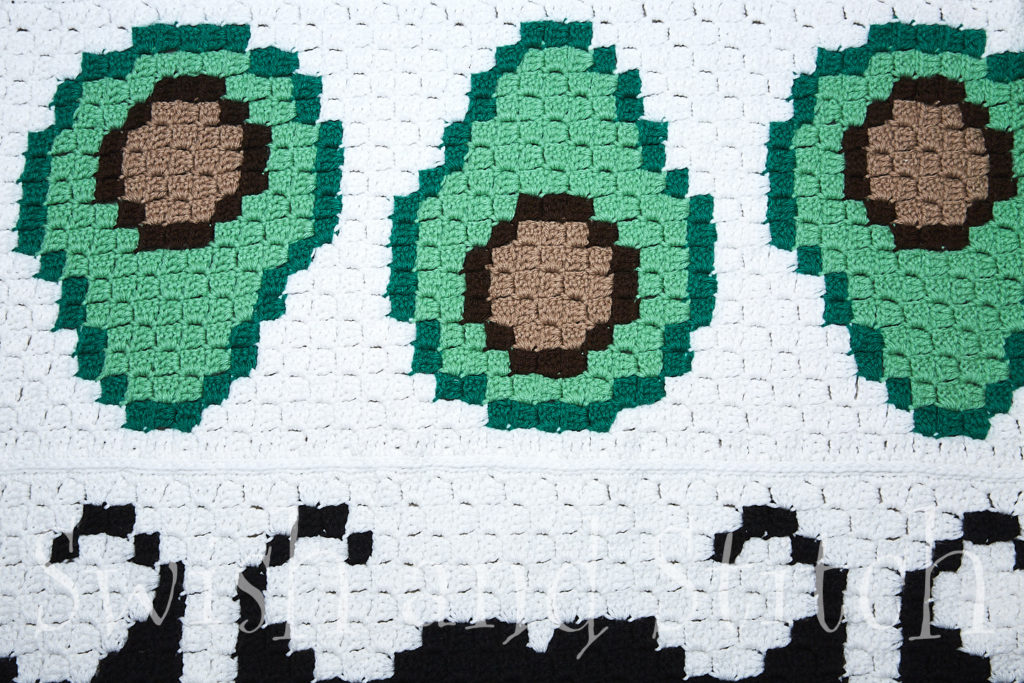
Use WHITE to stitch your Fiesta! Afghan panels together. The following picture shows how a flat slip stitch join looks—kind of like a flat braid. Admittedly, it’s kind of hard to see in white. Trying zooming in on your screen to view it better.
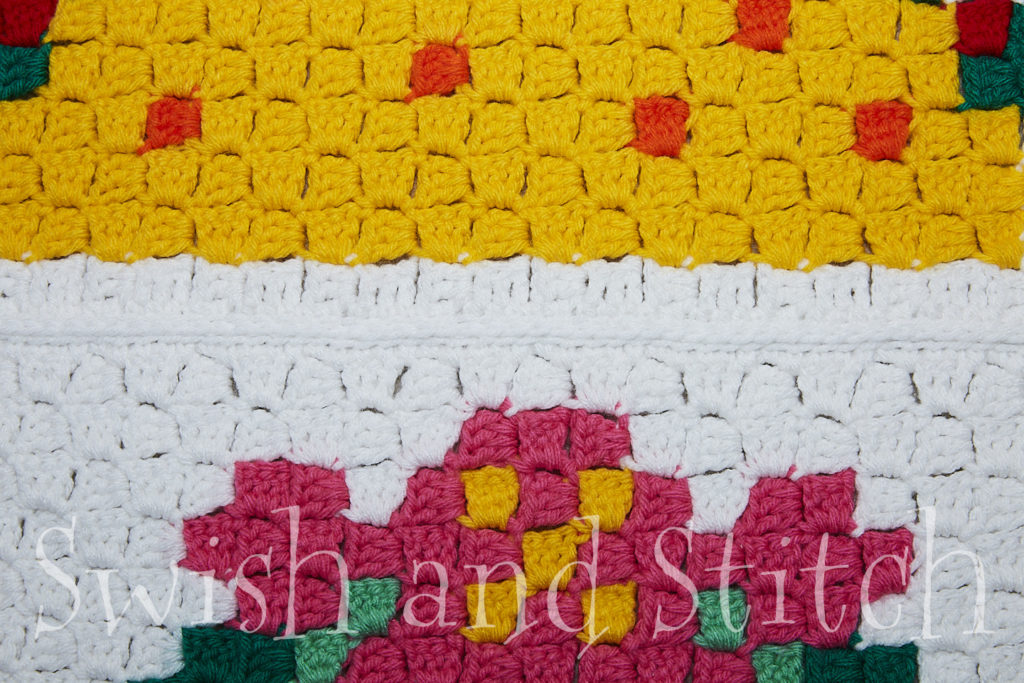
the Fiesta! Afghan Border
We’re almost finished. Time to add the border. The Fiesta! C2C Crochet Afghan has simple moss stitch border. I know I’ve used this border on other blankets like the C2C Crochet Emoji Afghan and the Disco Minions C2C Crochet Afghan, but the way the moss stitch interlocks really appeals to me. And the green, white, and red combination may at first glance appear Christmassy, but it’s also a nod to the three-stripe pattern on the Mexican flag.
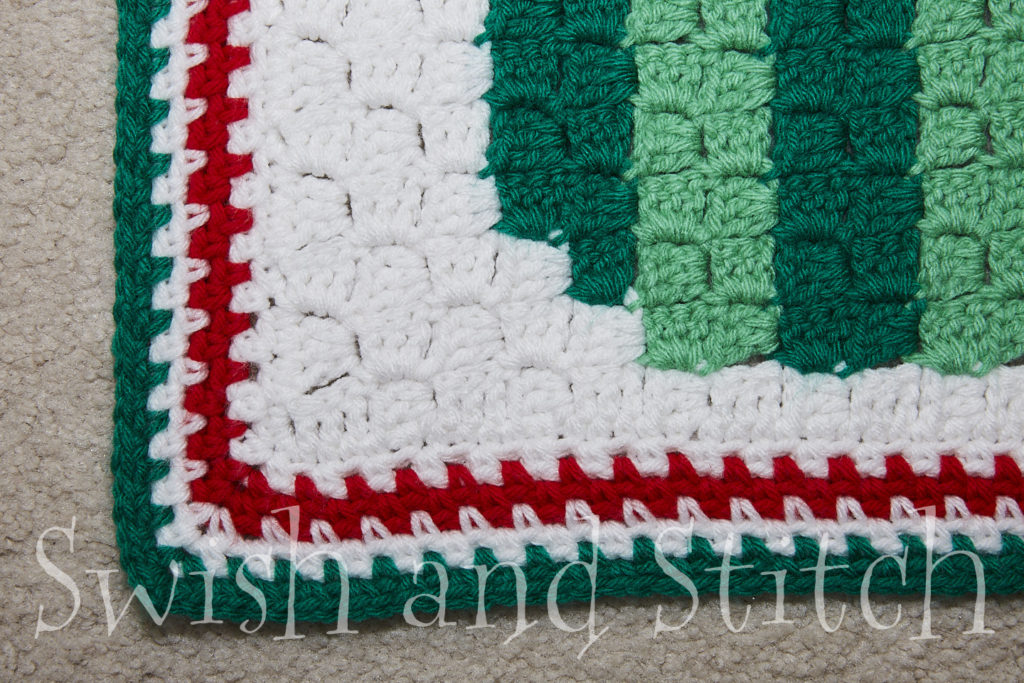
Moss Stitch Border
The Moss Stitch (also known as the Linen Stitch, Granite Stitch, and Woven Stitch) is a simple stitch made of a SC followed by a CH. Detailed instructions are given for the border rows below. If when crocheting the moss stitch, the border begins to pull in (not lie flat), switch to an I hook to complete the border rows.
Click here for my Moss Stitch photo tutorial.
Using the Moss Stitch crochet a border (see below) around the entire blanket in the following order:
- Row 1: WHITE
- Rows 2-3: RED HOT
- Rows 4-5: WHTE
- Rows 6-7: KELLY GREEN
Abbreviations
SC = single crochet
CH = chain
Directions
Row 1: With right side facing, join yarn in a corner stitch with a standing SC. CH2, SC1, CH1 in the same space. *Skip the next stitch, SC1 in the next stitch, CH1.* Repeat from * to * to the next corner. SC1, CH2, SC1, CH1 in the corner stitch. Continue in like manner around the next three sides. Slip stitch in first SC. Fasten off.
Rows 2-7: With right side facing, join yarn in any CH1 space with a standing SC. CH1. SC1, CH1 in each CH1 space to the next corner. SC1, CH2, SC1, CH1 in the corner CH2 space. Continue around. Slip stitch in the first SC. Fasten off.
Finished size: 56 inches wide x 82 inches long
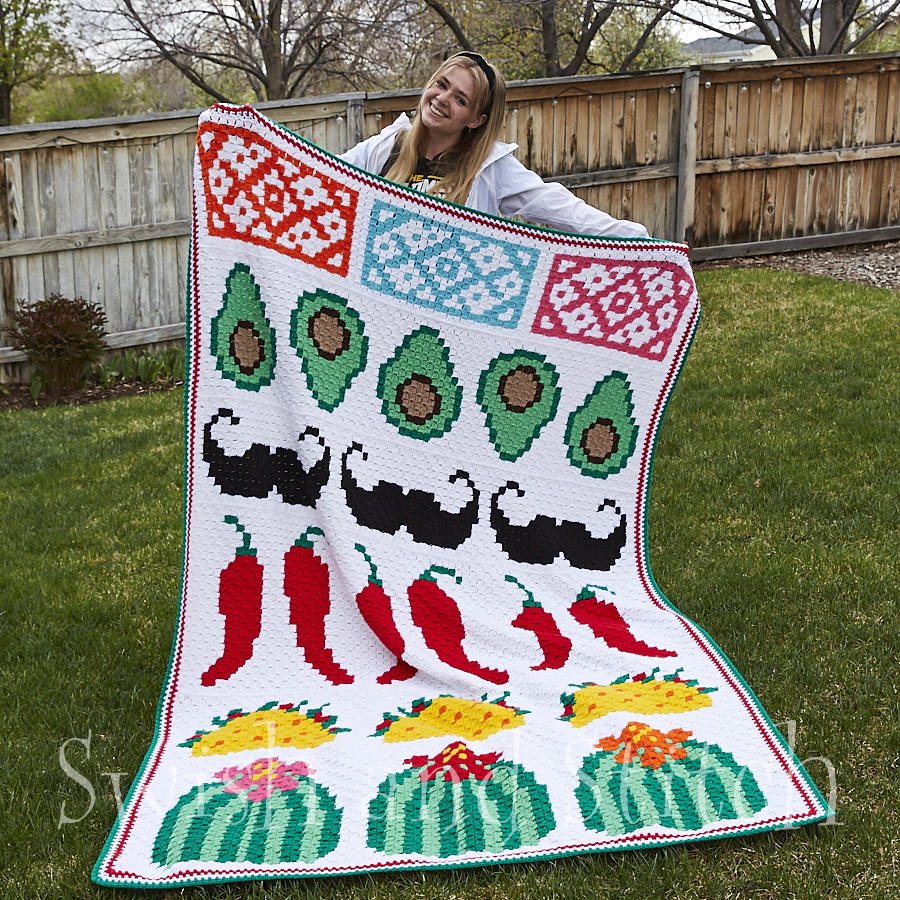
Isn’t this a gloriously fun blanket! So playful and striking! I just love creating afghans that are fresh, unexpected, and bold. I think this one checks all the boxes. I’d love to see which panels you choose and your finished project. Send me pics!
Work hard. Do good. Keep smiling. Stitch happy!
~ Lucinda
