Some of the links on this site are affiliate links. I make a small commission from sales when you click through the link. There is no additional cost to you.
This article was originally published on Happily Ever Aperture but has found its new home here.
When I think of Easter, I think of spring and flowers and warm weather and Church and family. I think of bunnies and new grass and homemade lemonade and asparagus and floral dresses and key lime pie. I think of egg hunts and dying eggs and Easter baskets.
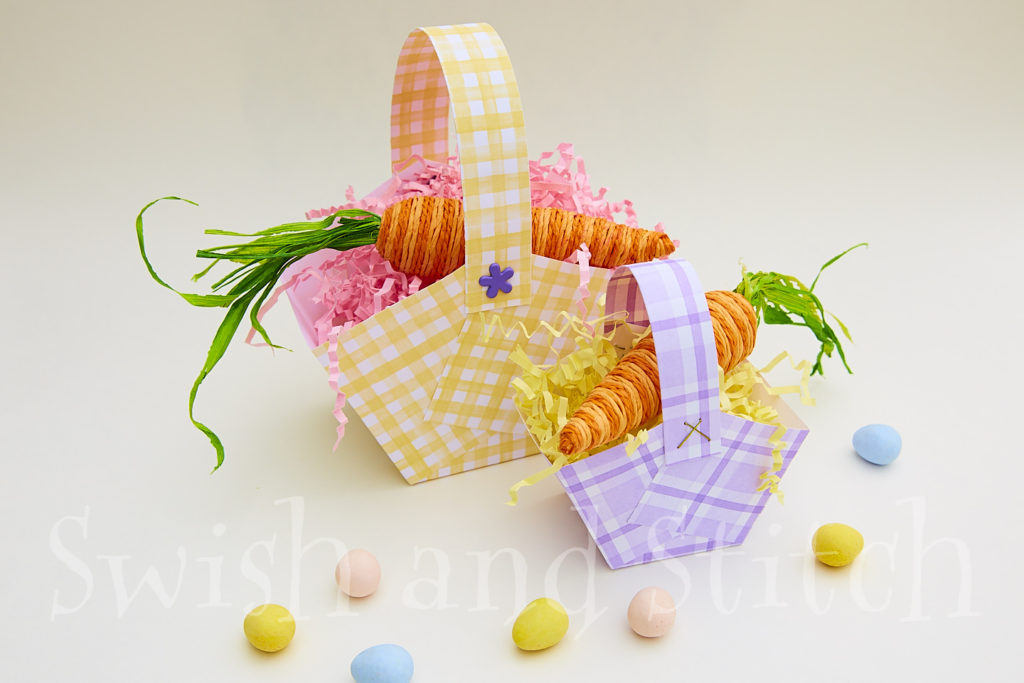
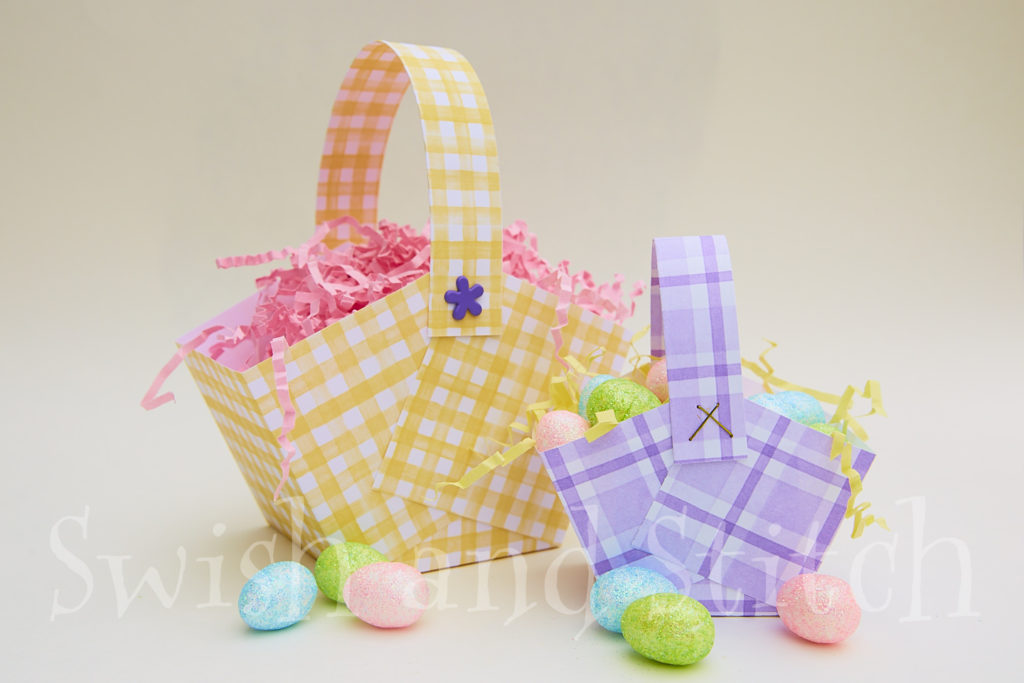
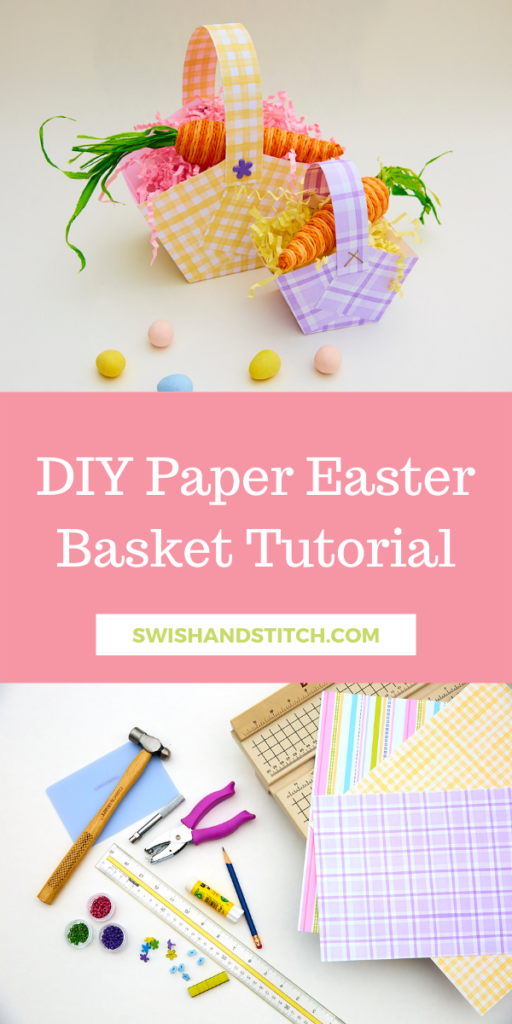
If you’re looking for a super easy Easter craft to do with your kids, look no further! One of these baskets can be made in under 10 minutes. They’re perfect to make for friends for Easter or for neighbors or grandmothers for May Day or Mother’s Day.
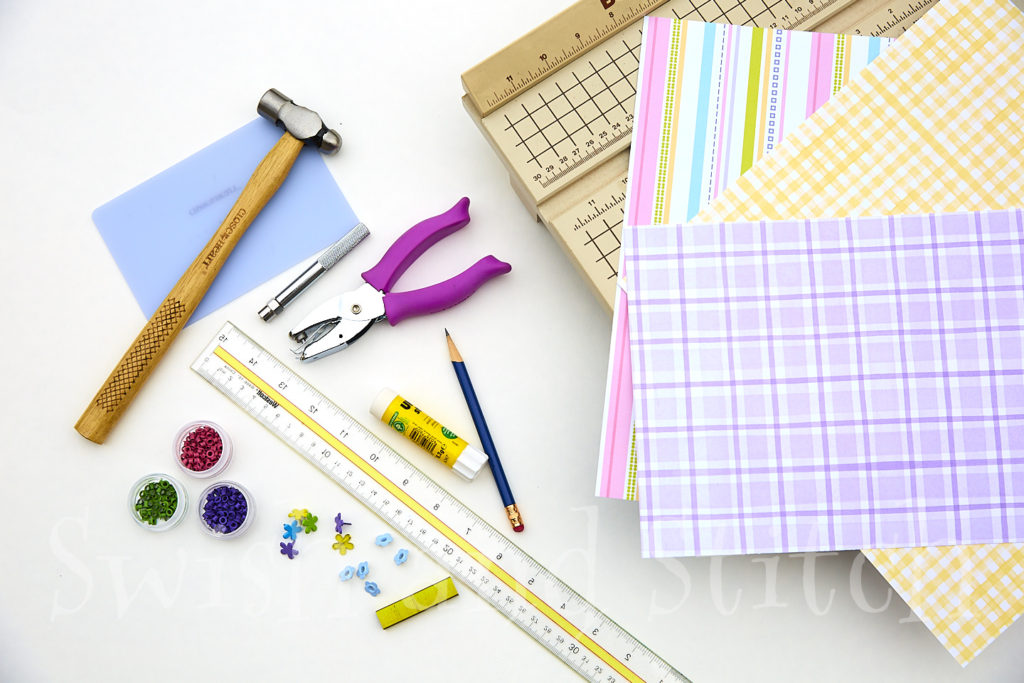
Paper Easter Basket Supplies
All you need is:
- Decorative paper
- Scissors (not pictured)
- Paper cutter (optional)
- Ruler
- Pencil
- 1/8″ hole punch
- Glue stick
- Decorative brads, staples, or eyelets
- Eyelet tool (if using eyelets)
- Hammer (if using eyelets)
- Mat (if using eyelets)
That’s it! You probably have most of it lying around your house. You can, of course, use plain paper and brads, but using decorative ones adds to the fun of the finished baskets. If you want the handle to swing freely, use brads. Use eyelets or staples for a stationary handle.
Let’s get started!
Directions
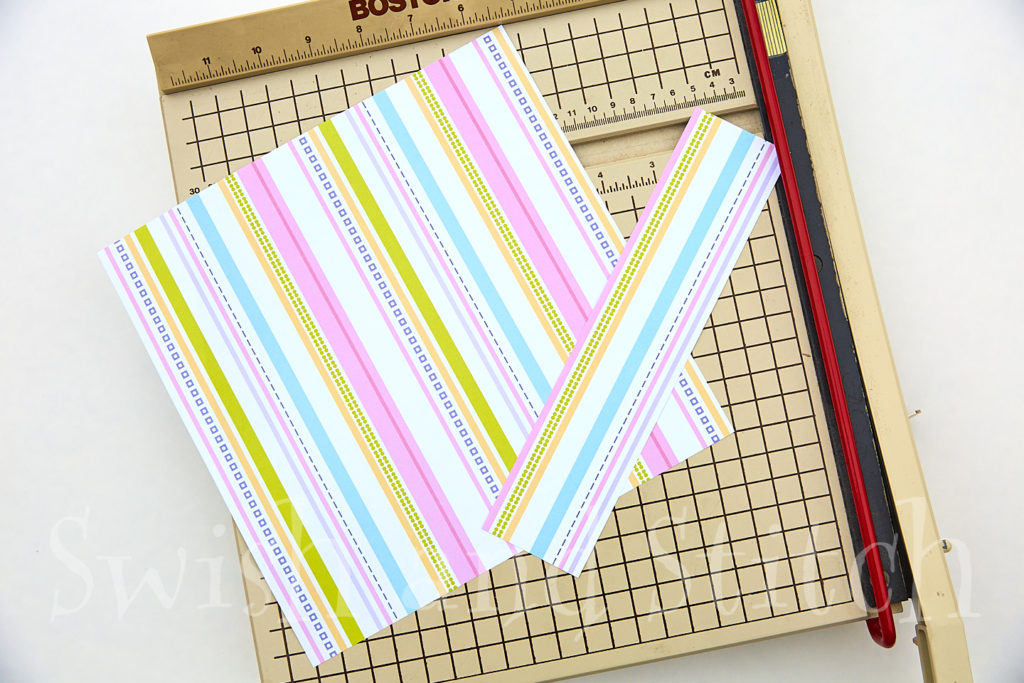
To begin, cut a 9-inch x 9-inch square and a 9-inch x 2-inch strip from the decorative paper.
Using the ruler and pencil, measure 3 inches in from every edge on the back of the paper and mark it.
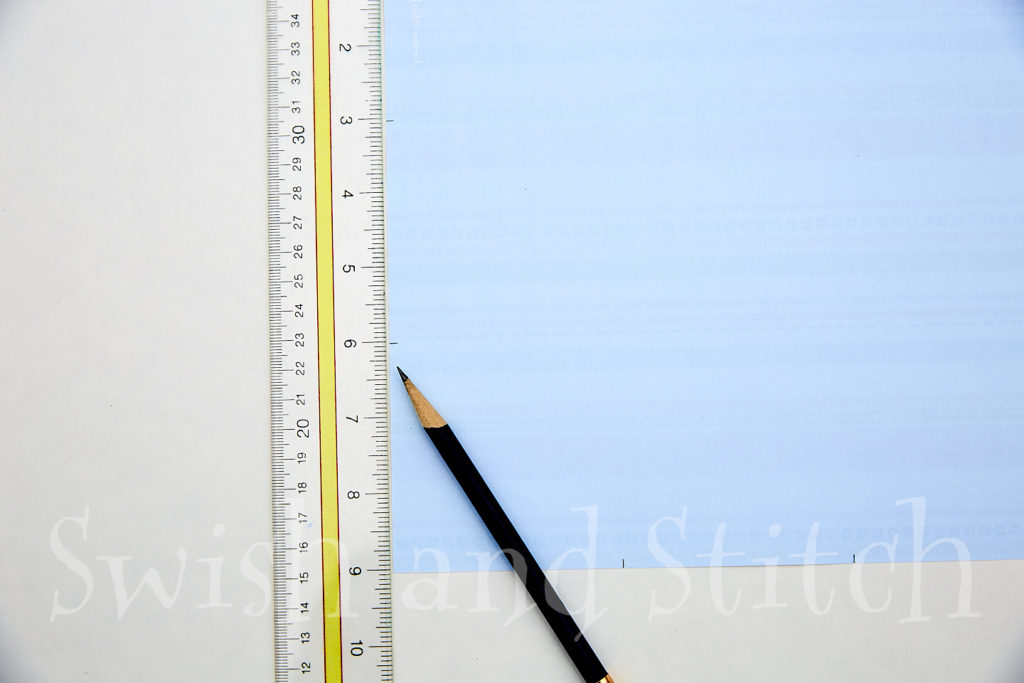
Then draw a straight line from corresponding marks on the opposite side of the paper. You will end up with a 3×3 grid of 3-inch squares.
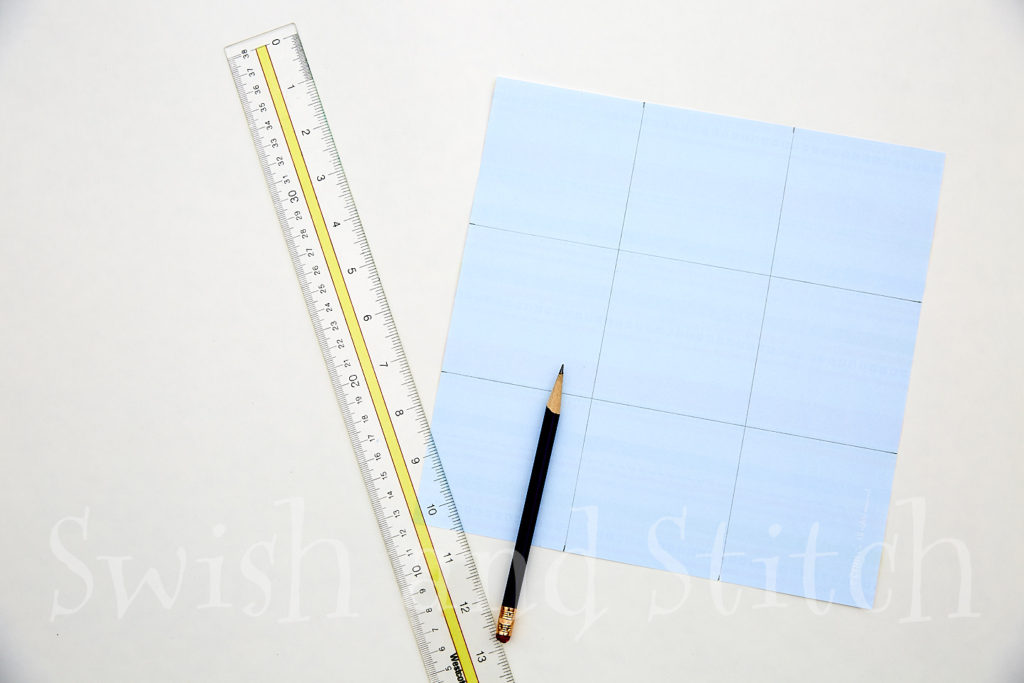
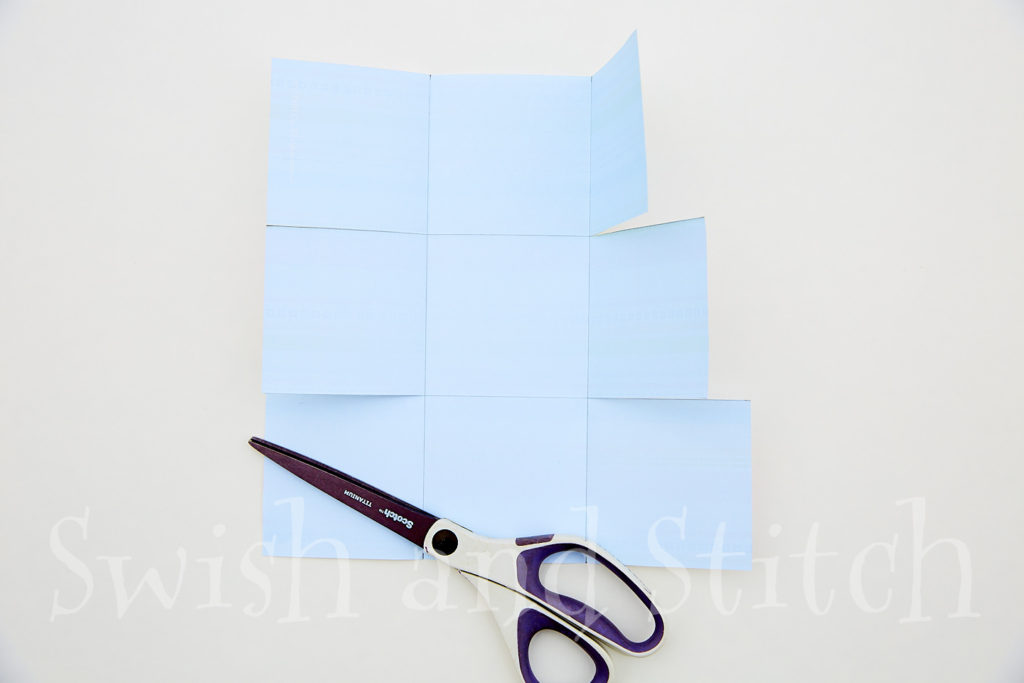
Fold along every drawn line. From opposite sides of the square cut in along the lines just until you reach the central square.
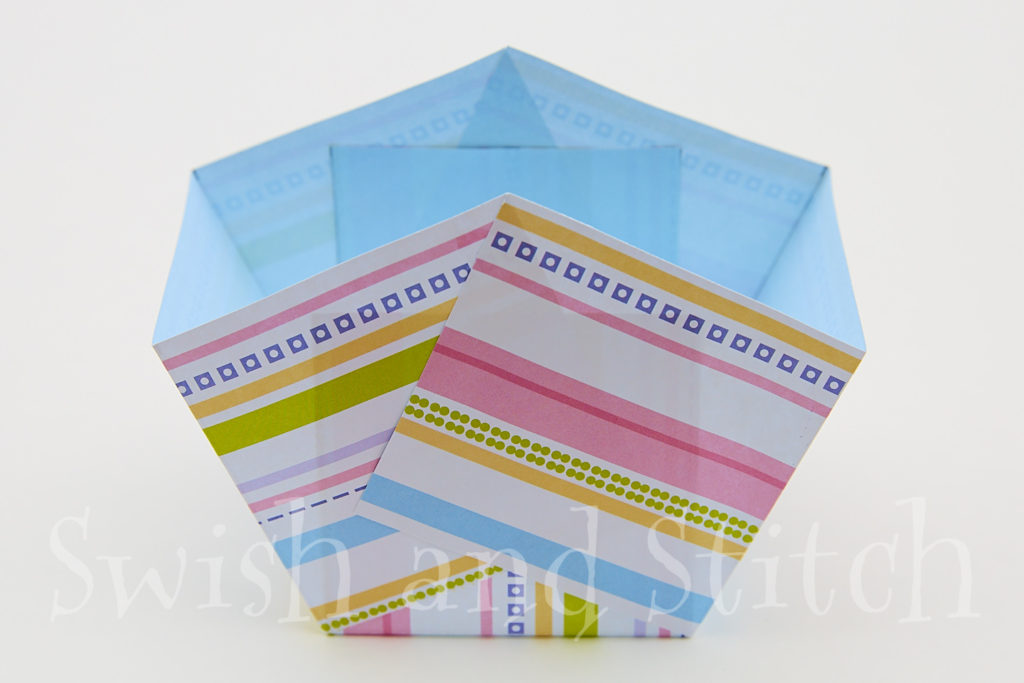
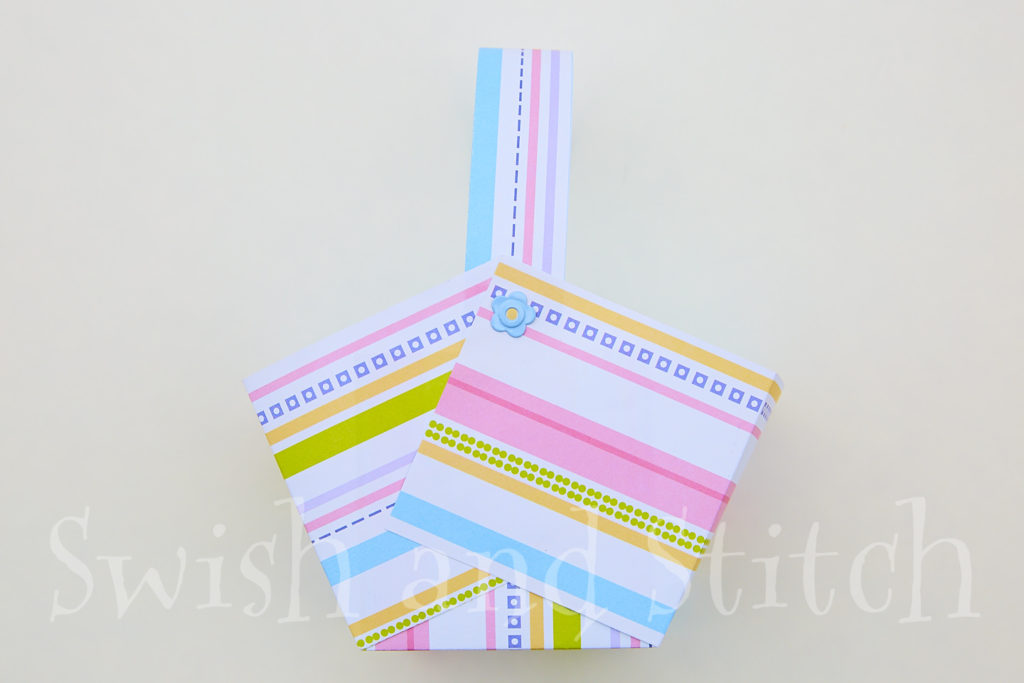
To form the basket shape, with one of the cut sides toward you, fold up the middle square. Then, pull up the two outside squares until they overlap. You can overlap them just a little (ending up with two points on the top of the basket or completely (ending up with a square basket) or somewhere in between. I usually overlap mine until I have just one point at the top.
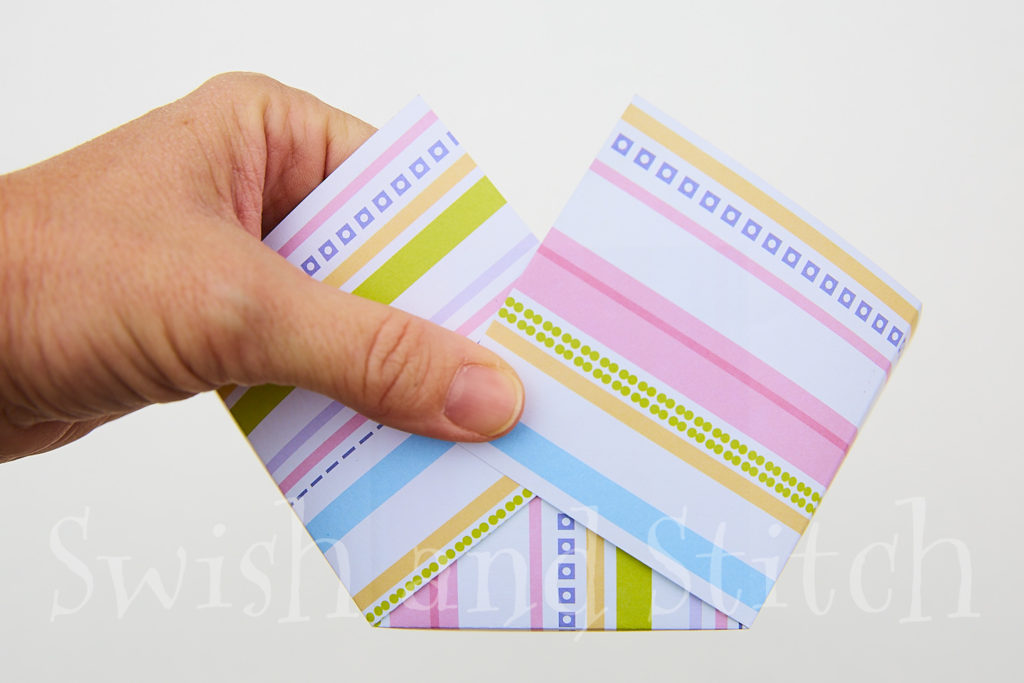
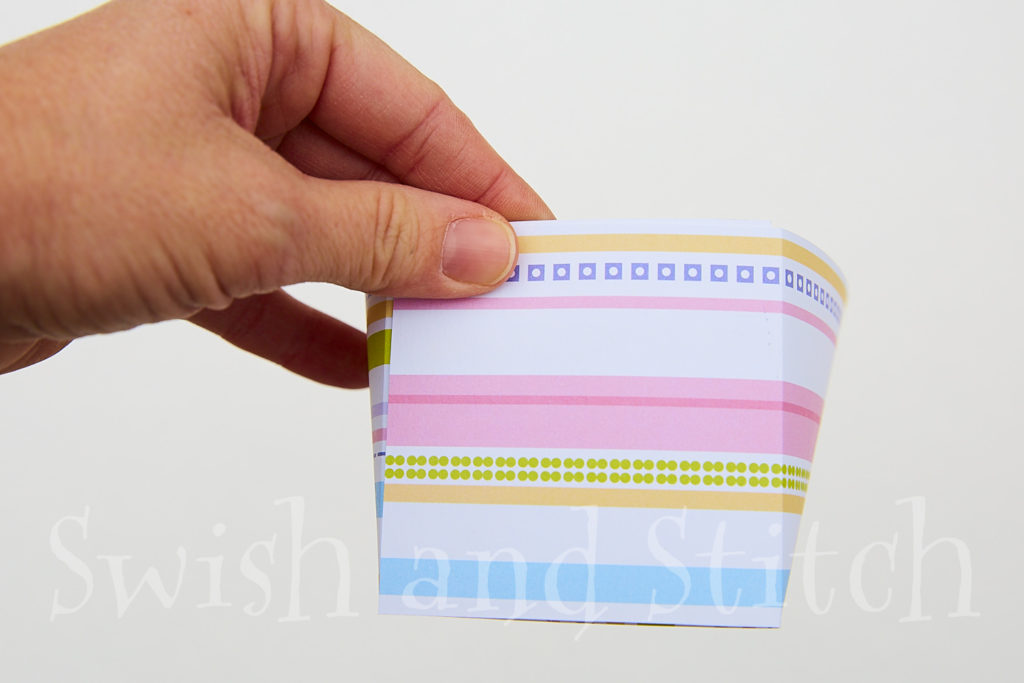
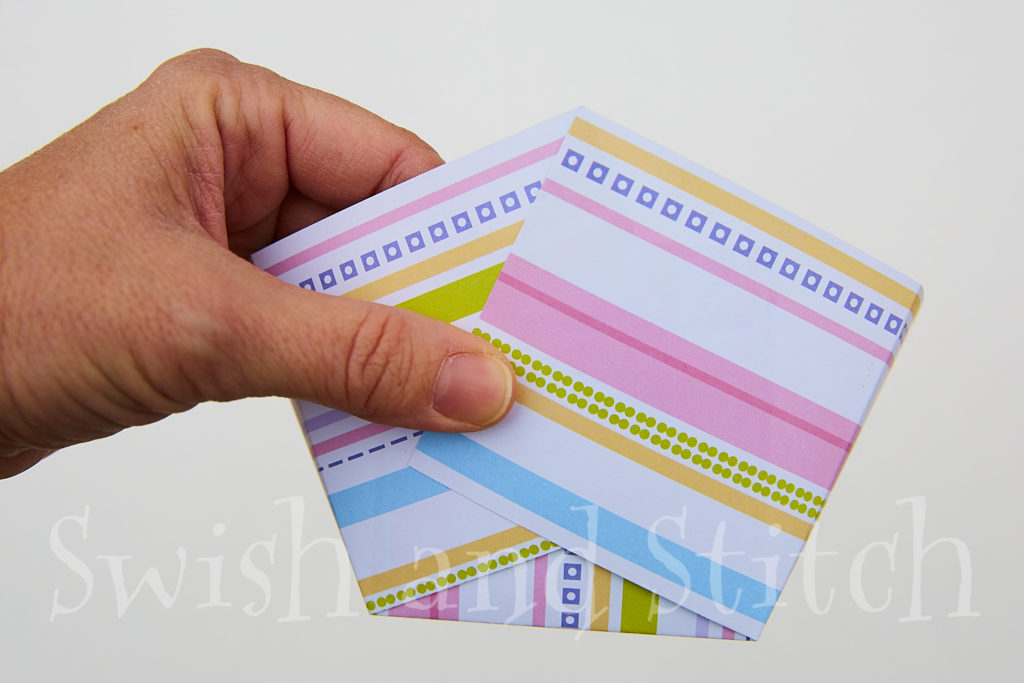
Glue the three squares together in your desired shape. Repeat on the opposite side of the basket. So far, so good!
To make the handle, fold the 9″ x 2″ strip of paper in half lengthwise with the decorative side out and glue it together.
Paper Easter Basket Handle Options
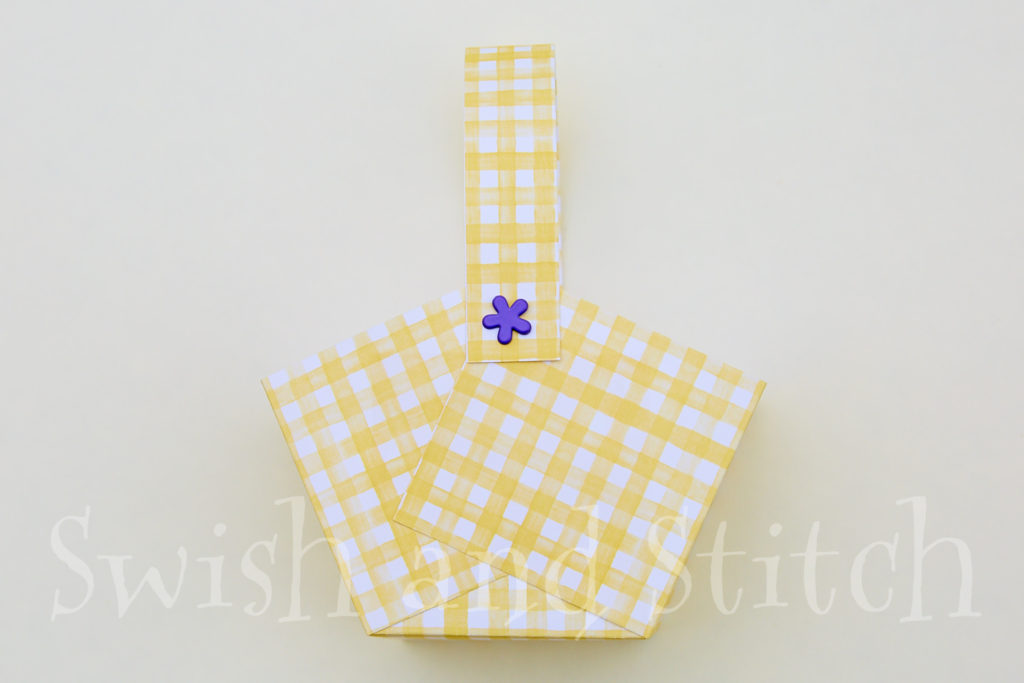
If you are using staples to attach the handle, hold the handle in place and staple away.
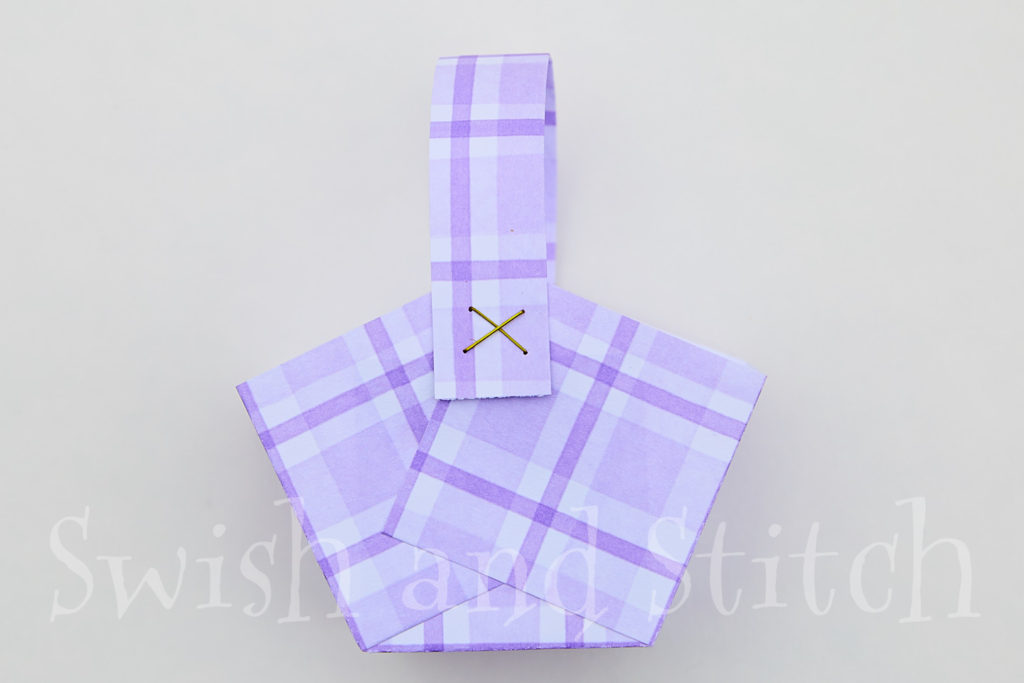
If you are using decorative brads or eyelets, punch holes about 1/2-inch in from either side of the handle and on both sides of your basket.
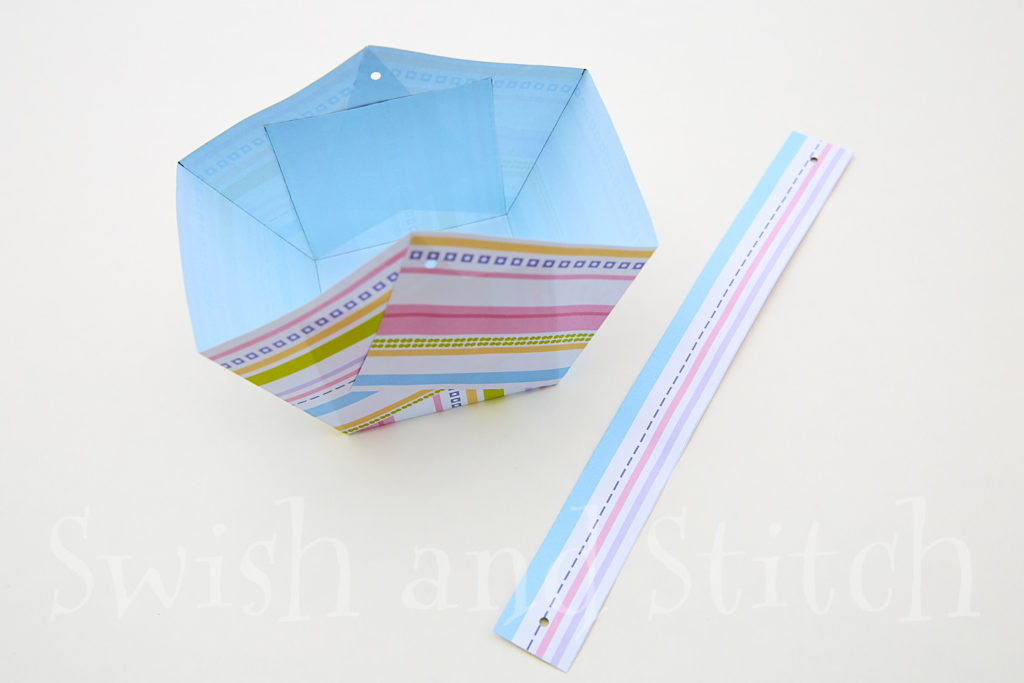
If using brads, insert a brad through the basket and then through the handle and open up. C’est finis!
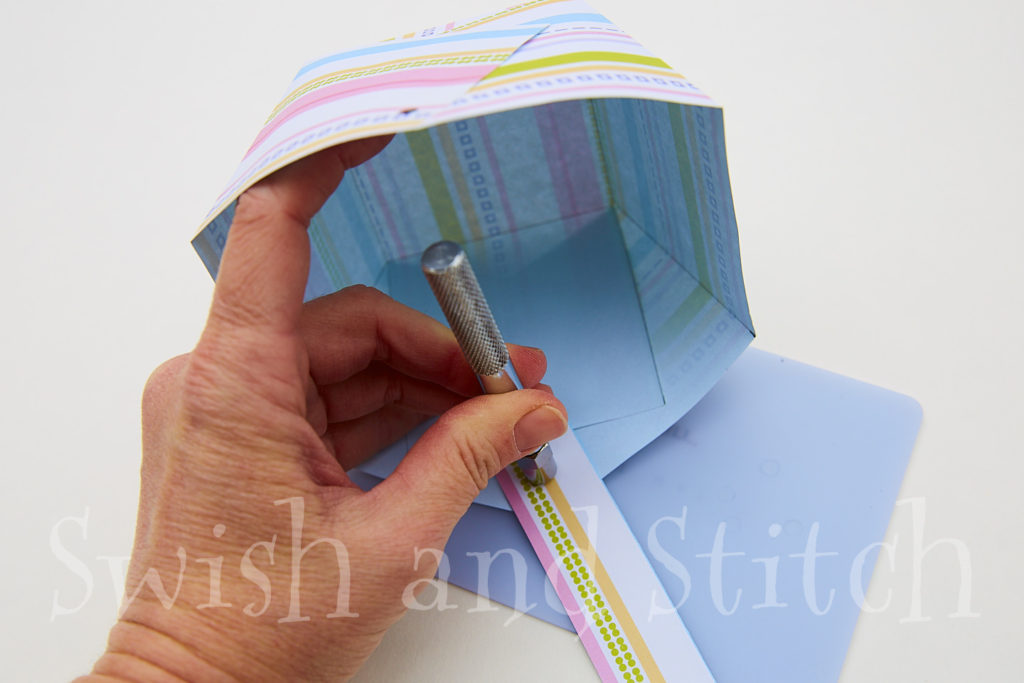
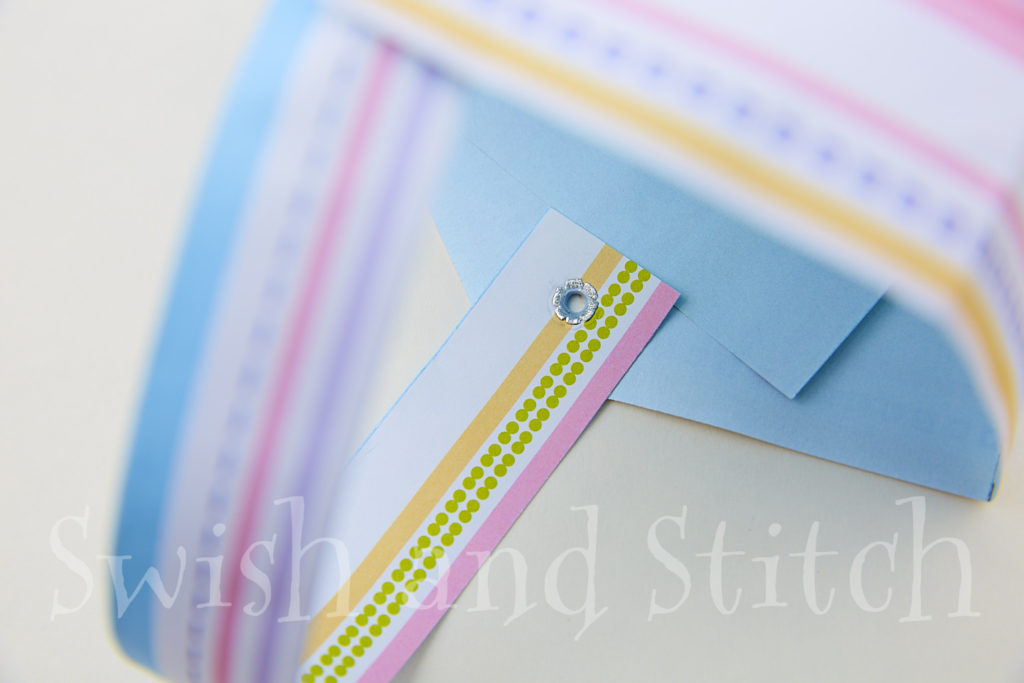
If using eyelets, insert a small eyelet through the hole and then using an eyelet tool and hammer, pound the eyelet until it splits open. Use the hammer to gently flatten the split edges if needed.
Customize for other Holidays
If you want smaller baskets for favors, start with a 6-inch square for the basket and a 6-inch by 1.5-inch strip for the handle. Mark and fold the basket into 2-inch squares.
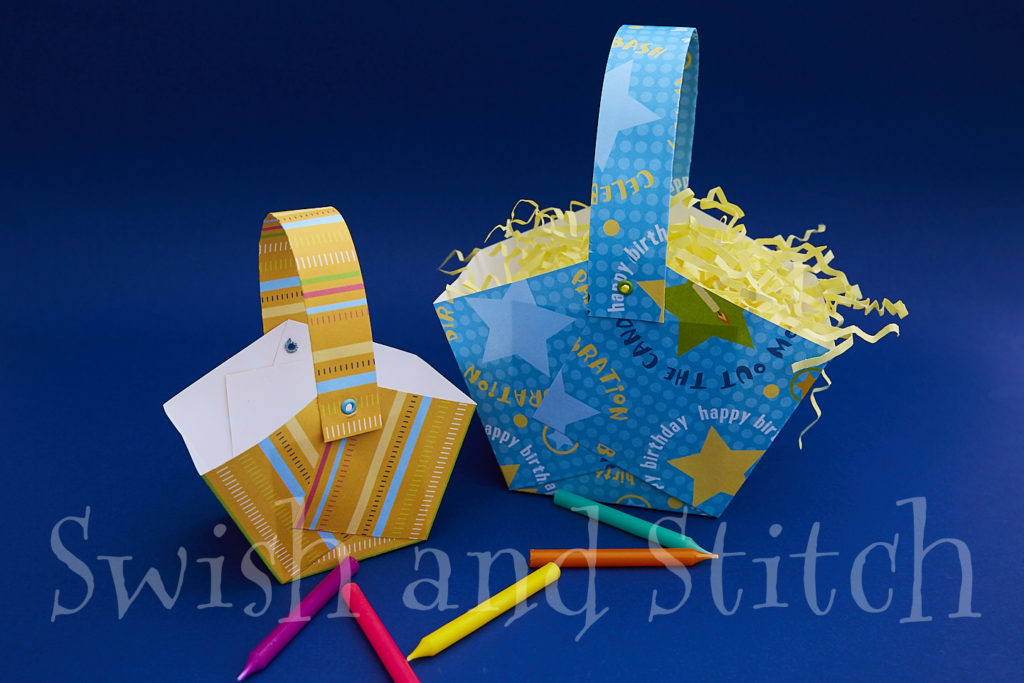
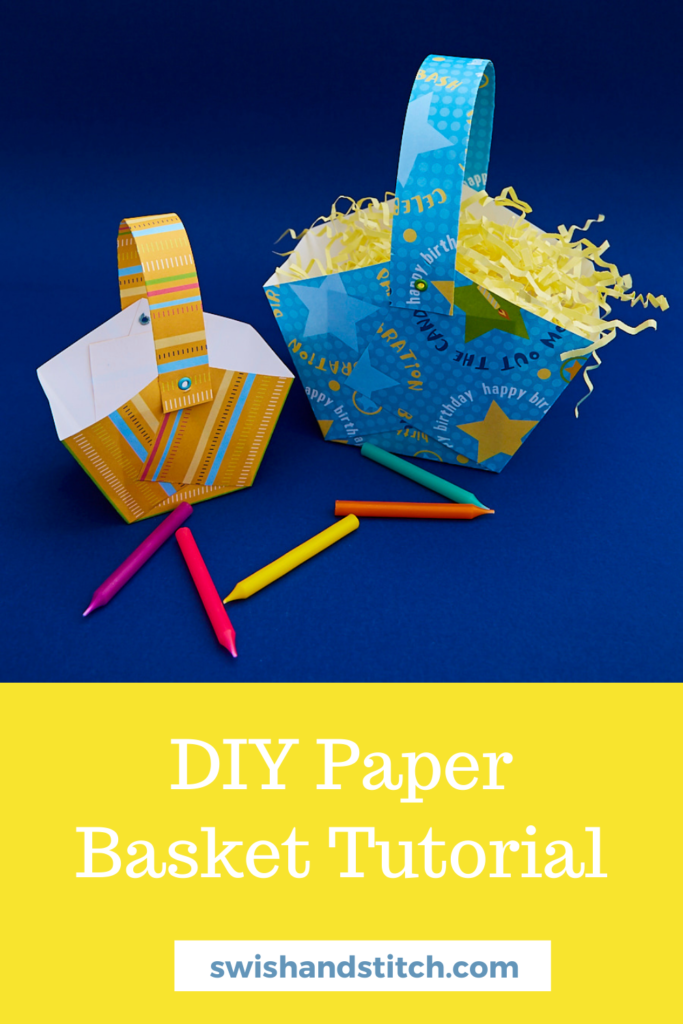
These baskets are easily adapted for any occasion. Here are birthday baskets . . .
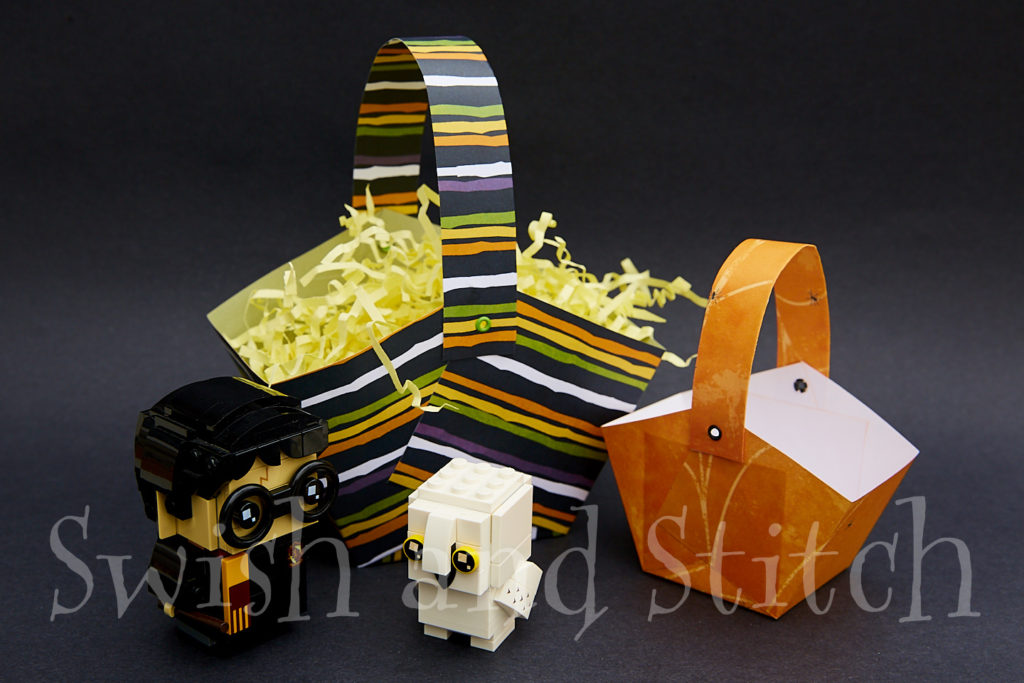
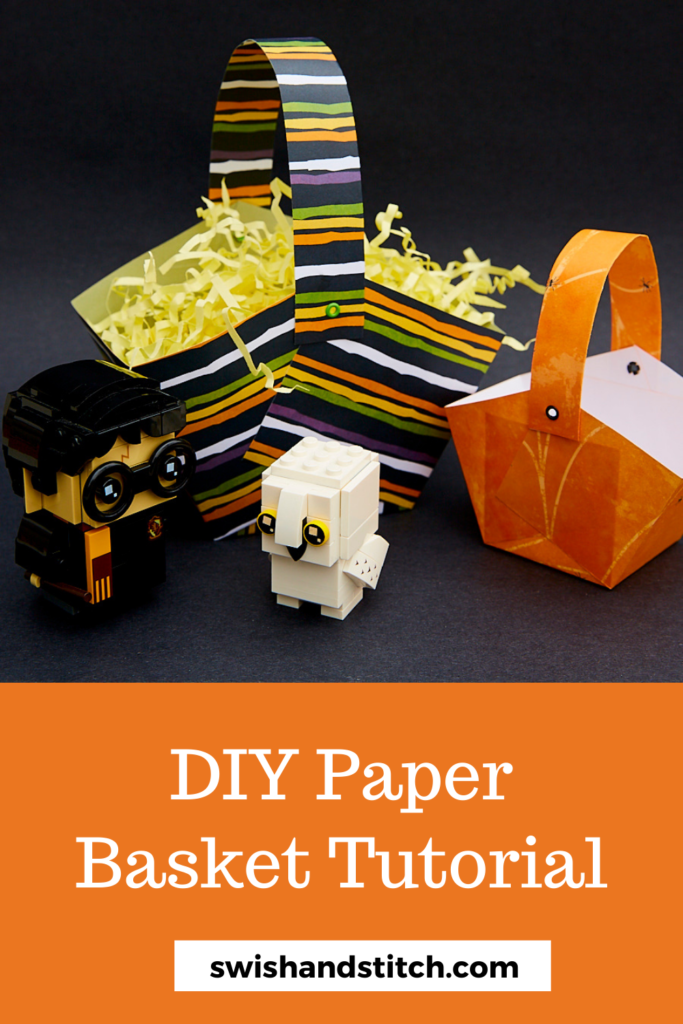
And Halloween ones.
Just change the paper to change the theme! Try floral paper for Mother’s Day, hearts for Valentine’s day, and fairies for a little girl’s birthday. The possibilities are endless!
What easy Easter decorations do you craft with your kids? Share with us!





Made my Easter basket. Took about 10 min! I used a 12 x 12 sheet of card stock and 4” squares. Turned out perfect! I was one basket short and was tickled with this.
I’ve never made that larger size. I’m so happy it turned out well for you!