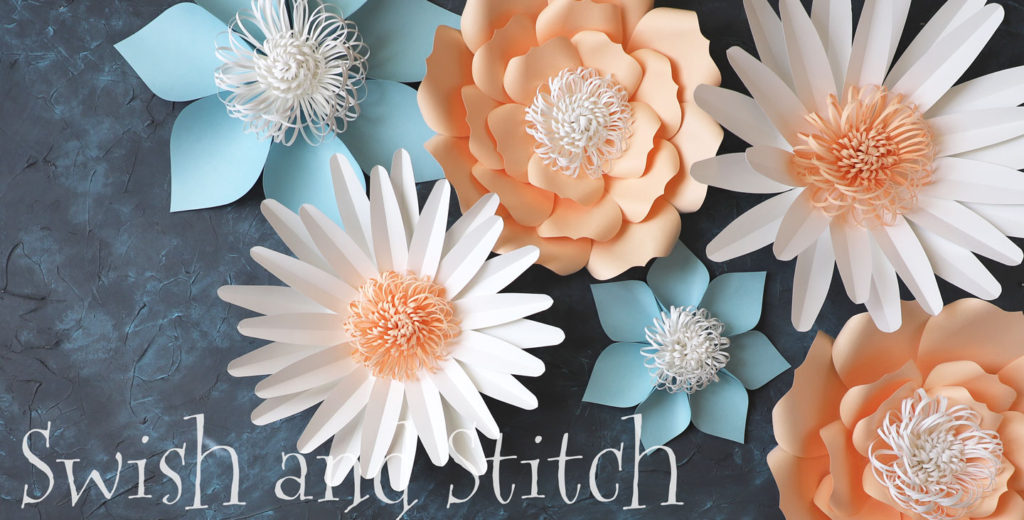
Beautiful and Easy Paper Flowers: Daisy
Some of the links on this site are affiliate links. I make a small commission from sales when you click through the link. There is no additional cost to you.
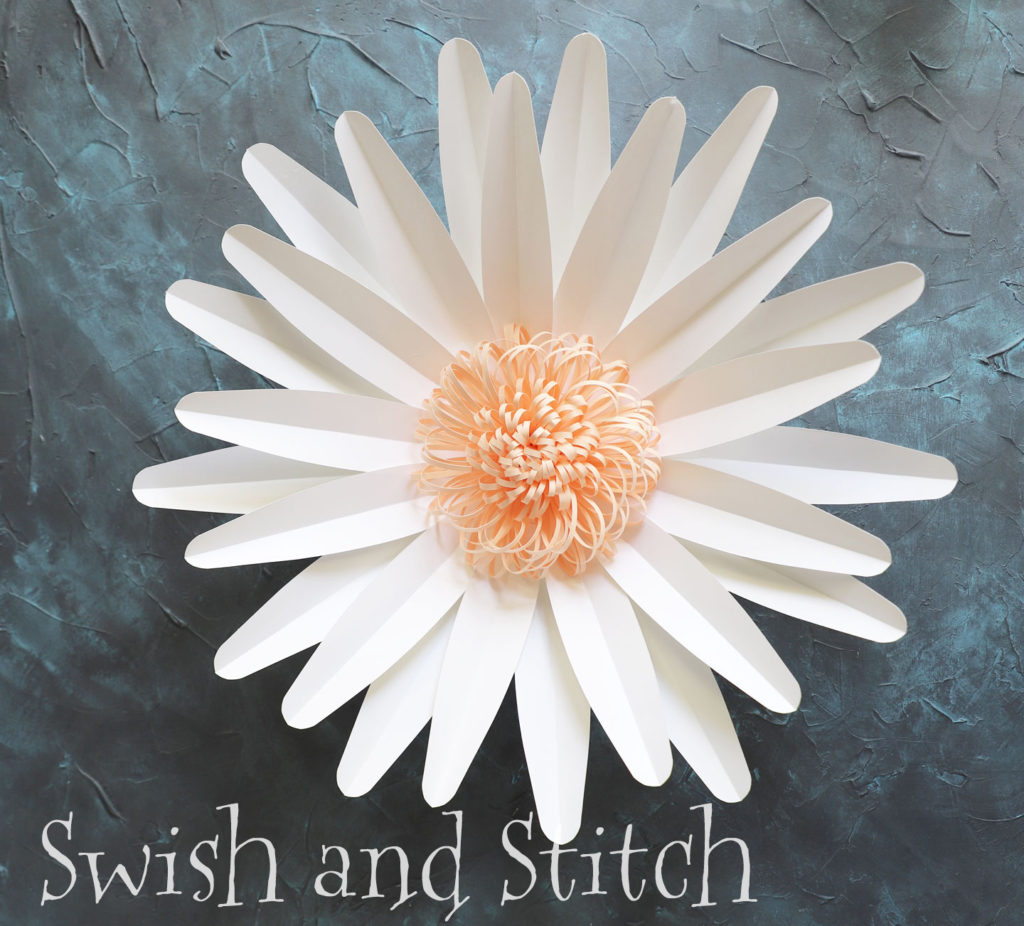
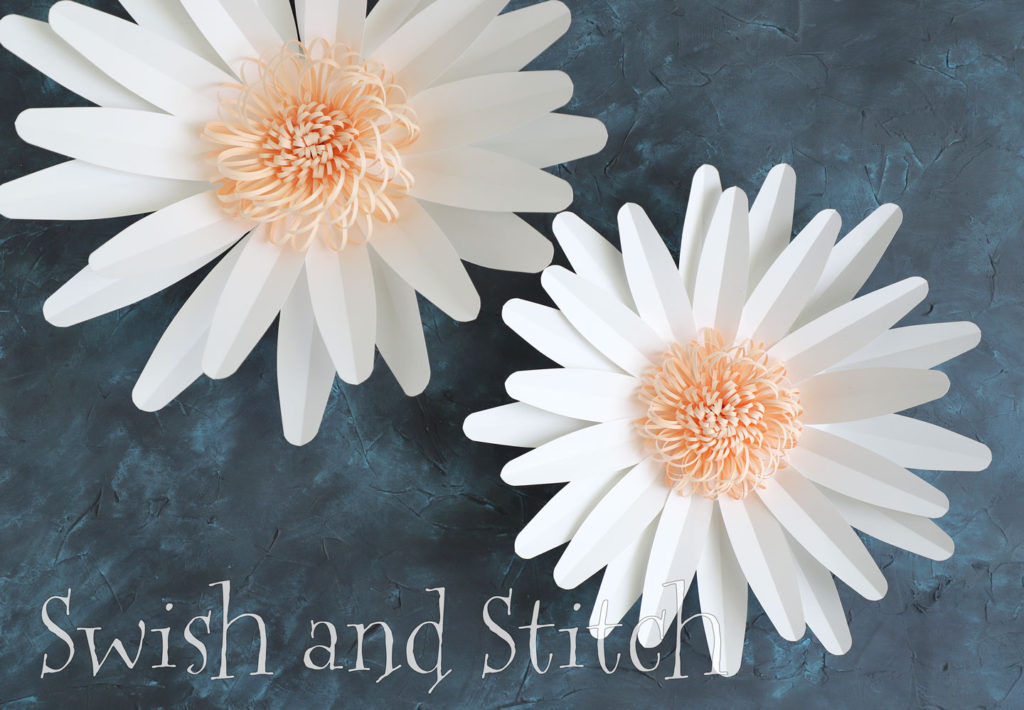
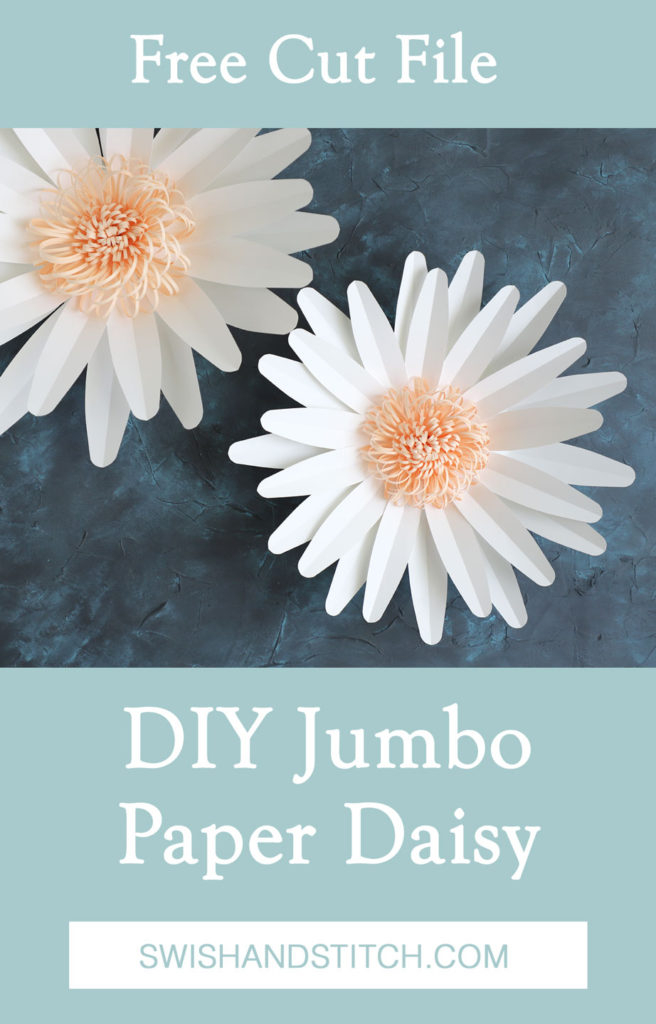
As promised, today I am posting another giant paper flower tutorial. My flower today was inspired by daisies. This particular paper daisy has two rows of petals. If you make the backing smaller, so that it doesn’t show through the first row of petals, you could make yours with just one row if you like that look better.
As with the DIY Jumbo Paper Flowers with Cutting Files: Clematis, you will want to use a desktop cutter to cut the daisy petals and center fringe pieces. The desktop cutter makes the shape of the petals perfect. I love using my Silhouette Cameo for this. There was a bit of a learning curve when I first bought it, but it is easy to use and has powerful software that came with it.
I do have one suggestion. When you cut cardstock with a desktop cutter, use a cutting mat that isn’t brand new. The new ones are quite sticky and cardstock can be difficult to pull off of them. I like to use an older mat, one that is sticky enough to keep the cardstock in place, but used enough to make it easy to pull the cardstock off. I have also heard that it can help if you pull the mat off the cardstock rather than the cardstock off the mat. So give that a try.
This paper daisy also requires that you know how to use your desktop cutter to make score lines. With my Cameo, I turned the pressure all the way down to the lowest setting, to a 1. This worked well for me, but you may have to adjust yours depending on your blade length and speed. Do some trial and error on a piece of scratch cardstock until you get the results that you want. In the cut files provided, you will cut on the red lines. Then, score down the middle of each petal on the blue lines.
For more paper flower fun, check out DIY Jumbo Paper Flowers: Rose (coming soon!)
Paper Daisy Materials

Let’s get started!
Here is what you will need to make a giant paper daisy:
- White cardstock, or another color, for making the daisy’s petals and the 13-sided polygon
- Peach cardstock, or another color, for making the daisy’s center
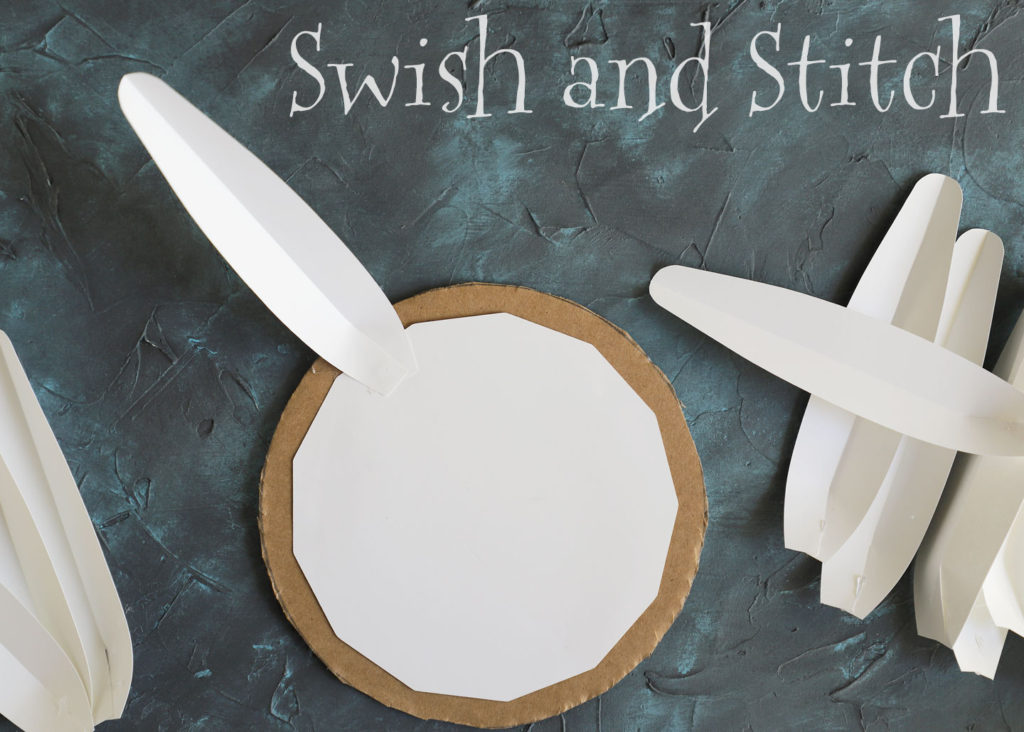
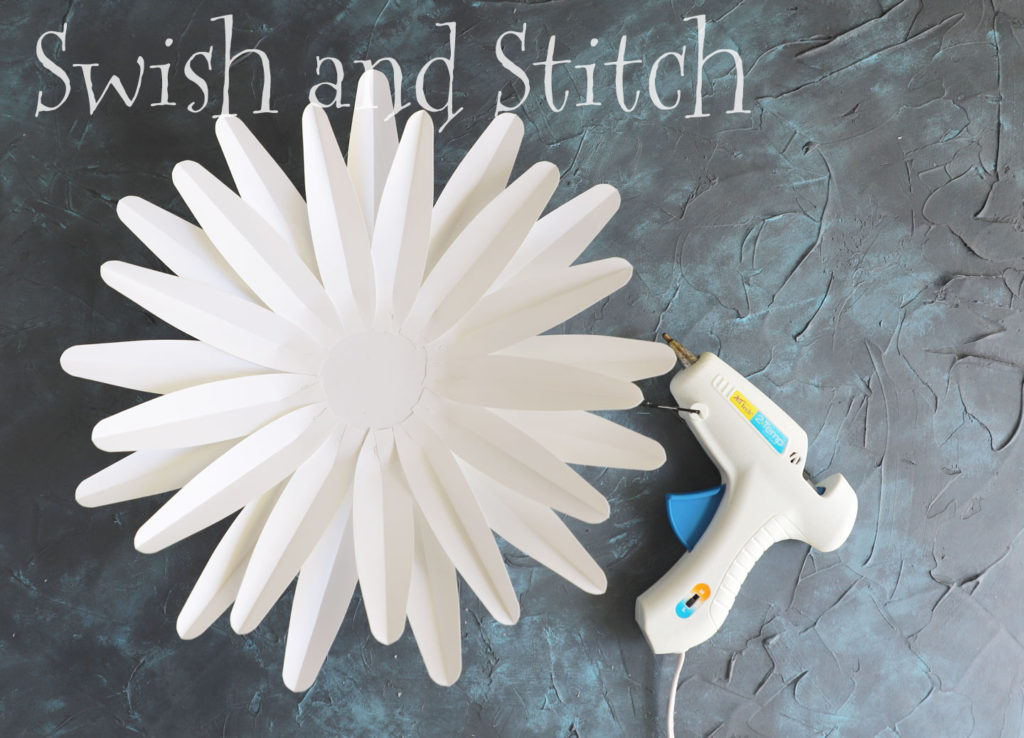
- A cardboard circle slightly bigger than the 13-sided polygon used to align the daisy’s petals. See the the photo above. (What do you call a 13-sided polygon anyway?)
- Low-temperature hot glue gun
- Hot glue sticks
- Half of a pipe cleaner for making a hanging loop
Paper Daisy Instructions
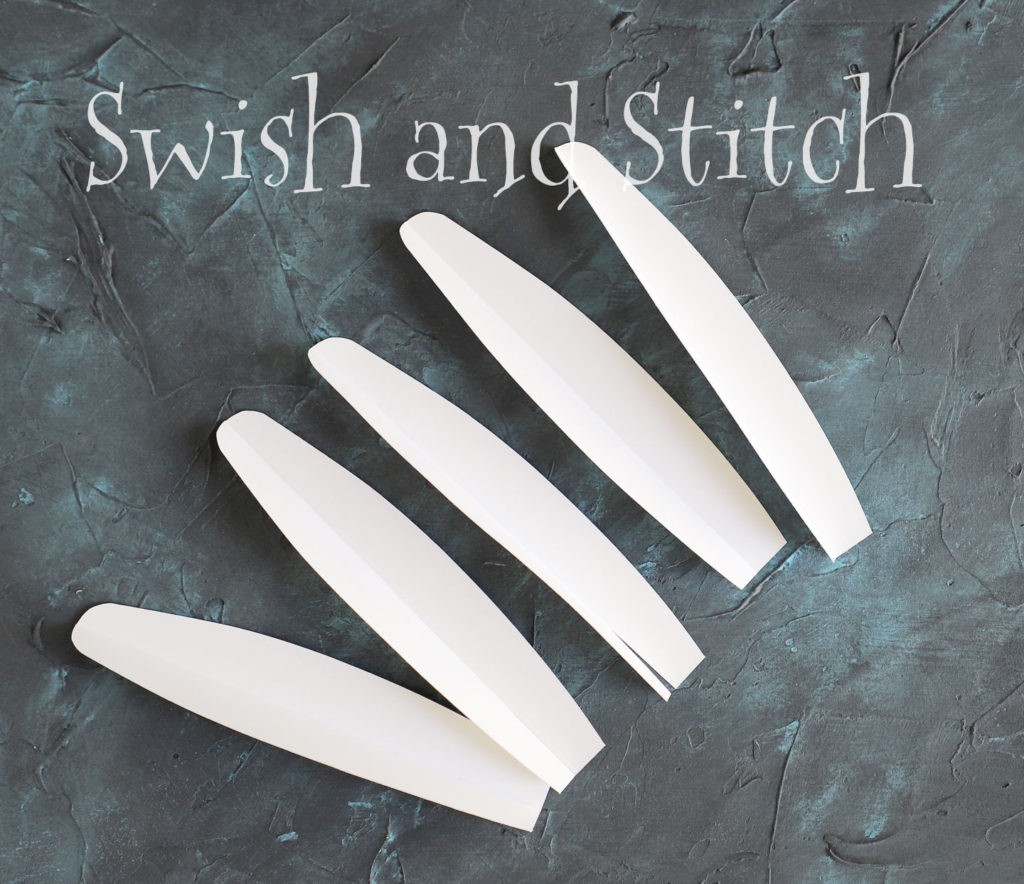
To begin making this paper daisy, cut 26 petals out of heavy-duty white cardstock using the cut files at the bottom of this post. Make a score line down the middle of each petal so that you can fold the petals in half. About the last inch of the score line, on the bottom of each petal, will be cut all the way through the cardstock. You will use this cut to form the curve of the petal later. Also, cut a 13-sided polygon out of white cardstock using the same cut file.
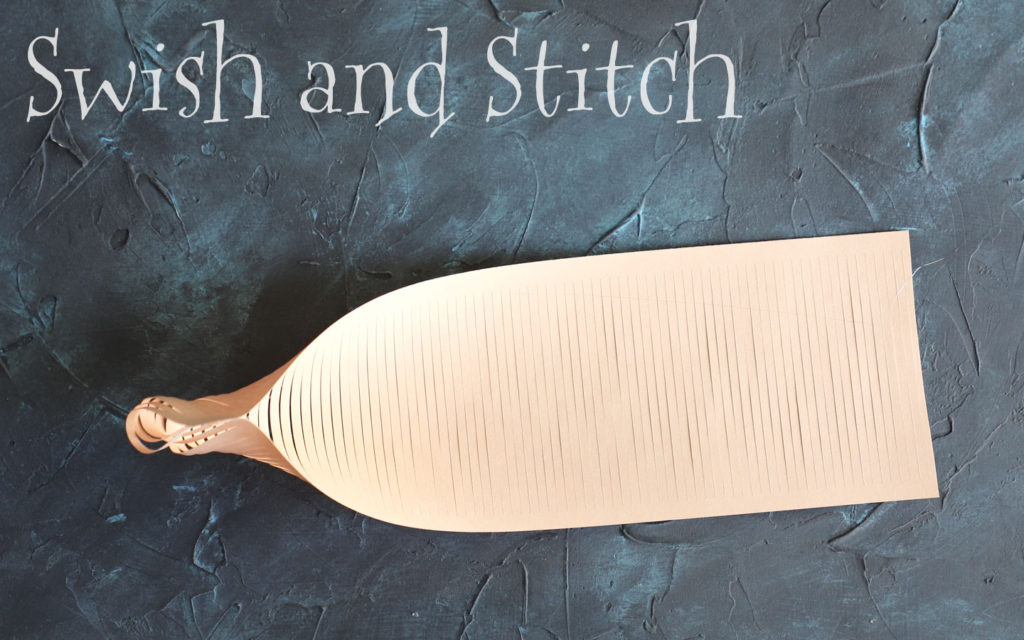
Next, cut out your small and large fringe pieces for the flower center out of peach cardstock. The fringe cut files can be found here.
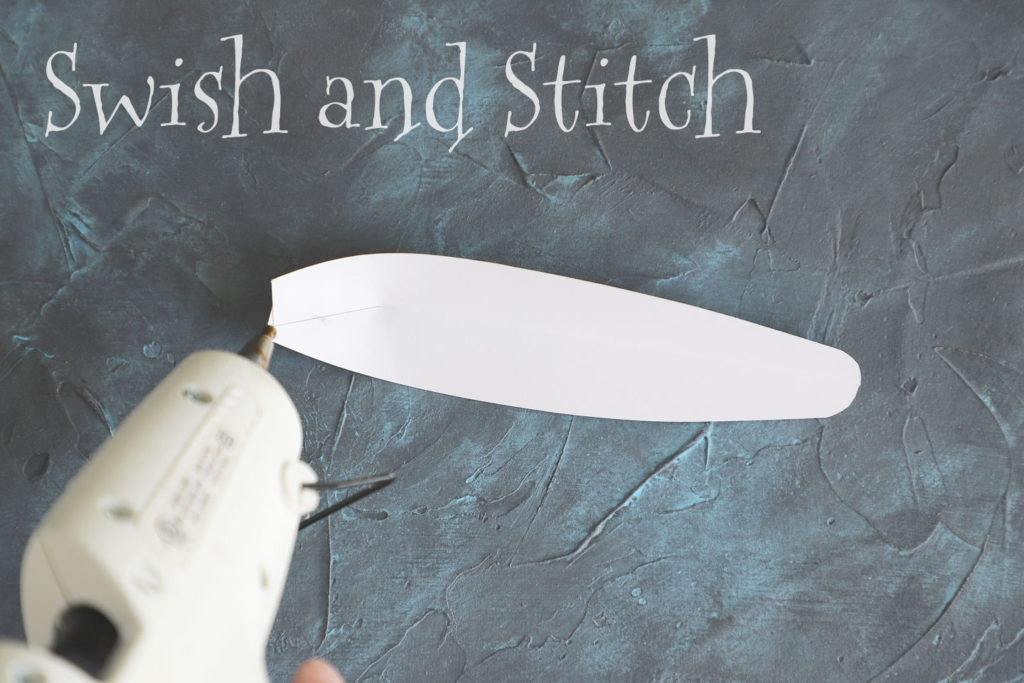
Fold each petal in half on the score line. Overlap the bottom left and right sides of each petal about 1/4 of an inch. Glue in place using your low-temperature hot glue gun. Repeat this process with all 26 petals.
Next, glue the 13-sided polygon onto your cardboard center. Begin aligning the paper daisy petals around the outer edge of the polygon. Use the sides of the polygon as a guide to arrange the petals evenly. Glue the first row of petals in place.
This is what it will look like once the first row of petals is finished.
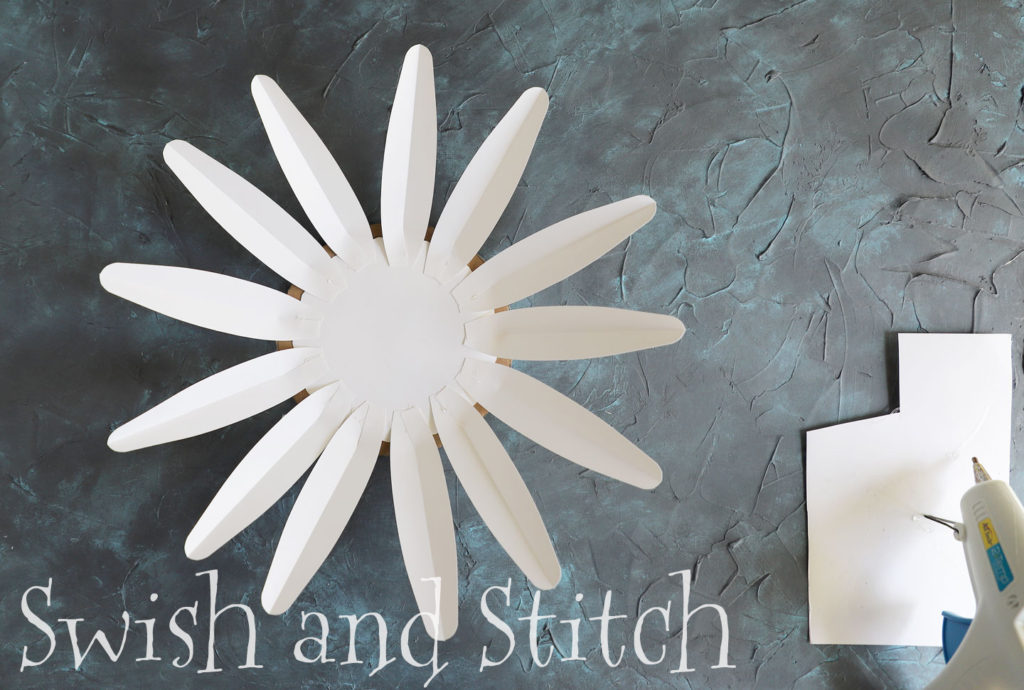
At this point begin to glue the second row of petals on. Each petal in the second row should be centered between two petals of the first row. Glue the petals about 1 inch closer to the center of the flower, as shown in the photo below. Leave space in the middle of the daisy for gluing in the flower center.
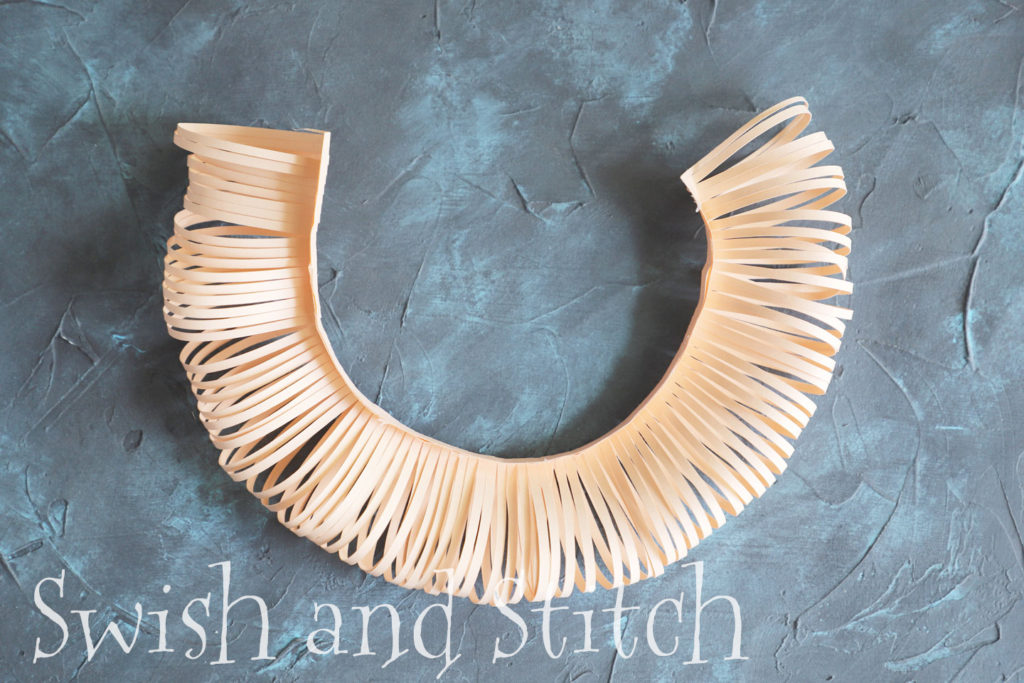
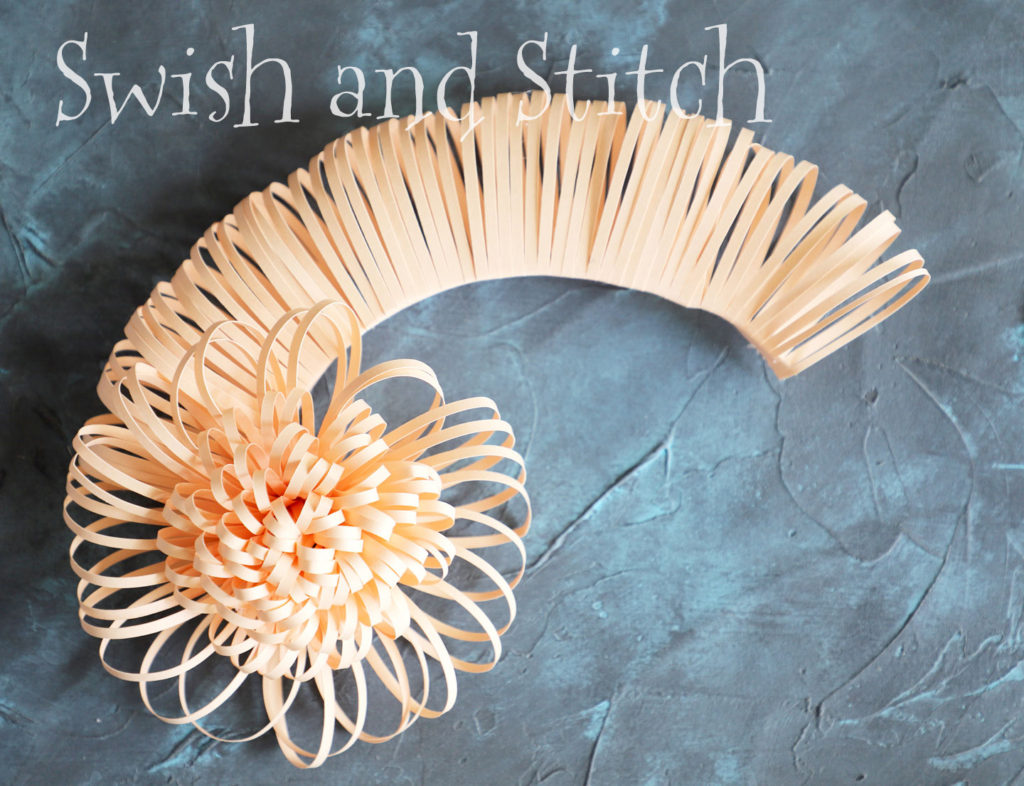
Now make the flower center in the same way we made them in the clematis tutorial. Bend the smaller fringe piece in half, offset the two sides slightly, and begin gluing the two sides together. You will want to use only dots of glue every inch or so. A line of glue would be too hard to bend. Repeat this process with the larger fringe piece.
Curl the small fringe in on itself, rolling it into a small circle. Glue as you go.
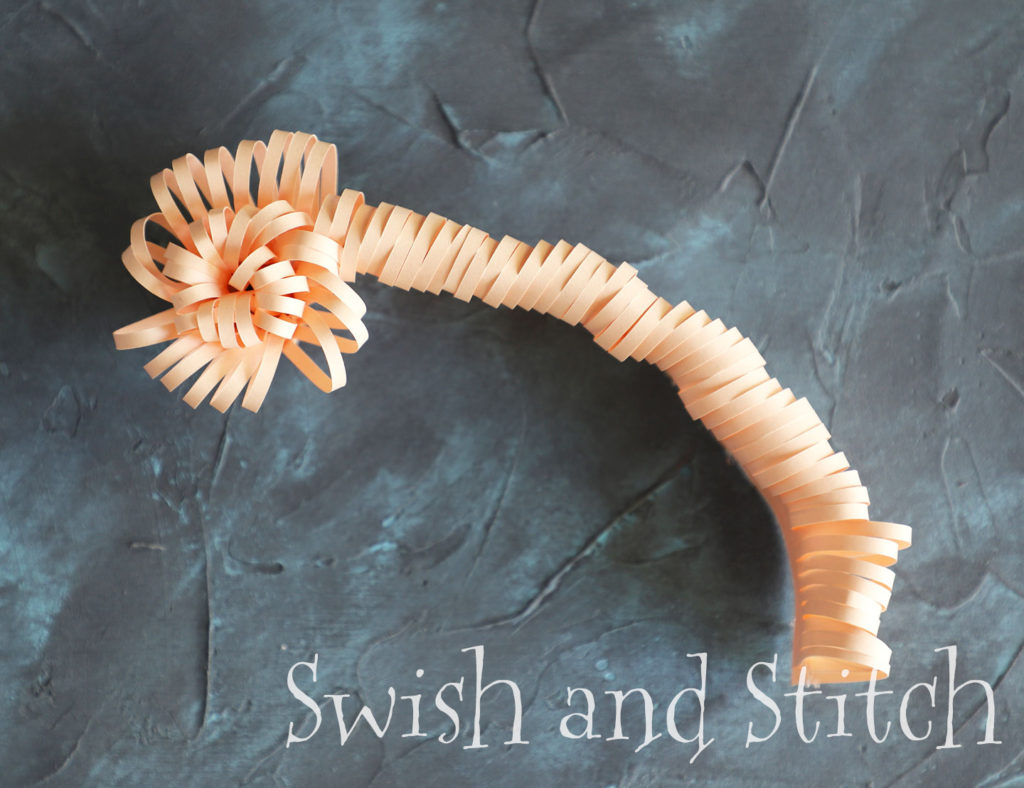
On the larger fringe, make a 90° fold, about 1/4 inch from the bottom edge, as shown below.
Flip this fringe over and begin wrapping the large fringe around the smaller, center fringe. Glue as you go.
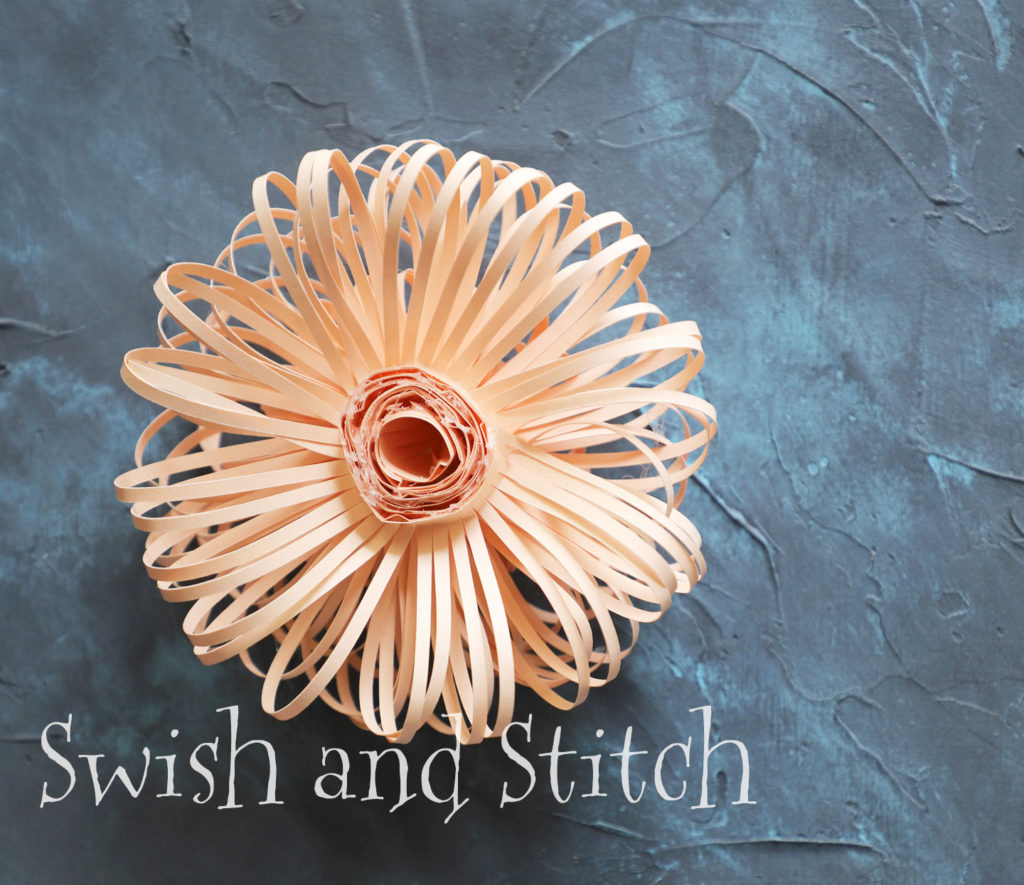
This is what it will look like from the back.
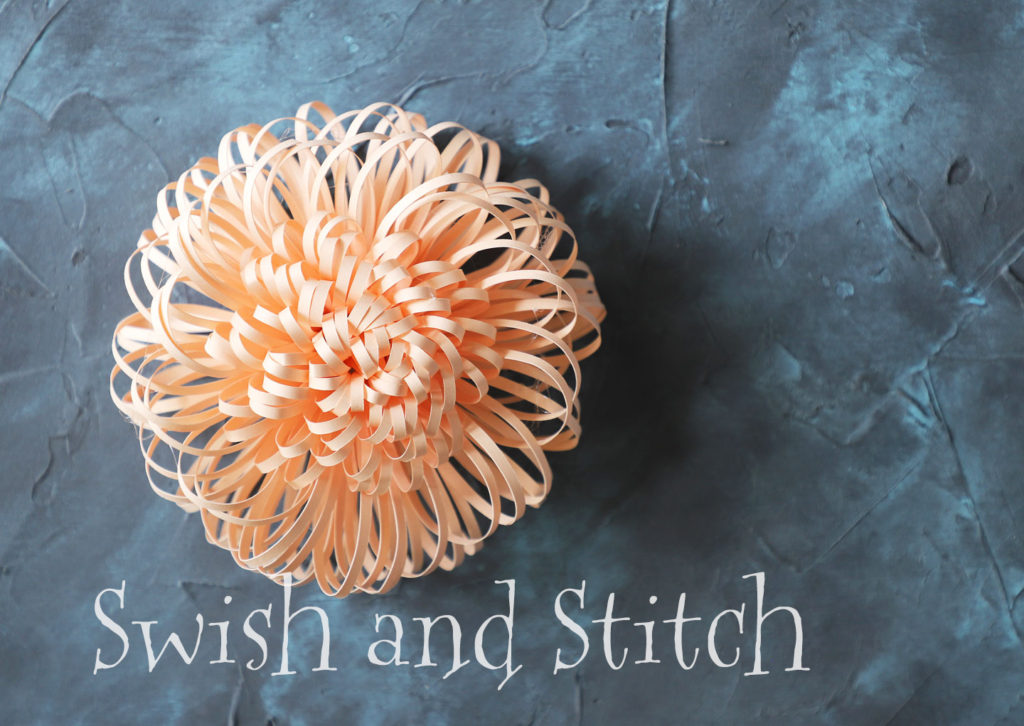
Here is what it looks like from the front.
Attach the center fringe to the daisy with some hot glue.
Lastly, twist the half-piece of pipe cleaner into a loop. Glue it onto the back. This is how you will hang your flower on a wall.

I hope you like this paper daisy as much as I do!
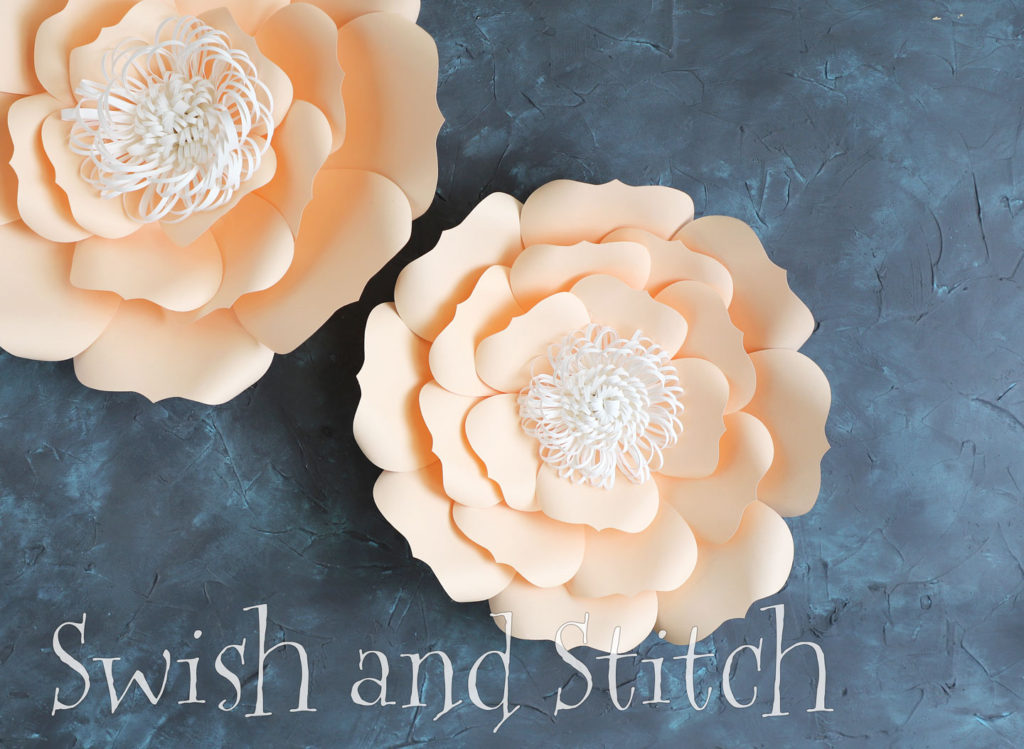
Here is a quick preview of the next upcoming flower tutorial—DIY Jumbo Paper Flowers: Rose! Just to give you a sense of size, my backer board is 2 feet x 4 feet and I cropped this photo close to the edge of the board. You can always scale the flowers up or down as needed. I like a mix of various sizes in my flower groupings.
~ Erika
Download Cut Files:
Flower Fringe Files (from Clematis post)
Other File Types
Download DXF File | Download SVG File
Note: When converting to a .dxf file type, I was unable to retain the blue score line on the daisy petals, it just has the cut lines. You will need to score each petal along the center from the top to the cut in the bottom.