Beautiful and Easy Paper Flowers: Lisianthus
Some of the links on this site are affiliate links. I make a small commission from sales when you click through the link. There is no additional cost to you.
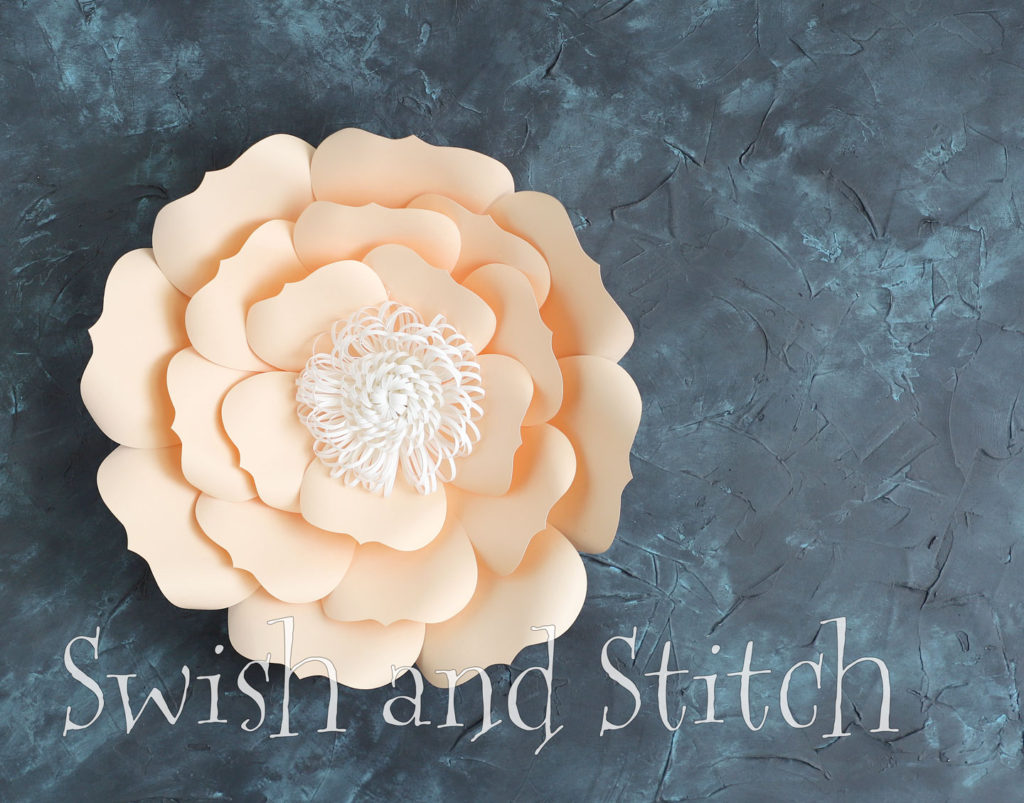
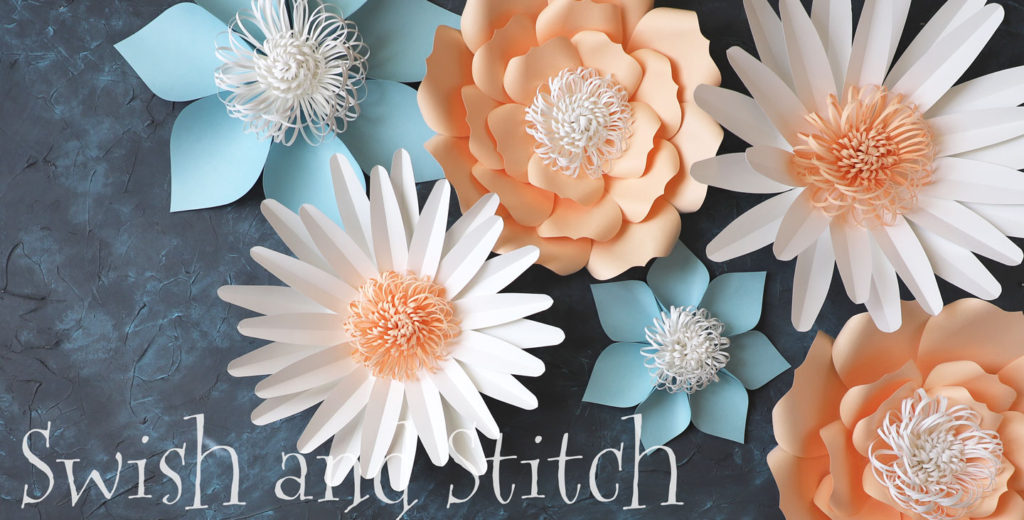
Good morning crafters! Welcome to my third and final blog post in this jumbo-paper-flower series. For this flower I really wanted to try a different petal shape. After googling petal shapes for a while I went with this one that has a point in the center. I really like the way it makes up into a flower but I didn’t know what to call this blossom since it isn’t based on any specific plant species.
I considered naming it after my daughter, Sarah, and I discovered that there is actually a peony, a hybrid tea rose, a rock rose, and a fuchsia that all have “Sarah” in their name. Who knew? None of them look anything like my flower, though.
I continued to scour the internet to try and come up with a name for my imaginary bloom. I looked at a camellia, peony, rose of sharon, or even a wild rose but those didn’t seem quite right. In the end I decided that it looks most like a lisianthus.
I know, most of you are probably asking, “What’s that?” I didn’t know what that was either! My mother-in-law is a gardener and I seem to vaguely remember her mentioning it once, but I really had no idea such a flower existed. Check it out, it is a beautiful flower. Even though it doesn’t seem to have a point in the center of each petal, some varieties have ruffled petals which give them a slightly pointed look. I hope you enjoy this flower tutorial, this is one of my personal favorites; it is beautiful when completed, has an elegant look, yet doesn’t take an entire ream of cardstock to make!
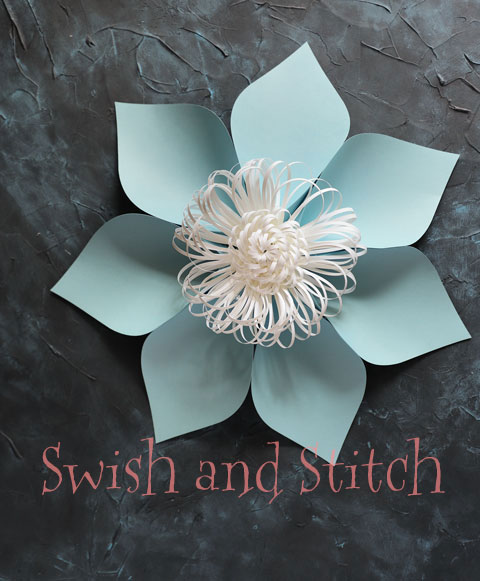
For more paper flower fun, check out DIY Jumbo Paper Flowers: Clematis
For this flower you will need three different sizes of petals. I have included all three in the free cut file provided at the end of this post. I used about 8-9 of the largest petals, 7 of the medium-sized petals, and 4-5 of the smallest ones. I always seem to need to add in an additional petal or two at the end where I feel the flower needs to be filled out a bit more. As with my other flower tutorials, I recommend using a desktop cutter to make the petals and center fringes of this lisianthus. I use the Silhouette Cameo. Let’s get started!
Paper Lisianthus Materials

What you will need to make this project:
• Two colors of cardstock, one for the petals and one for the center
• Stiff cardboard
• Low-temperature hot glue gun
• Hot glue sticks
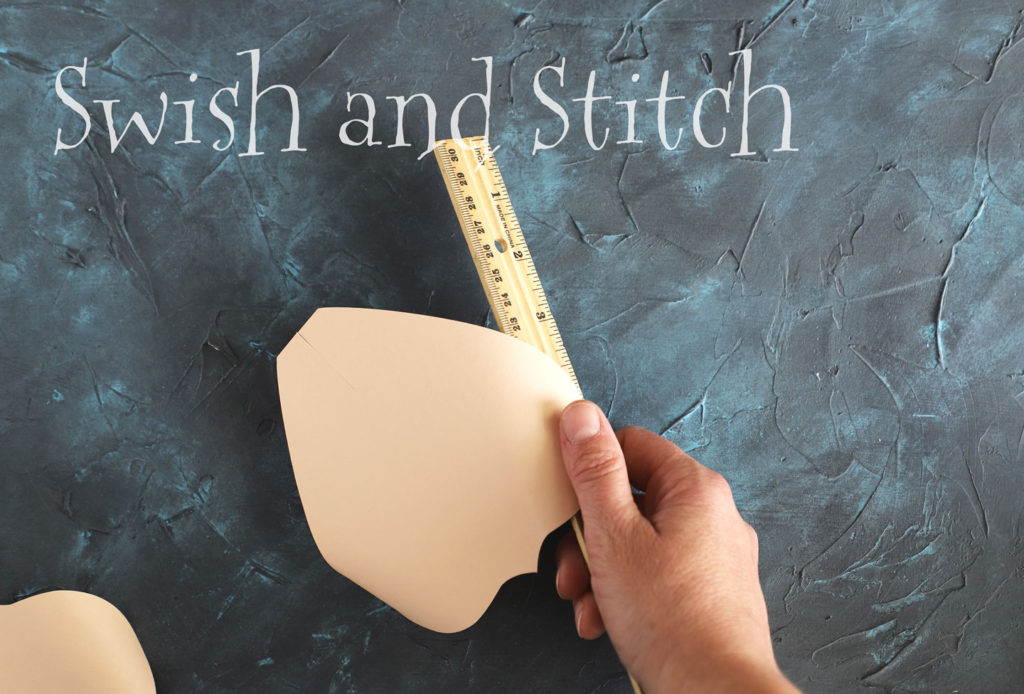
• A ruler or other straight edge for curling the petals
• A half-piece of pipe cleaner to make a hanging loop
Paper lisanthus Instructions
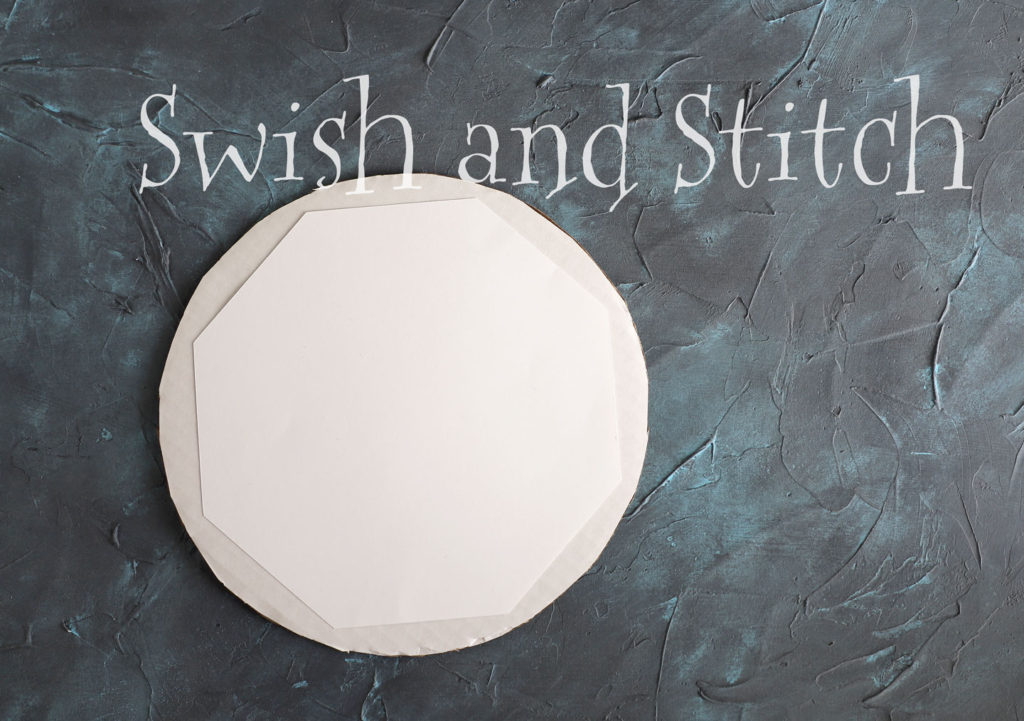
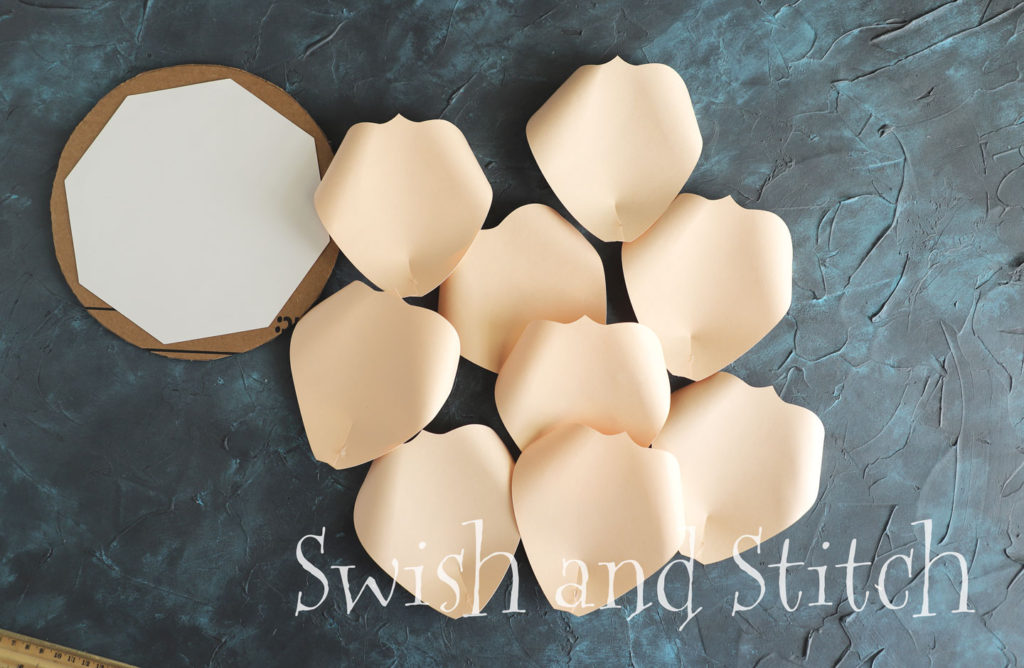
Begin by using the cut file provided to cut your lisianthus petals out of a stiff cardstock. Then cut the center fringes out of a contrasting color of cardstock using the cut files provided here. Next, cut out the octagon shape which will help you position your petals evenly around the outside edge of the flower. Using a pair of scissors, cut a cardboard circle slightly larger than your octagon.
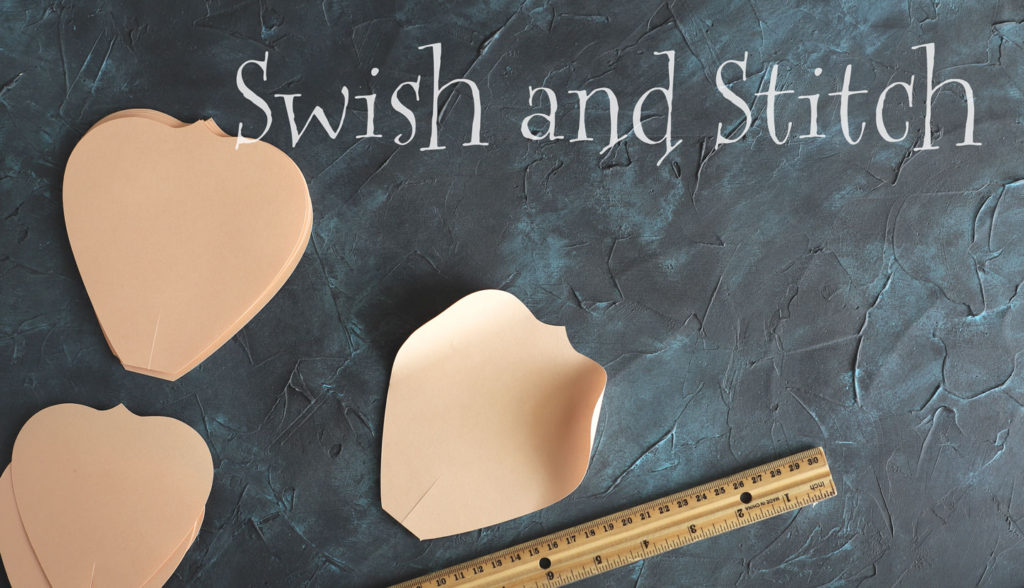
As your glue gun is warming up, begin to curl the right and left sides of each paper lisianthus petal. Holding the cardstock between a straight edge and your thumb, curl each side backwards. You don’t have to be gentle with this, in fact, I feel like it takes a lot of pressure in order for me to get the nice petal curve that I want.
Repeat this process with each of your petals. Be sure to keep track of which petals are large, medium, and small, it can get really confusing if they get mixed together.
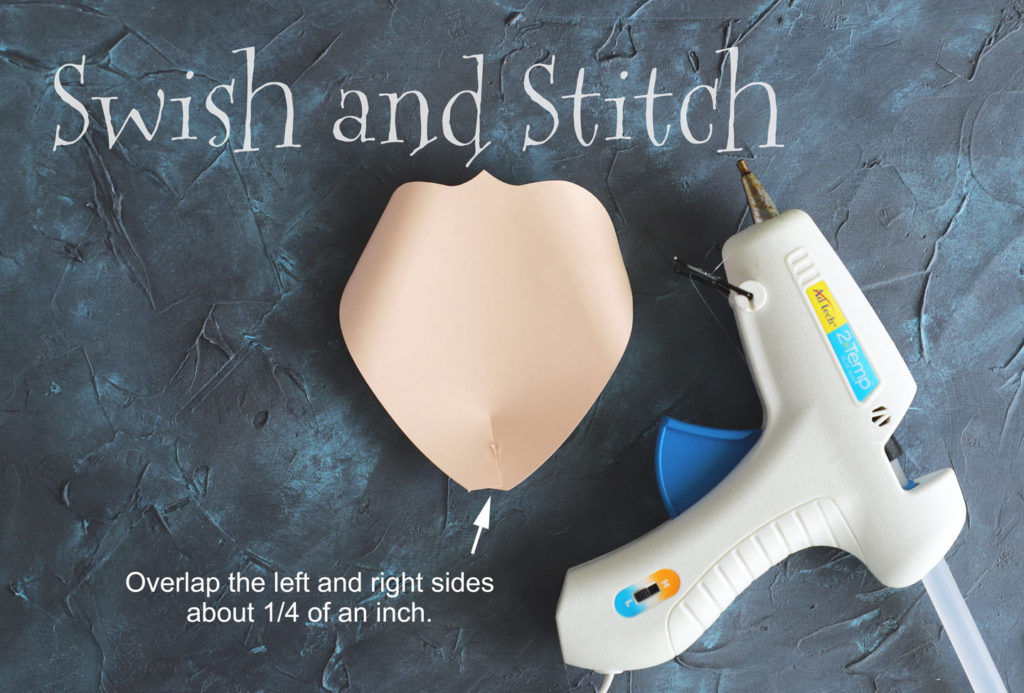
Once your glue gun is warm, begin to shape your petals. Using the 1-inch cut at the bottom of each petal, overlap the left and right sides about 1/4 of an inch. Dab a bit of hot glue there to hold it in place. Don’t forget that the petals should curve backwards! I have made the mistake several times of overlapping the bottom incorrectly which resulted in my petals curving forward, if you make this mistake and have already glued it in place, there isn’t much you can do except start over with a new petal.
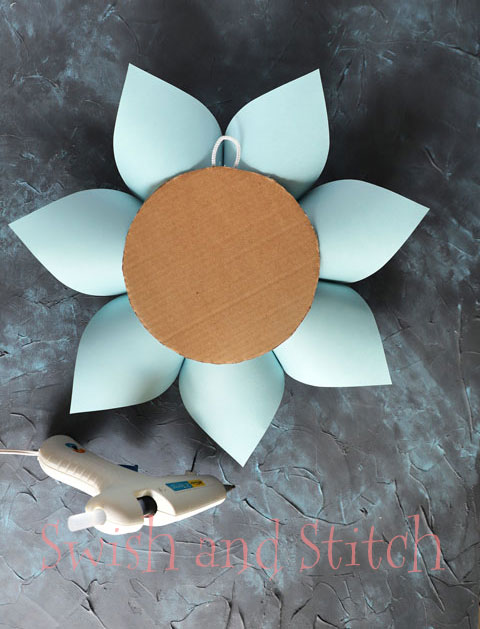
Glue the octagon onto your cardboard circle.
Once you have all your petals prepared and your circle back made, you are ready to begin gluing the petals on.
Using the straight sides of the octagon as a guide, begin gluing the largest petals in the outer row of the flower. They should overlap the octagon about 1/2 to 3/4 of an inch, and should overlap each other a bit. Remember that you want the petals to curve backwards.
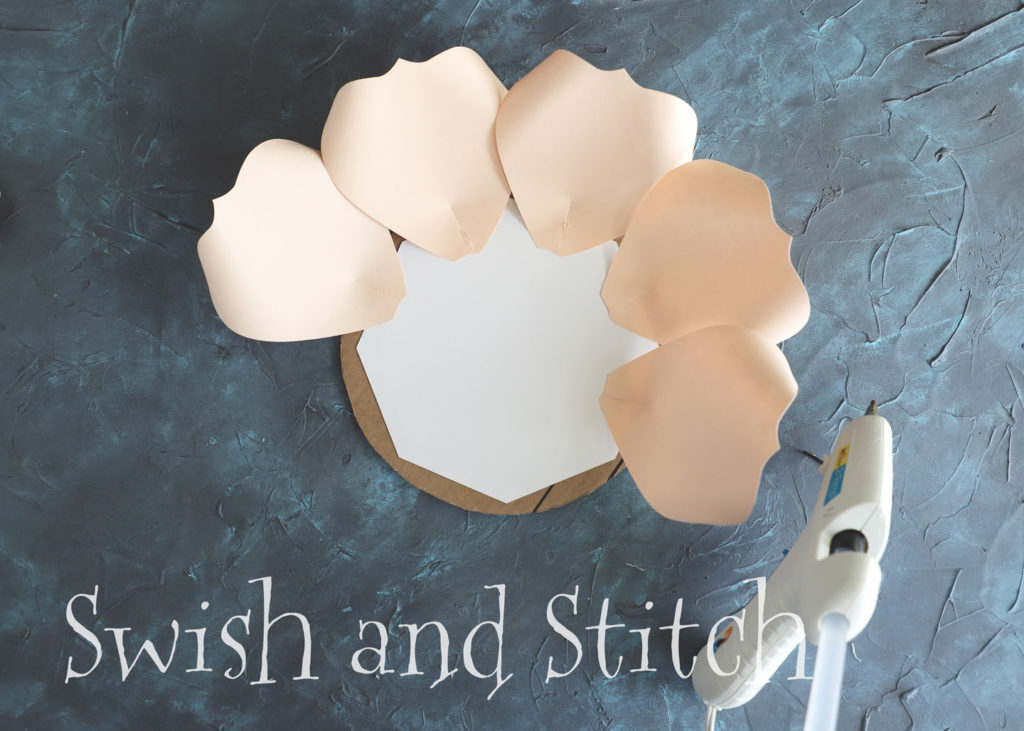
When gluing the second row, use the medium-sized petals and position them between the large petals of the outside row, this isn’t perfect because there are fewer petals in each succeeding row, but in general try to make them slightly offset from the previous row. I like to bring the second row in just a little bit toward the center of the circle, as shown above. Don’t glue them too close to the center because you still need space for the third row of petals and the center.
After the second row of petals is complete, begin gluing the small petals in the third and center row. Again, try to position them between two of the medium petals and slightly closer to the center of the circle back piece. When all of your petals are glued on, it should look like this. At this point I like to check for any holes that I feel need to be filled. If the petals look sparse anywhere, then I will glue in an extra petal.
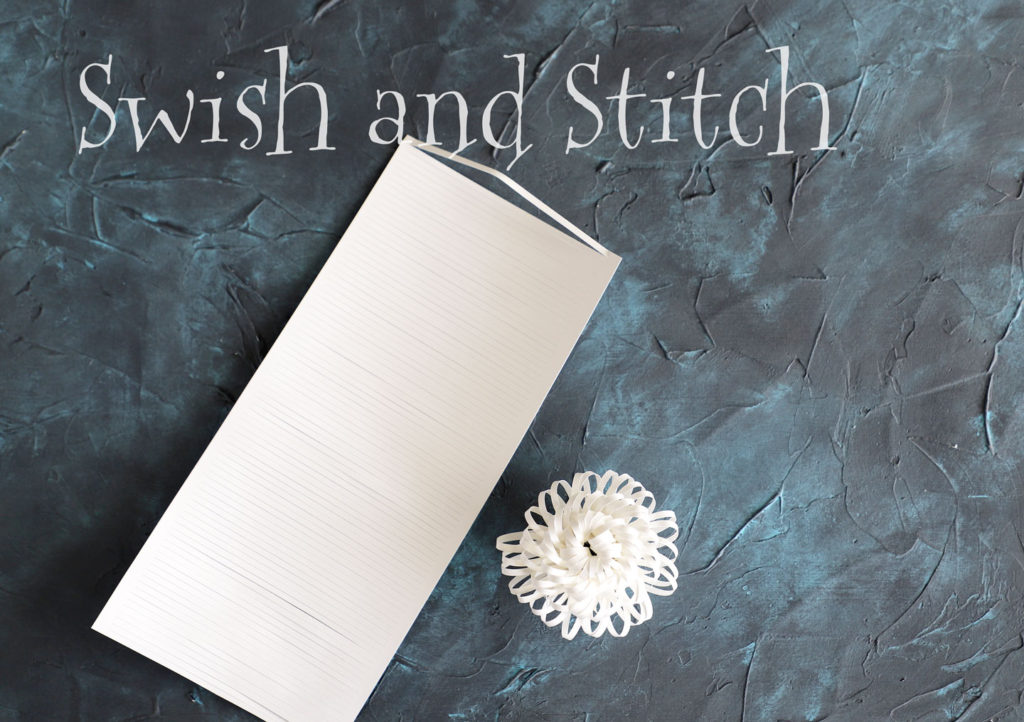
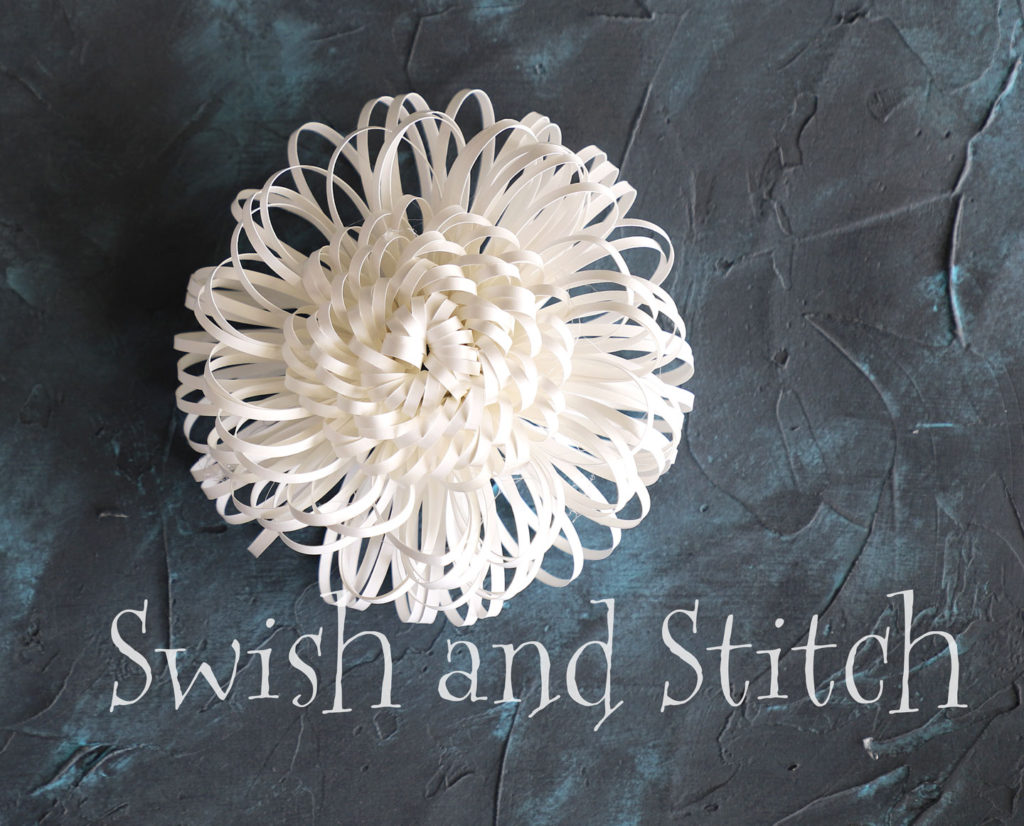
Make the pistil of the lisianthus the same way we did for the clematis and the daisy. Begin by carefully bending the smaller fringe piece in half, offsetting the two sides about 1/4 of an inch. Using small dots of glue every 1/2 inch or so, glue the two sides together. The small dots of glue allow the piece to be curled on itself, whereas a line of glue won’t bend correctly. Begin curling this piece on itself, almost like a cinnamon roll. Glue it in place as you go.
The pistil should look like this when it is finished.
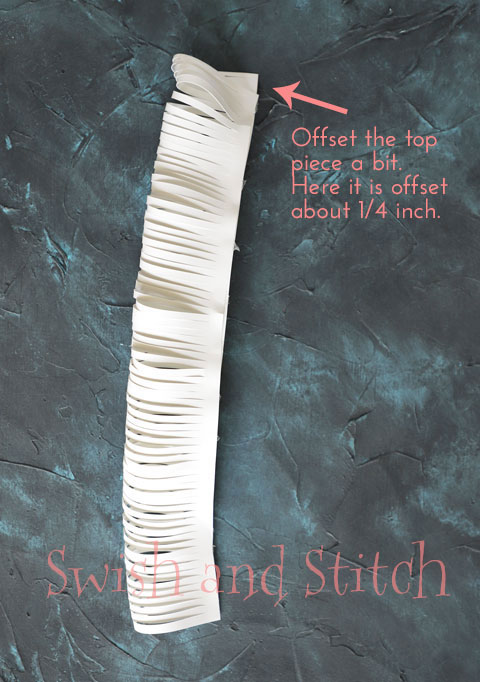
With the large fringe piece that you have left, bend it in half, offset it about 1/4 of an inch, and glue the two sides together using small dots of glue every 1/2 inch.

Make a 1/4-inch 90°-fold on the bottom of the large fringe piece, as shown above. Flip this piece over so that the bottom of the fold points down and the fringe points out to the sides. Begin gluing this large fringe piece onto the center piece that you have already completed.
When you get the large fringe piece glued onto the center piece, it will look like this.
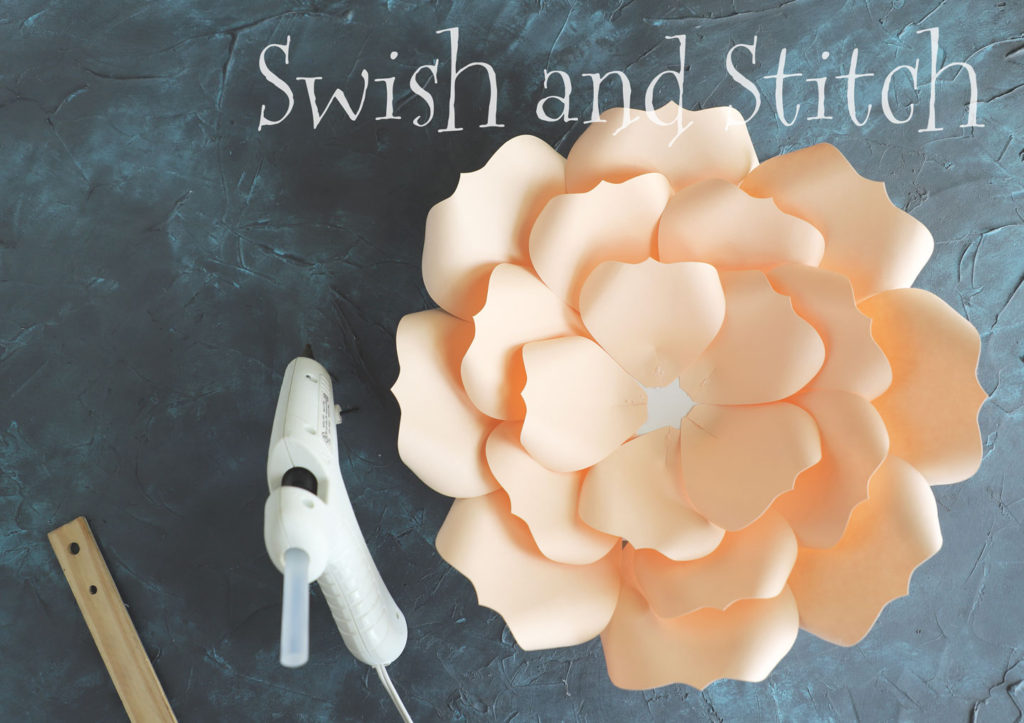
Now all you have to do is glue the center piece onto the center of the flower.
To make a hanging loop, twist the 1/2-piece of pipe cleaner together at the ends and glue it onto the back of the flower like we did with the clematis below.
Finished!
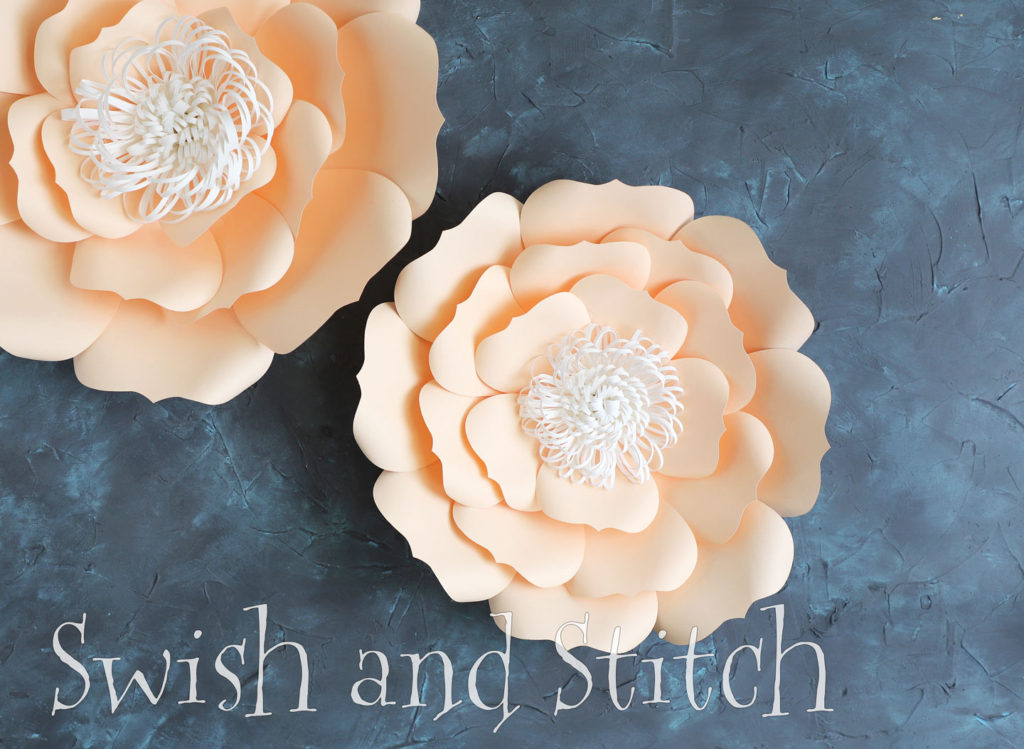
Here is an example of what you can make when you put the paper lisianthus, paper clematis, and paper daisy together.
You can also be creative with you floral arrangement, and add in leaves and butterflies. Below is a backdrop I made for a friend’s daughter’s wedding, with the addition of leaves, butterflies, and paper roses. I placed the ruler in to show the scale of the flowers.

You can see in my paper lisianthus blossoms above that I curled the petals a lot more than I did for the ones I made in this tutorial. Play around with this and see which way you like best. Happy Crafting!
~ Erika
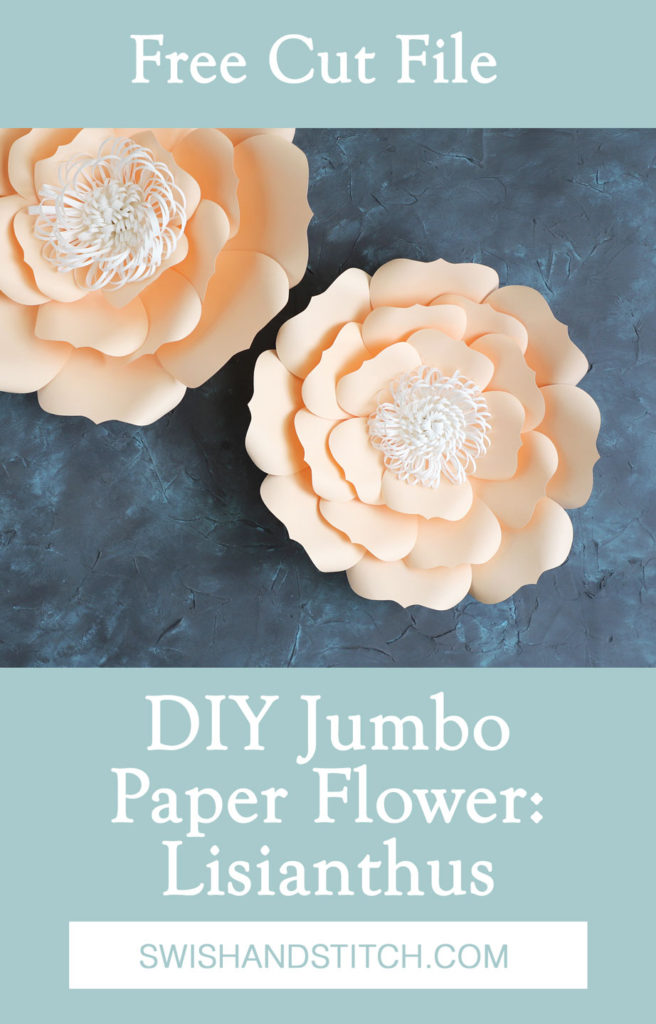
Download Cut Files:
Flower Fringe Files (from Clematis post)