Some of the links on this site are affiliate links. I make a small commission from sales when you click through the link. There is no additional cost to you.
“Twenty minutes later, they left Eeylops Owl Emporium, which had been dark and full of rustling and flickering, jewel-bright eyes. Harry now carried a large cage that held a beautiful snowy owl, fast asleep with her head under her wing.”
Harry Potter and the Sorcerer’s Stone
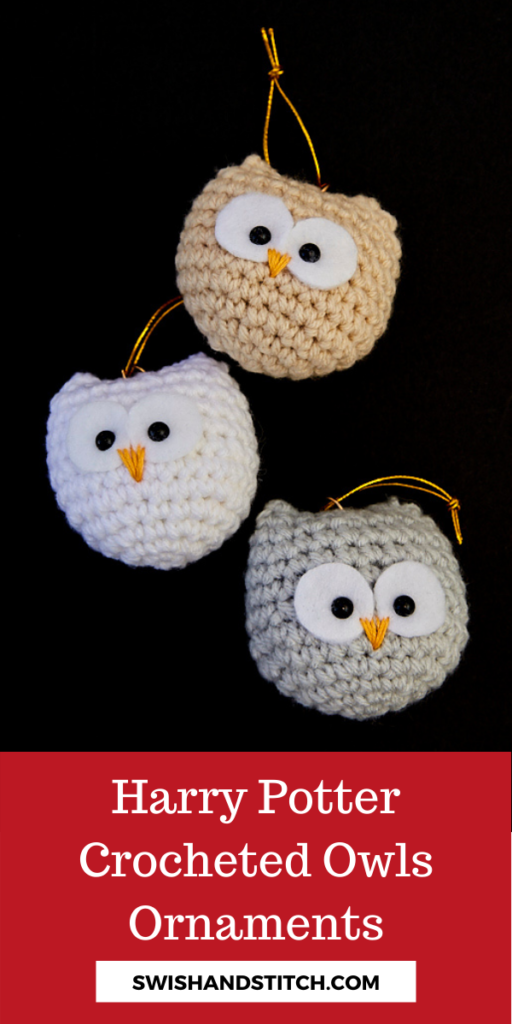
Okay. Because of the Harry Potter books I am in love with owls—especially Harry’s owl Hedwig. The first time I read the books I was struck with all the clever details. And one of my favorites was owl post. So it’s not really as efficient or quick as an email, phone call, or text, but way cooler!
I just have one question?
Why is Harry the only young wizard at Hogwarts with a snowy owl?
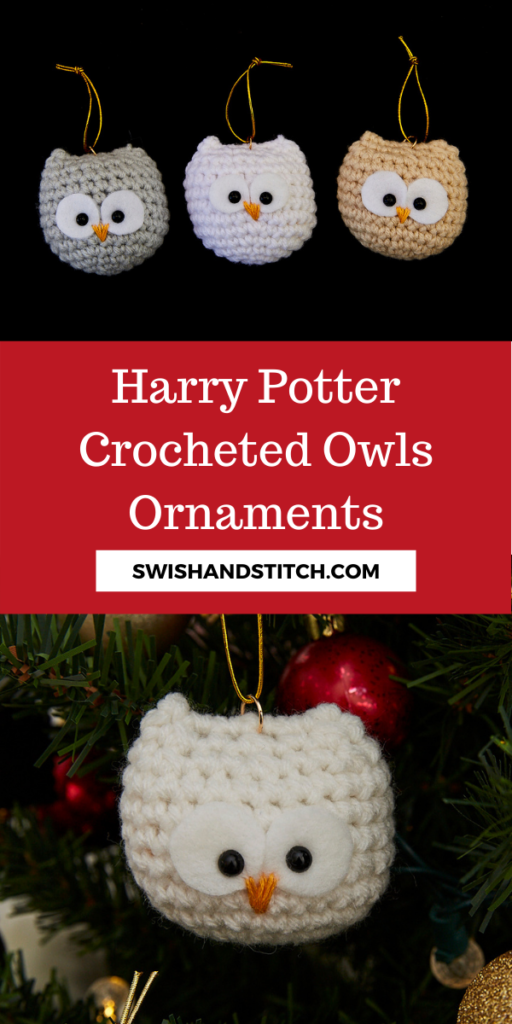
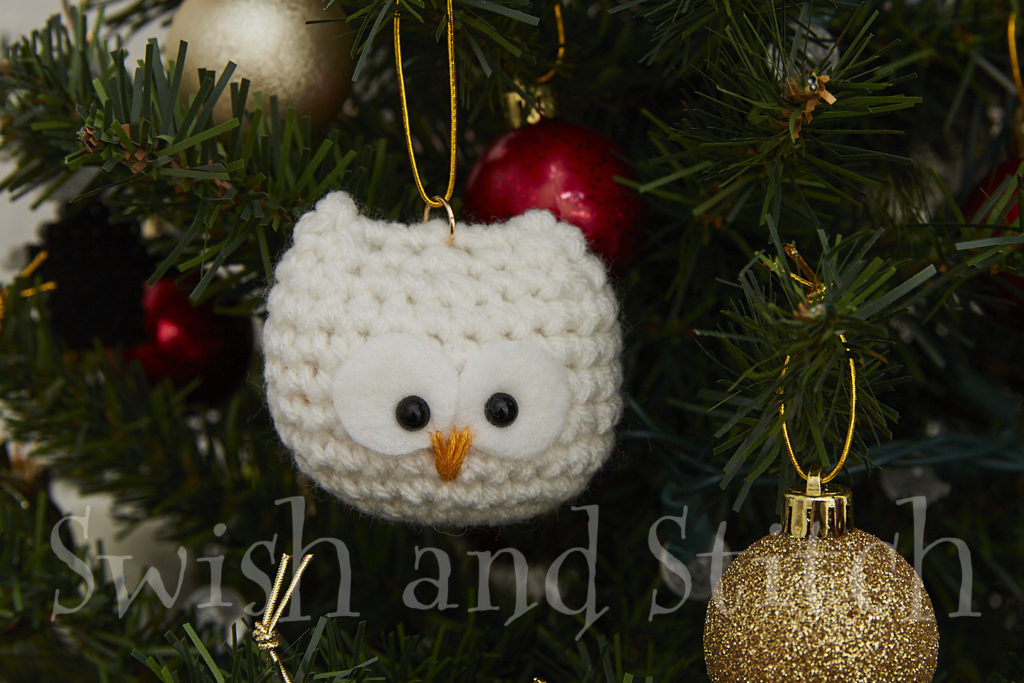
Just wondering. Anyway, on to today’s ornaments. Even though I have owls I purchased on my tree, I still wanted to make snowy owl ornaments. And since I’m way into crochet right now, it was a no brainer to look for a crochet owl pattern. I decided on these sweet Baby Owl Ornaments from Josephine Wu from A Morning Cup of Jo. They are the perfect size for my miniature Christmas tree and the pattern is free on Ravelry.
Check out all the ornaments in the Harry Potter Mini Christmas Tree Ornaments Marathon!
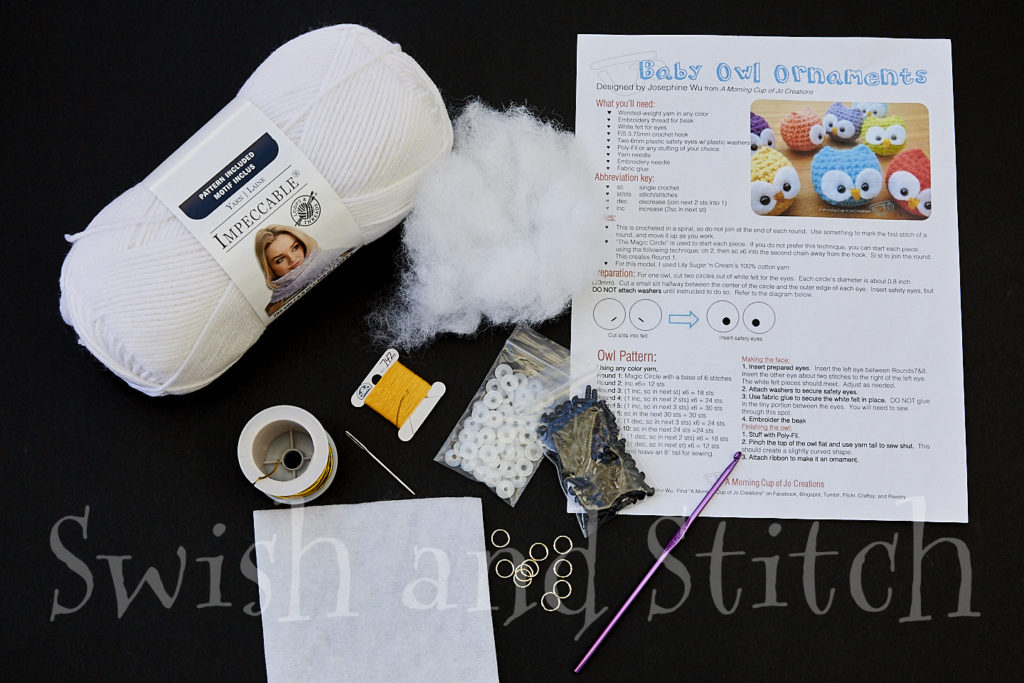
Snowy Owl Ornaments Supplies
- Baby Owl Ornaments Pattern
- Medium (size 4) Yarn: I used Loops and Threads Impeccable Yarn in White, Classic Gray, and Heather
- Size F crochet hook
- White felt
- Golden embroidery floss—DMC 742
- 6 mm safety eyes
- Yarn needle
- Hot glue with glue gun
- Scissors
- 1 mm Gold Elastic Cord
- 10 mm Gold Jump Rings
Directions
Jo’s pattern is quite good (and attractive!) so this is not a full tutorial. I just thought I would walk you through a few things that I learned as I made my first few.
#1 Attach the eyes and sew the beak after crocheting round 10.
Don’t crochet the entire owl before adding the face. I learned this the hard way. I had some spare time and started cranking out the owl bodies (about 20 of them) before finishing even one snowy owl ornament. Big mistake.
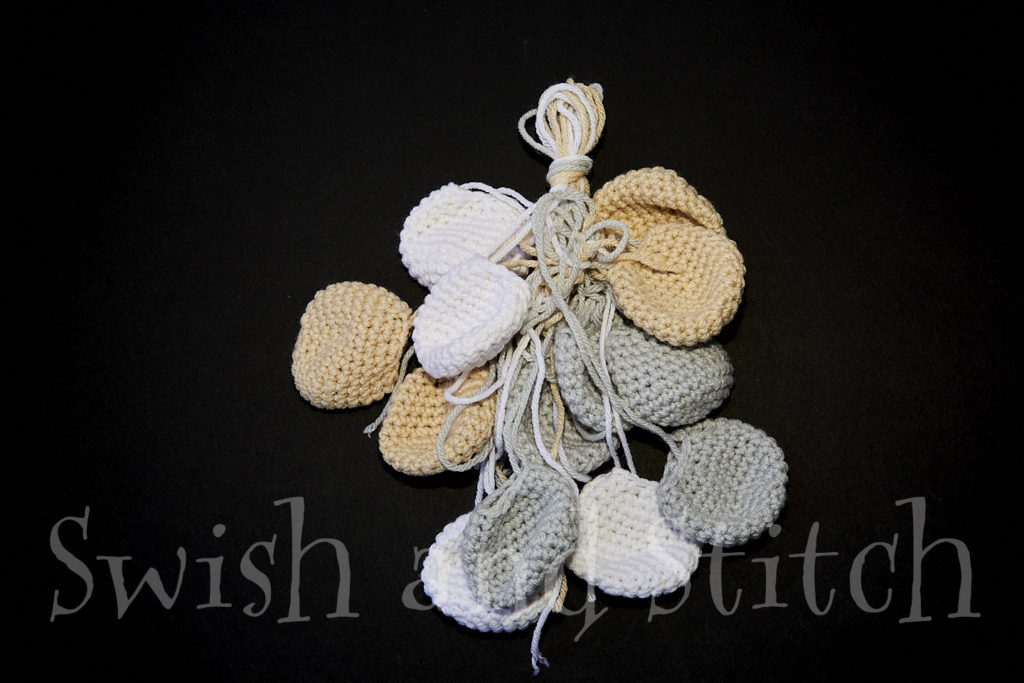
Why I don’t recommend this: The last few rows of the owl decrease in circumference. If the opening is too small, it is really hard to get your fingers inside to stitch the beak.
Instead: Crochet just 10 rows, then add the eyes and beak. Finish crocheting the owl (rows 11 and 12) once the face is complete.
I ended up pulling out the last couple of rows of crochet, inserting the eyes and stitching the beak, then re-crocheting rows 11 and 12. It wasn’t terrible, but, yes, a little more work than necessary.
Here’s the Progression.
Crochet the body through row 10.
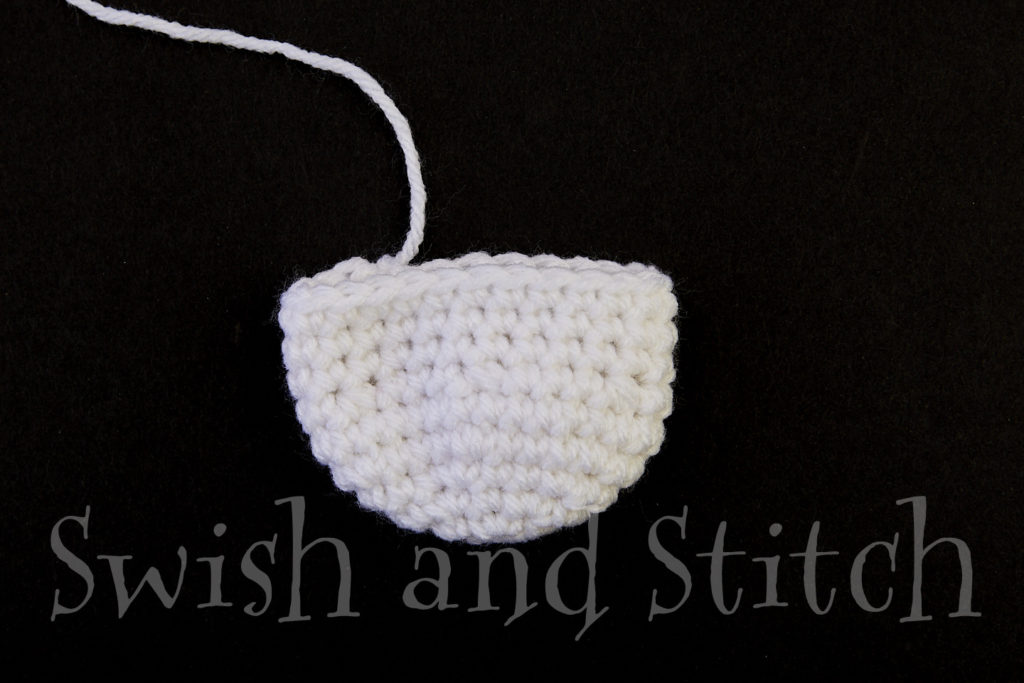
Insert the safety eyes through the felt and then through the body. You want the felt to just touch between the eyes. Snap the plastic washers on inside the owl.
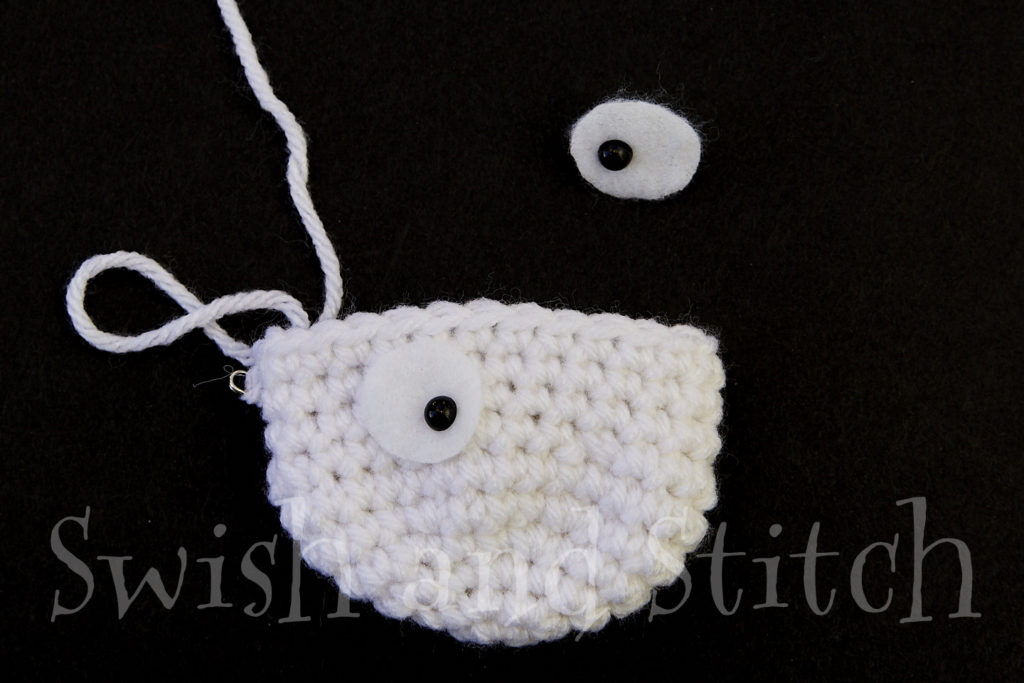
Then, stitch the beak and crochet rows 11 and 12.
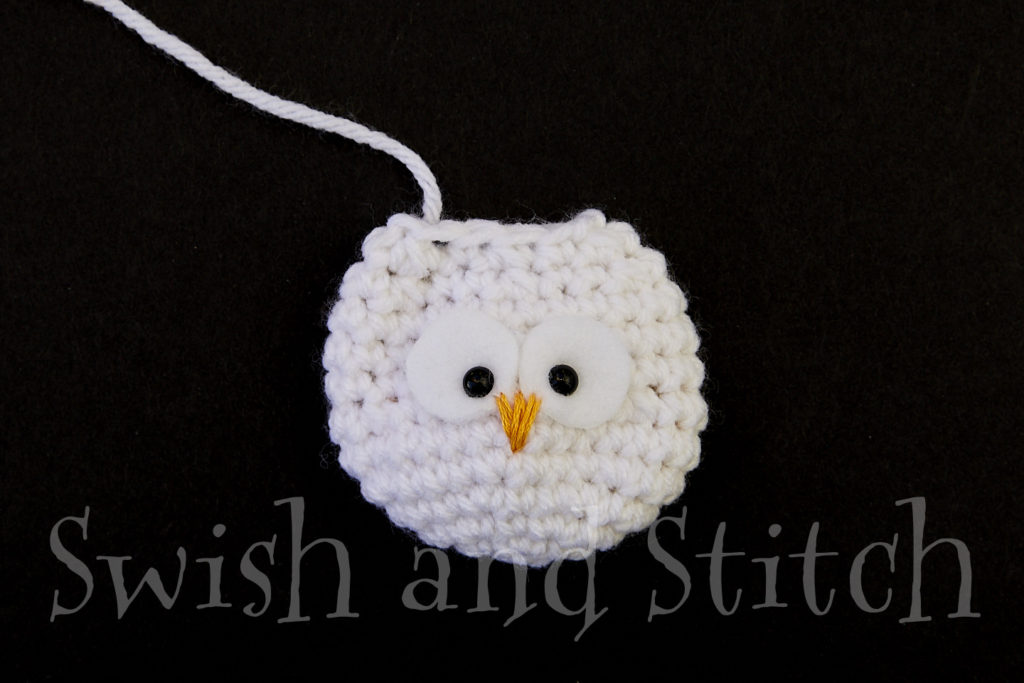
So cute! I love these little guys! I was worried that I wouldn’t like the white felt on the white body. This is not the case. I actually think it looks fine. I think the difference in texture between the felt and the crocheted owl is what makes it work.
#2 Larger felt circles are cuter than smaller ones.
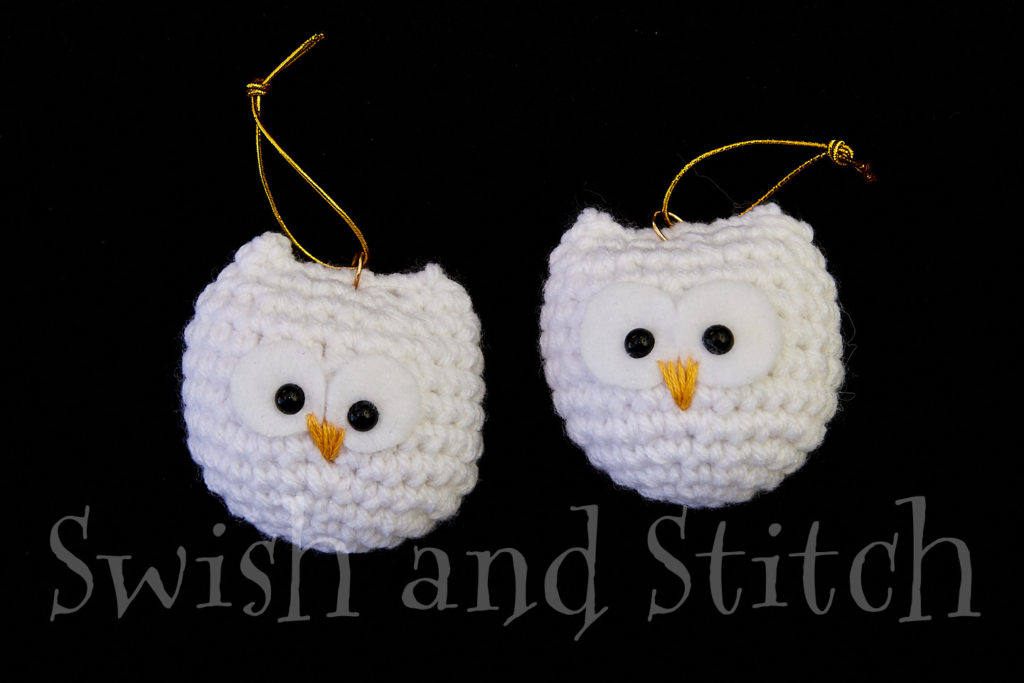
This is just a matter of personal preference. It may be hard to tell in the photo below, but the owl on the left has smaller felt circles—about 3/4 of an inch—around the eyes than the owl on the right—about 7/8 of an inch. I prefer a slightly larger felt circle. I just feel that the smaller eyes don’t cover enough of the owl to truly make it look wide-eyed. I might even try a full inch another time.
#3 Hot glue does the trick.
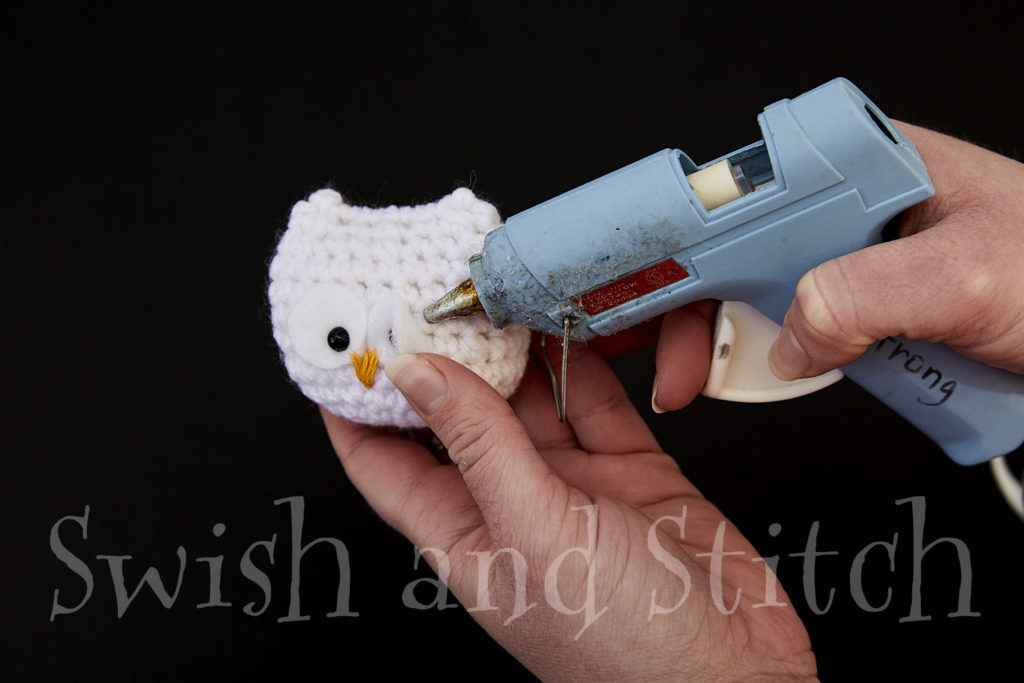
I’ve got to be honest, I’m not a huge fan of fabric glue. Jo suggests using it behind the felt circles, but I find it tends to seep through the fabric making it stiff. I didn’t even try it with these owls. If there’s one thing I learned from helping with costumes at our dance studio, it’s this: hot glue is awesome!
For these snowy owl ornaments, the only place you use glue is on the felt eye circles. And if children will not be playing with these ornaments, it’s really up to you whether you think it’s necessary at all. The safety eyes do hold the eye circles to the body, but there is a chance, that they could be ripped off over the eye. I decided to put just a dab of hot glue to hold the felt circles in place.
And that’s about it. Here are a couple of final pictures of the process.
Stuffing the little guy.
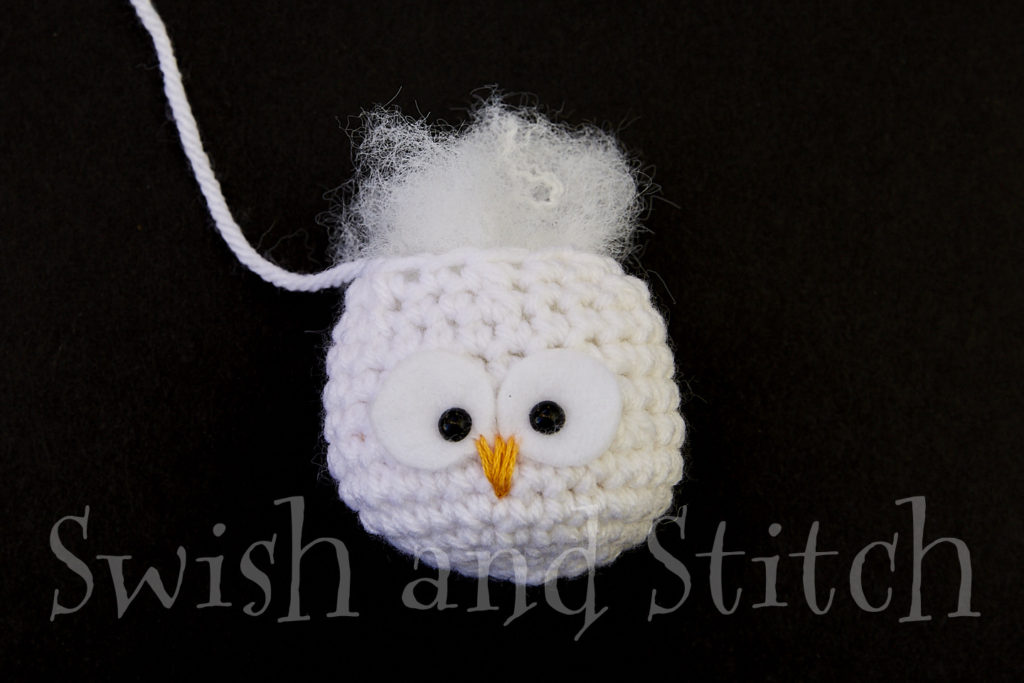
And sewing him closed.
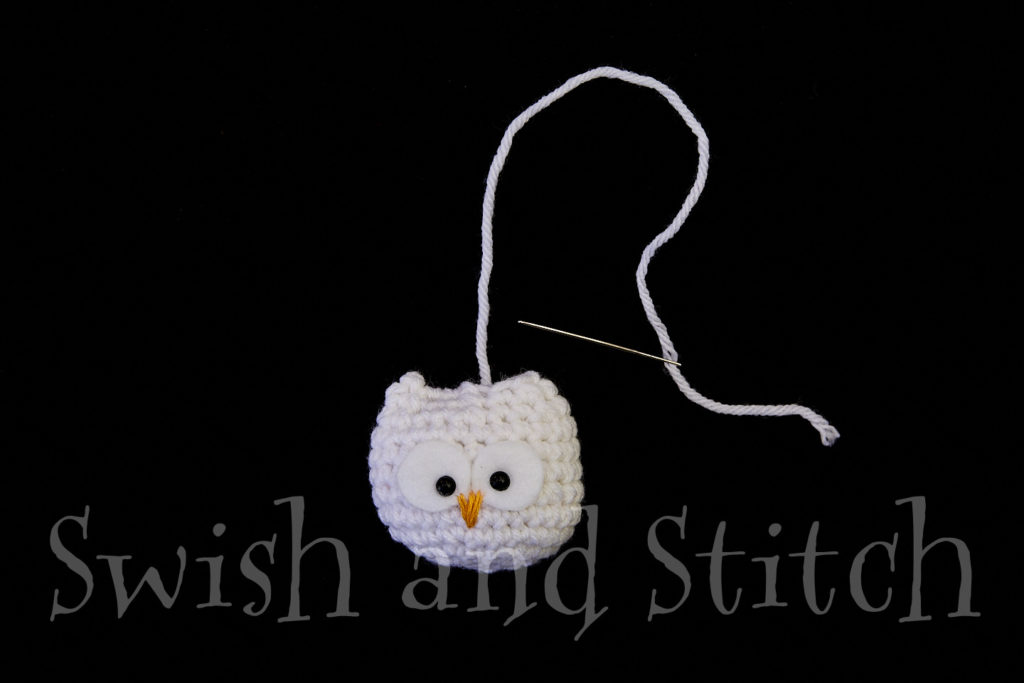
Add a jump ring and some cord and you’re good to go!
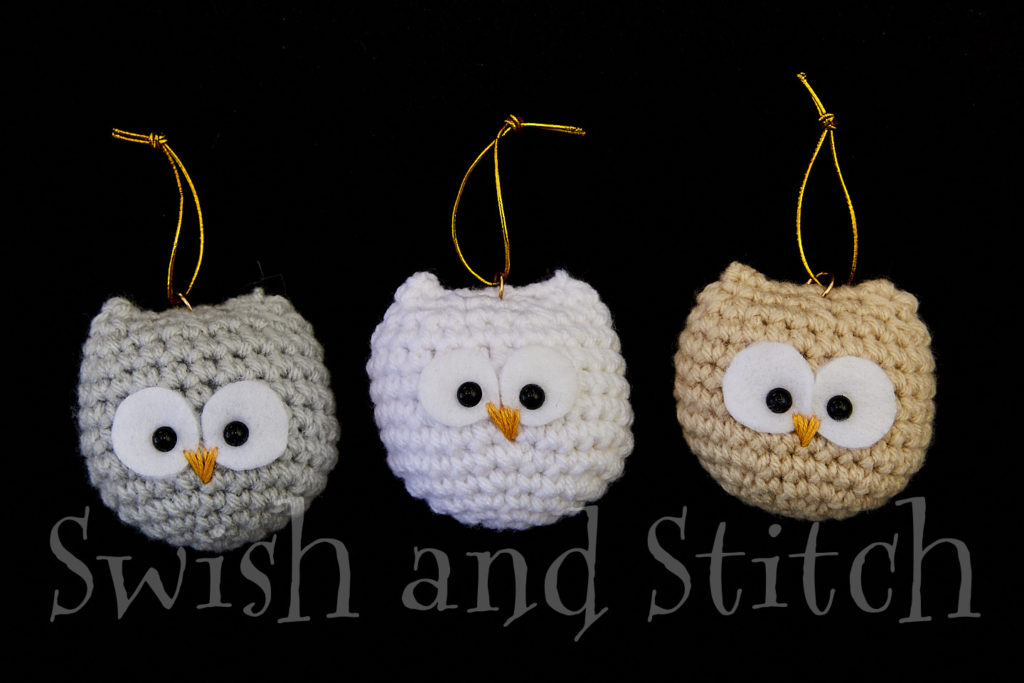
Again this is not a full tutorial. If you have questions, or wish it were a full tutorial, let me know in the comments below.
Enjoy!
~ Lucinda
For more Harry Potter fun, try these other great crafts!
